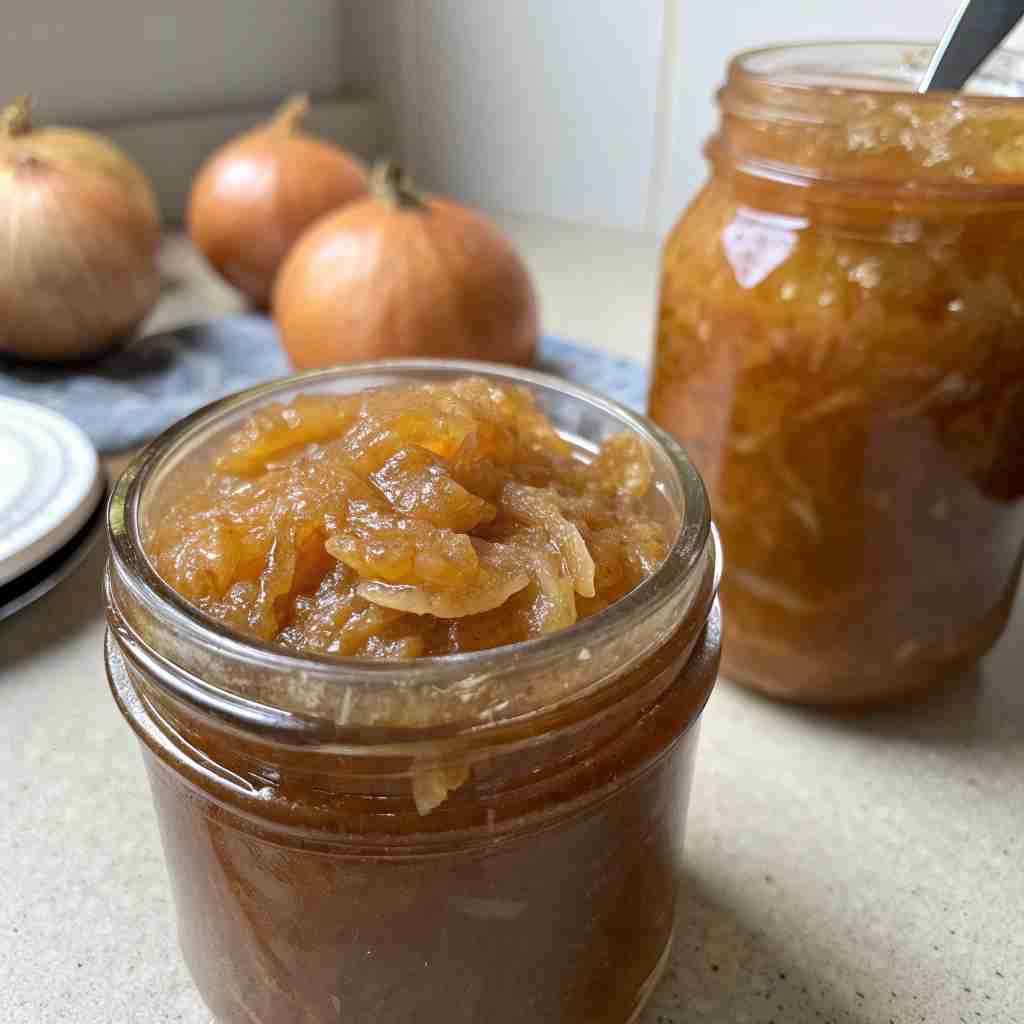
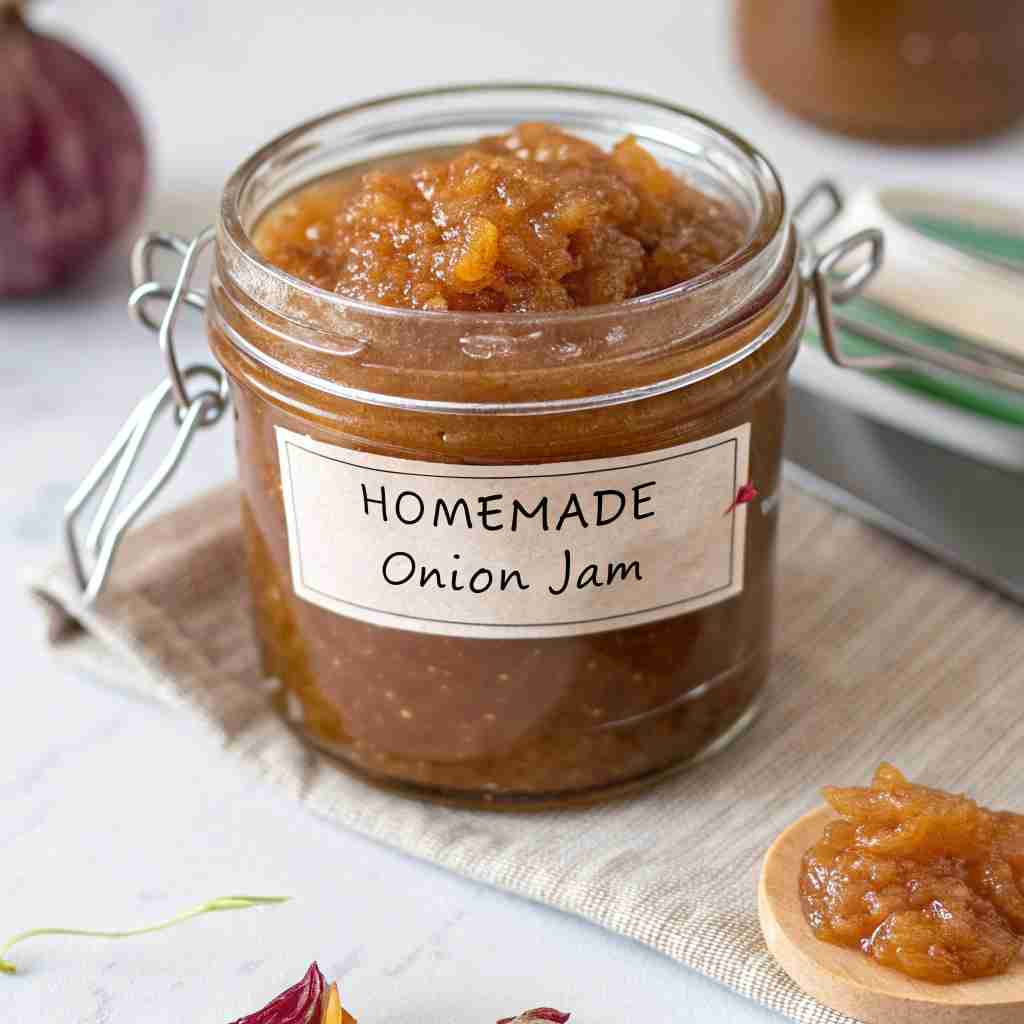
Looking for a versatile and delicious preserve to elevate your meals? Canning Onion Jam is the answer! This savory and sweet condiment is incredibly easy to make at home and perfect for adding a burst of flavor to appetizers, main courses, and everything in between. Plus, by canning it, you can enjoy its delightful taste year-round.
Jump To :
What is Canning Onion Jam?
Canning Onion Jam is a caramelized, savory spread made primarily from onions, sugar, vinegar, and spices. Slow cooking transformed sweet onions into incredibly rich and flavorful condiments. This preserve strikes a perfect balance between sweet and savory. The natural sugars in the onions caramelize beautifully, creating a deep, complex flavor profile that is enhanced by the tanginess of vinegar and the warmth of spices.
Unlike store-bought jams that are typically sweet, onion jam offers a sophisticated, savory alternative that elevates countless dishes. And the best part? By canning it, you can ensure a longer shelf life and enjoy this delectable condiment whenever the craving strikes. Ready to transform ordinary meals into extraordinary experiences? Give this Canning Onion Jam a try!
Key Ingredients for Canning Onion Jam:
- 4 pounds Yellow Onions: Thinly sliced. The base of our jam, providing sweetness and depth of flavor.
- 1 cup Granulated Sugar: Contributes to the caramelization process and adds sweetness.
- 1 cup Brown Sugar: Adds another layer of sweetness and a rich, molasses-like flavor.
- 1 cup Apple Cider Vinegar: Provides acidity, balancing the sweetness and acting as a preservative.
- 1/2 cup Balsamic Vinegar: Adds complexity and a delightful tang.
- 2 tablespoons Olive Oil: For sautéing the onions and preventing them from sticking to the pot.
- 2 teaspoons Kosher Salt: Enhances the flavors of the onions and other ingredients.
- 1 teaspoon Freshly Ground Black Pepper: Adds a subtle spice and depth.
- 1/2 teaspoon Red Pepper Flakes (optional): For a touch of heat.
- 1/4 teaspoon Ground Thyme: Lends an earthy, herbaceous note.
How to Make Canning Onion Jam:
This Canning Onion Jam recipe is surprisingly straightforward, and the result is bursting with flavor. The slow caramelization process brings out the natural sweetness of the onions, creating a rich, savory preserve that is perfect for pairing with a variety of dishes. Expect a preparation time of about 2 hours, most of which is hands-off while the jam simmers and deepens in flavor.
Step-by-Step Instructions:
- Prepare the Onions: Peel and thinly slice the onions. Uniformly thin slices will ensure even cooking and a smooth final texture.
- Sauté the Onions: In a large, heavy-bottomed pot or Dutch oven, heat the olive oil over medium heat. Add the sliced onions, salt, and pepper. Cook, stirring occasionally, until the onions soften and begin to turn translucent, about 15-20 minutes.
- Caramelize the Onions: Reduce the heat to low. Continue to cook the onions, stirring frequently, until they are a deep golden brown and richly caramelized. This process will take approximately 1 hour, or longer depending on the heat and moisture content of the onions. Be patient and stir often to prevent sticking and ensure even caramelization. The onions should reduce significantly in volume and become deeply flavorful.
- Add the Sugars and Spices: Stir in the granulated sugar, brown sugar, red pepper flakes (if using), and thyme. Continue to cook, stirring constantly, until the sugar is dissolved and the mixture is well combined, about 5 minutes.
- Deglaze with Vinegar: Pour in the apple cider vinegar and balsamic vinegar. Scrape the bottom of the pot to loosen any browned bits (fond) that have accumulated. This will add depth and complexity to the flavor of the jam.
- Simmer and Thicken: Bring the mixture to a gentle simmer. Cook, uncovered, stirring occasionally, until the jam has thickened to your desired consistency. This will take approximately 30-45 minutes. The jam should be thick enough to coat the back of a spoon and leave a clear line when a finger is drawn through it.
- Prepare for Canning: While the jam is simmering, prepare your canning jars. Wash and rinse glass canning jars and lids in hot, soapy water. You’ll need to heat the jars and lids to ensure successful canning. Place the jars on a rack in a large pot and cover them with water. Bring the water to a boil and simmer for 10 minutes. Remove the jars from the water and place them upside down on a clean towel. In a smaller saucepan, heat the lids in simmering water (do not boil) for 10 minutes.
- Fill the Jars: Ladle the hot onion jam into the hot, sterilized jars, leaving 1/4 inch headspace. Wipe the rims of the jars with a clean, damp cloth to remove any drips or spills. Place the lids on the jars and screw on the bands until they are fingertip tight.
- Process in a Water Bath Canner: Place the filled jars on the rack of a boiling water bath canner. Ensure the jars are covered by at least 1 inch of water. Bring the water to a rolling boil and process for 10 minutes (adjust processing time based on your altitude).
- Cool and Check Seals: Turn off the heat and carefully remove the jars from the canner using a jar lifter. Place the jars on a towel-lined surface and allow them to cool completely, undisturbed, for 12-24 hours. As the jars cool, you should hear a popping sound as the lids seal. After 24 hours, check the seals by pressing down on the center of each lid. If the lid does not flex, it is properly sealed. If the lid flexes, the jar didn’t seal properly, and you should refrigerate it and use the jam within a few weeks.
- Store Properly: Remove the bands and label the jars with the date. Store the sealed jars in a cool, dark place for up to 1 year.
Why You’ll Love This Canning Onion Jam

This Canning Onion Jam will quickly become a staple in your kitchen. The main highlight is the incredible flavor – the perfect balance of sweet and savory that elevates everything it touches. Making it at home is incredibly cost-effective compared to buying gourmet onion jam from the store. You control the ingredients and avoid unnecessary additives while enjoying a premium product for a fraction of the price. The beauty of this recipe lies in the flavor complexities that comes from using both apple cider and balsamic vinegars along with a hint of thyme that takes common onion jam to the next level.
If you enjoy this recipe, explore other canning projects like homemade fruit preserves or pickled vegetables for even more deliciousness! Ready to create your own gourmet condiment? Try this Canning Onion Jam recipe today!
What to Serve Canning Onion Jam With:
- Cheese and Crackers: A classic pairing! Onion jam complements a variety of cheeses, from sharp cheddar to creamy brie.
- Grilled Meats: Spread it on burgers, steaks, or grilled chicken for a burst of flavor.
- Roasted Vegetables: Drizzle it over roasted root vegetables like carrots, parsnips, or Brussels sprouts.
- Sandwiches and Wraps: Add a spoonful to your favorite sandwiches for an extra layer of taste.
- Pizza: Use it as a base or topping for a gourmet homemade pizza.
- Bruschetta: Makes a delicious topping for toasted bread, especially when paired with creamy goat cheese.
Top Tips for Perfecting Canning Onion Jam:
- Use the Right Onions: Yellow onions are ideal for caramelizing due to their balanced sweetness and moisture content.
- Don’t Rush the Caramelization: Caramelization is key to the flavour of this jam. Take your time and let the onions slowly brown.
- Stir Frequently: Stirring prevents sticking and ensures even caramelization.
- Adjust Sweetness to Your Taste: If you prefer a less sweet jam, reduce the amount of sugar slightly.
- Experiment with Spices: Feel free to add other spices, such as smoked paprika, rosemary, or garlic powder, to customize the flavor.
- Check the Consistency: Before canning, make sure the jam is thick enough. It should coat the back of a spoon and leave a clear line when a finger is drawn through it.
- Altitude Adjustments: If you live at a high altitude, adjust the processing time for your water bath canner according to USDA guidelines.
5 Facts about Canning Onion Jam:
- Historical Roots: Onion jams and preserves have been around for centuries, often used as a method of preserving onions before modern refrigeration.
- Versatile Condiment: Unlike many sweet fruit jams, onion jam is a savory delight that can be paired with a wide range of foods.
- Caramelization is Key: The slow caramelization process is crucial for developing the deep, rich flavors of onion jam.
- Natural Sweetness: Onions are naturally sweet, and this sweetness amplifies during the cooking process.
- Great Gift Idea: Homemade onion jam makes a thoughtful and appreciated gift for food lovers.
Storing and Reheating Tips:
Storing: Once the jars are sealed and cooled, store them in a cool, dark, dry place, such as a pantry or cupboard. Properly canned and sealed jars of onion jam can be stored for up to 1 year. After opening a jar, refrigerate it immediately. Opened jars of onion jam should be used within 2-3 weeks for the best quality, though the jam may last longer if properly refrigerated.
Avoid storing opened jars in the door of the refrigerator, where temperature fluctuations may affect the jam’s quality.
Reheating: Canning Onion Jam is typically served cold or at room temperature, so reheating is not necessary. It is most commonly used as a condiment and added to other dishes as is.
Freezing: While canned onion jam is designed for long-term storage without freezing, freezing is an option for small portions if desired. To freeze, transfer the onion jam to a freezer-safe container, leaving some headspace to allow for expansion. Properly frozen onion jam can last for up to 3-6 months.
Thaw frozen onion jam in the refrigerator overnight. Be aware that freezing may slightly alter the texture of the jam, making it a bit softer. The flavor should remain intact.
Final Thoughts:
Canning Onion Jam is a fantastic way to preserve the flavor of onions and create a versatile condiment that you can enjoy year-round. Whether you’re serving it with cheese and crackers or adding it to your favorite sandwiches, this homemade jam is sure to impress. Happy canning!
Read More also:
- Canning Bone Broth
- Canning Beef Broth
- Canning Chicken Broth with Vegetables
- Canning Turkey Broth
- Canning Mushroom Soup
- Canning Apricot Jam Recipe
- Canning Fig Jam Recipe
- Canning Plum Jam
- Our Pinterest
Canning Onion Jam FAQs:
- Can I use different types of onions? While yellow onions are recommended, you can experiment with red onions for a slightly sweeter flavor, or Vidalia onions for an even milder taste. Keep in mind that different onions have varying sugar and moisture contents, so the cooking time may need to be adjusted.
- Do I have to use both apple cider vinegar and balsamic vinegar? No, you can use all apple cider vinegar if you prefer. However, the balsamic vinegar adds a unique depth of flavor.
- Can I make this without canning? Yes, you can store the jam in the refrigerator for up to 2-3 weeks.
- How do I know if my jars are properly sealed? After processing, press down on the center of the lid. If it doesn’t flex, it’s sealed!
- What if my jam doesn’t thicken enough? Continue simmering the jam, uncovered, until it reaches your desired consistency. Be sure to stir frequently to prevent sticking.

