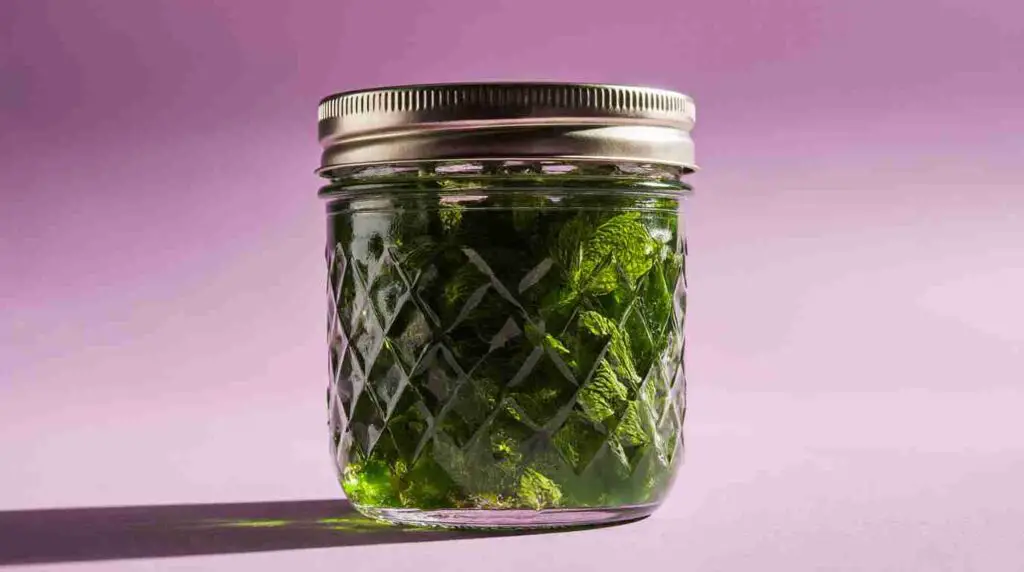
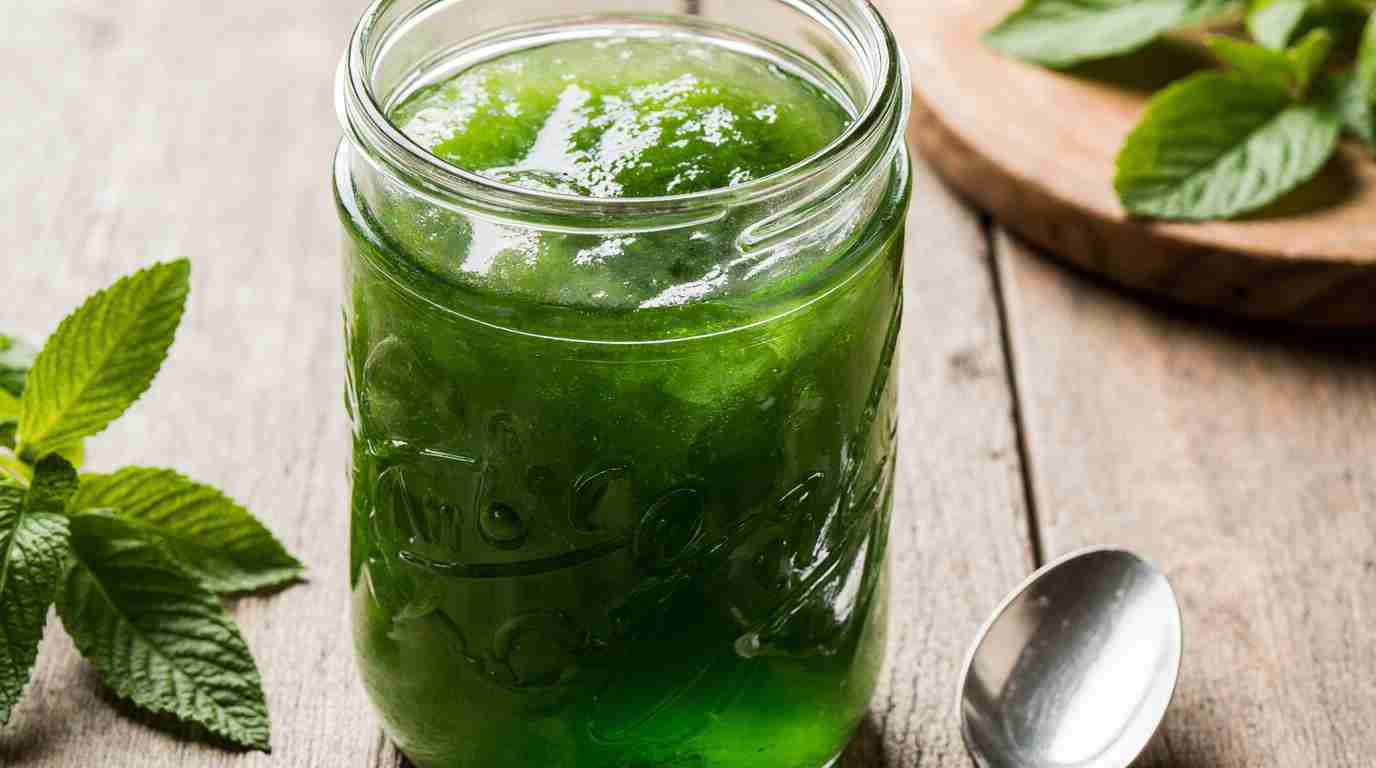
Looking for a naturally refreshing condiment that adds a touch of elegance to your meals? This Canning Mint Jelly recipe provides a flavorful and beautiful way to preserve the fresh taste of summer. Perfect as a companion to savory dishes like lamb, pork, or even cream cheese and crackers, this jelly captures the essence of mint in a vibrant and shelf-stable form.
Jump To :
What is Canning Mint Jelly?
Canning Mint Jelly is a classic preserve made from fresh mint, sugar, vinegar (or lemon juice), and pectin. It’s a delicious and versatile condiment cherished for its bright, herbaceous flavor and characteristic translucent green color. The process of canning ensures that the jelly can be stored at room temperature for extended periods, allowing you to enjoy the taste of fresh mint even when it’s out of season.
Imagine spreading this glistening jelly on roast lamb, adding a dollop to your morning toast, or using it as a glaze for grilled meats. Its unique sweet and savory profile makes it a delightful addition to any meal. Ready to transform your garden mint into a delectable jelly? Give this recipe a try!
Key Ingredients for Canning Mint Jelly:
- 4 cups packed fresh mint leaves: The more mint you use, the more intense the flavor will be. Be sure to wash and dry the mint leaves thoroughly before use.
- 4 cups water: Used to extract the flavor from the mint leaves.
- 1/2 cup apple cider vinegar Adds acidity, which is essential for both flavor and preservation. You can substitute with white wine vinegar or lemon juice, adjust quantities to taste.
- 5 cups granulated sugar: Provides sweetness and aids in the gelling process.
- 1 box (1.75 oz) powdered pectin: The key ingredient for achieving that perfect jelly texture. Be sure to use powdered pectin, as liquid pectin requires a different process.
- Green food coloring (optional): To enhance the vibrant green color of the jelly. Use sparingly, as a little goes a long way.
- Pinch of salt: Enhances the flavors.
How to Make Canning Mint Jelly:
This Canning Mint Jelly is perfect for those new to canning: the instructions are streamlined, and the results are stunning. You get to experience the magic of turning a simple garden herb into a delectable, jewel-toned jelly in about an hour. Plus, it’s incredibly satisfying preserving these flavors for the next year!
- Preparation time: 20 minutes
- Cooking time: 40 minutes
- Yield: Around 5-6 half-pint jars of jelly
Step-by-Step Instructions:
- Prepare the Mint Infusion: Wash the mint leaves thoroughly and pack them into a large saucepan. Pour the 4 cups of water over the mint leaves. Bring the mixture to a boil over high heat, then reduce heat to low and simmer for 15-20 minutes to extract the mint flavor.
- Strain the Mint Extract: Using a fine-mesh sieve or cheesecloth-lined colander, strain the mint infusion, discarding the mint leaves. This will give you a clear, mint-flavored liquid.
- Combine Ingredients: Pour the strained mint liquid back into the saucepan. Add the apple cider vinegar (or any substitude), sugar, and salt to the pan. Stir well until the sugar is dissolved.
- Add Pectin: Stir in the powdered pectin and mix thoroughly to prevent clumping.
- Boil and Gel: Bring the mixture to a full rolling boil over high heat, stirring constantly. Continue to boil for 1 minute, stirring constantly to prevent scorching.
- Remove from Heat and Add Coloring (Optional): Remove the saucepan from the heat and skim off any foam that has formed on the surface. If desired, add a few drops of green food coloring to enhance the color. Stir gently to combine.
- Canning Prep: prepare your water bath canner, jars, and lids. Place the jars in simmering water as it comes to a boil. Heat the lids and rings in a separate pot of water.
- Fill the Jars: Ladle the hot jelly into sterilized canning jars, leaving ¼ inch of headspace at the top. Wipe the rims of the jars with a clean, damp cloth to remove any spills.
- Seal the Jars: Place the lids on the jars and screw on the bands until fingertip-tight.
- Process in Water Bath: Lower the filled jars into the boiling water bath canner, ensuring that the water covers the jars by at least 1 inch. Bring the water back to a rolling boil and process for 10 minutes for half-pint jars, adjusting for altitude. Add 1 minute for every 1000 feet of elevation.
- Cool and Check Seals: Carefully remove the jars from the water bath canner and place them on a towel-lined surface to cool completely. As the jars cool, you should hear a popping sound, indicating that the seals have formed. After the jars have cooled, check the seals by pressing down in the center of each lid. If the lid doesn’t flex, the jar is sealed properly. If the lid flexes, the jar is not sealed and should be refrigerated and used within a few weeks, or reprocessed.
- Store: Label and store the Canning Mint Jelly in a cool, dark place for up to one year.
Why You’ll Love This Canning Mint Jelly

This Canning Mint Jelly is more than just a condiment; it’s a taste of summer bottled up for the colder months! The bright, refreshing mint flavor perfectly complements rich meats and cheeses, offering a delightful contrast that elevates any dish. Making it at home is also incredibly cost-effective compared to buying it from the store, offering you control over the ingredients and allowing you to customize the taste to your liking. The vibrant green color and the distinctive mint aroma add a touch of elegance to your table, making it a perfect gift for food-loving friends and family.
Think of this Canning Mint Jelly as a healthier and more flavorful alternative to store-bought jams and jellies. While a common recipe is apple jelly, Mint Jelly introduces a unique burst of freshness. Why not skip the sugary sweetness and try this unique recipe? Give this recipe a try and experience the joy of crafting your own homemade treasure!
What to Serve Canning Mint Jelly With:
Canning Mint Jelly is a versatile condiment that pairs beautifully with a variety of dishes:
- Roasted Lamb or Pork: The classic pairing! The mint jelly cuts through the richness of the meat.
- Grilled Chicken: Adds a surprising burst of flavor to simple grilled chicken.
- Cream Cheese and Crackers: A simple and elegant appetizer.
- Glaze for Ham: Brush it on ham during the last 15 minutes of baking for a sweet and flavorful glaze.
- In tea: As a spoonful to sweeten your hot beverages.
Top Tips for Perfecting Canning Mint Jelly:
- Use fresh, high-quality mint: The better the mint, the better the flavor of the jelly.
- Don’t overcook the mint infusion: Overcooking can result in a bitter taste.
- Skim off the foam: Skimming off the foam from the surface of the jelly before filling the jars will result in a clearer, more appealing final product.
- Adjust sugar to your liking: If you prefer a less sweet jelly, you can reduce the amount of sugar slightly. However, keep in mind that sugar is essential for the gelling process, so don’t reduce it too much.
- Ensure proper sealing: Properly sealed jars are crucial for safe canning. If any of the jars don’t seal, refrigerate them immediately and use the jelly within a few weeks.
- For a spicier jelly: Add a pinch of red pepper flakes a few minutes before removing it from the heat.
- Substitute Fresh Lemon Juice: Swap the 1/2 cup vinegar for 1/4 cup lemon juice. This imparts a brighter flavor.
5 Facts about Canning Mint Jelly:
- Historical Origins: Mint Jelly recipes have been around for centuries, with regional variations found across Europe and North America.
- Herbaceous Delight: Unlike fruit-based jellies, Mint Jelly provides a refreshing, non-fruity sweetness.
- Medicinal Use: Mint tea, from fresh mint leaves, has long been used for its digestive properties and calming effect.
- Variations: Experiment with additions like lemon balm or a touch of ginger to enhance your Mint Jelly’s flavor
- Aromatic Journey: Did you know? Rubbing fresh mint leaves can help soothe mosquito bites.
Storing and Reheating Tips:
- Storage: Properly sealed jars of Canning Mint Jelly can be stored in a cool, dark, and dry place for up to one year. Once opened, the jelly should be refrigerated and used within a few weeks.
- Reheating (Not Necessary): Mint Jelly does not typically require reheating. It is best served at room temperature or chilled.
- Freezing (Not Recommended): Freezing is not recommended as it can alter the texture of the jelly.
Final Thoughts:
Canning Mint Jelly is a simple yet incredibly rewarding process that allows you to enjoy the fresh, vibrant taste of mint all year round. This recipe is a testament to the magic of preserving, transforming a simple garden herb into a delectable condiment that elevates any meal. So, gather your mint, follow these easy steps, and get ready to enjoy the delightful flavors of homemade Canning Mint Jelly.
Read More also:
- Canning Bone Broth
- Canning Beef Broth
- Canning Chicken Broth with Vegetables
- Canning Turkey Broth
- Canning Mushroom Soup
- Canning Apricot Jam Recipe
- Canning Fig Jam Recipe
- Canning Plum Jam
- Our Pinterest
Canning Mint Jelly FAQs:
Q: Can I use dried mint instead of fresh mint?
A: While fresh mint is highly recommended for the best flavor, you can use dried mint in a pinch. Use about 1/4 cup of dried mint leaves instead of 4 cups of fresh mint leaves.
Q: Can I use a different type of vinegar?
A: While apple cider vinegar is preferred for its flavor, you can substitute it with white wine vinegar or lemon juice.
Q: My jelly didn’t set properly. What went wrong?
A: There are several reasons why your jelly might not have set properly:
- Not enough pectin: Make sure you’re using the correct amount of pectin for the recipe.
- Not boiling long enough: The jelly needs to reach a full rolling boil for 1 minute to activate the pectin.
- Incorrect sugar to liquid ratio: Make sure you’re using the correct ratio of sugar to liquid.
- Inaccurate measuring: Pay attention to the precise amount and measurements for each ingredient.
Q: Can I reprocess jelly that didn’t set?
A: Yes, you can reprocess jelly that didn’t set. Simply combine the unset jelly in a saucepan with an additional 1/4 cup of sugar and 1 tablespoon of powdered pectin. Bring the mixture to a full rolling boil for 1 minute, stirring constantly, and then re-can it using sterilized jars.
Q: Is the food coloring necessary?
A: No, the food coloring is optional. It’s simply used to enhance the vibrant green color of the jelly. If you prefer a more natural look, you can omit the food coloring altogether.
Q: How to measure mint leaves?
A: Loosely pack fresh mint leaves into your measuring cup to achieve an accurate measure of approximately 4 cups.

