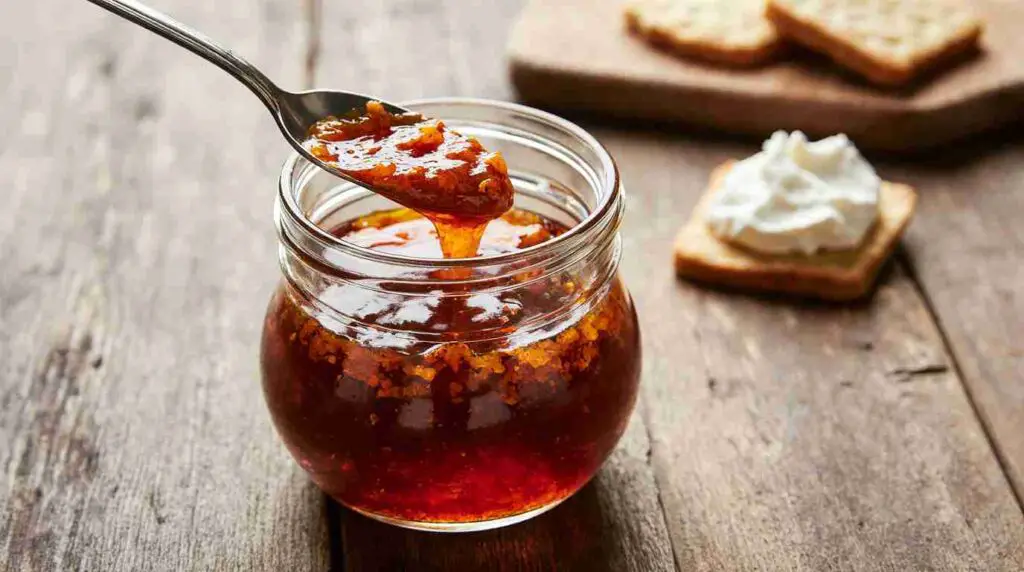
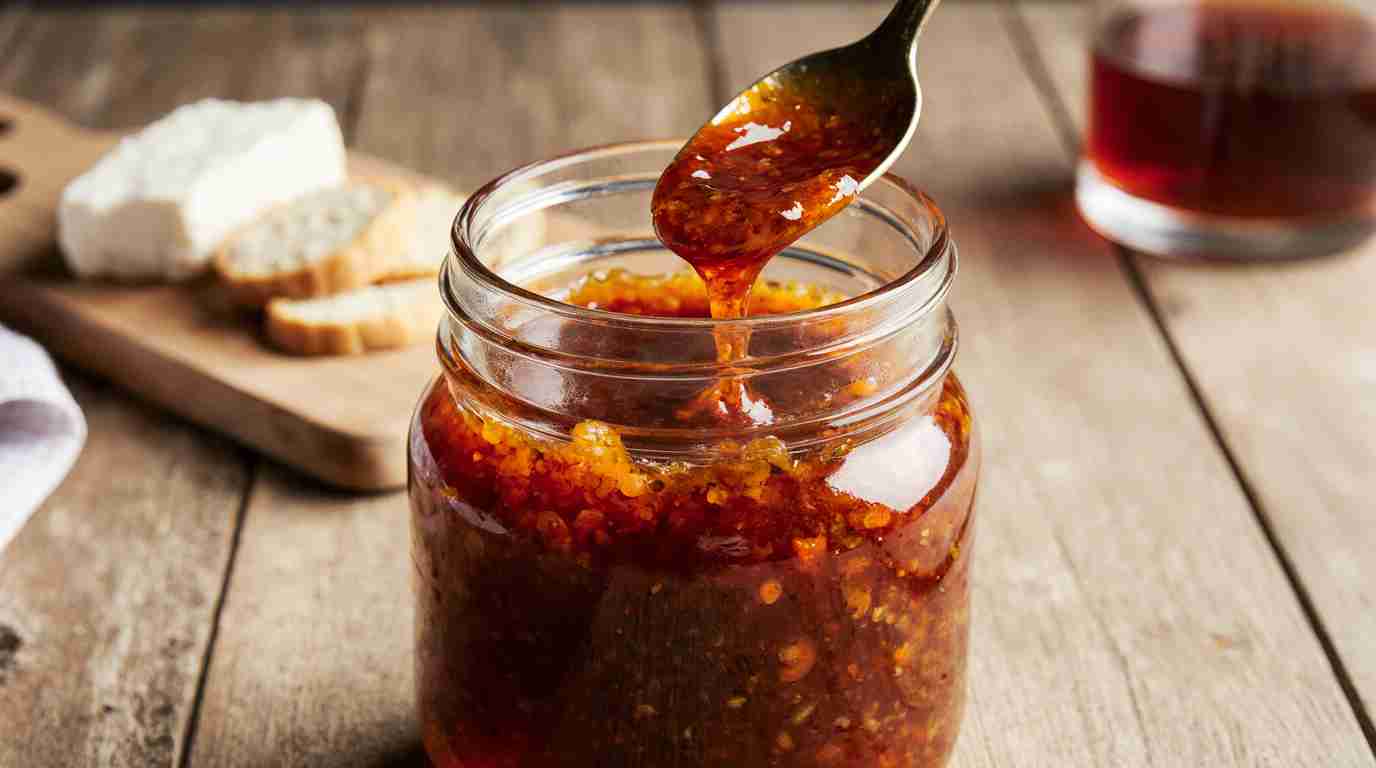
Canning Hot Pepper Jelly is the ultimate way to bring a burst of sweet heat to your table all year long. This homemade jelly combines fiery peppers with tangy vinegar and just the right amount of sugar for a perfectly balanced flavor. Spread it over cream cheese and crackers, serve it as a dip, or use it as a glaze for meats and seafood, the possibilities are endless.
With simple ingredients and an easy canning process, you’ll have vibrant jars of jewel-toned jelly ready to enjoy or gift. Perfect for spice lovers, this recipe delivers bold flavor in every bite.
Jump To :
What is Canning Hot Pepper Jelly?
Hot Pepper Jelly is a jewel-toned condiment that brilliantly combines the sweetness of fruit preserves with the fiery kick of chili peppers. This unique combination creates a versatile spread that can be used in countless ways, from appetizers to main courses. Traditionally made with pectin for thickening, vinegar for preservation, and a generous amount of sugar to balance the heat, hot pepper jelly is a delightful dance of flavors that awakens your taste buds.
The canning process ensures a long shelf life, so you can enjoy your homemade jelly throughout the year. Ready to turn up the heat in your kitchen? Grab your peppers and let’s make some delicious Canning Hot Pepper Jelly!
Key Ingredients for Canning Hot Pepper Jelly:
- 4 cups finely chopped hot peppers: A mix of peppers like jalapeños, serranos, and habaneros (with seeds removed for less heat) is recommended for a complex flavor profile. Wear gloves when handling hot peppers!
- 6 cups granulated sugar: Sugar plays a crucial role in preserving the jelly and balancing the heat of the peppers.
- 2 cups cider vinegar: Vinegar is essential for acidity and helps with the setting process, ensuring the jelly reaches the correct consistency. Use cider vinegar for best flavor.
- 1 cup water: This helps create the base liquid for the jelly.
- 1 package (1.75 ounces) powdered pectin: Pectin is the key ingredient that binds everything together, creating the jelly’s signature texture. Be sure to use fresh pectin for optimal results.
- 1/4 cup bottled lemon juice : For extra acidity and to enhance flavors.
How to Make Canning Hot Pepper Jelly:
This recipe brings a symphony of sweet and spicy, delivering a surprisingly easy yet unforgettable culinary experience. The preparation time is approximately 20 minutes, and the cooking time rounds to another 20, giving you a total of just 40 minutes to create a batch of this delightfully ambrosial condiment.
The simple process and the explosive flavor will make you forget the store bought jelly. Ready for an explosion of flavor? Let’s get started!
Step-by-Step Instructions:
- Prepare Jars and Lids: Wash canning jars (half-pint or pint size) in hot, soapy water. Rinse well and keep them hot until ready to use. You can keep them hot in a simmering pot of water or in a low-temperature oven (200°F). Place new lids in a saucepan, cover with water, and bring to a simmer. Keep hot until ready to use.
- Combine Ingredients: In a large, heavy-bottomed saucepan, combine the chopped hot peppers, sugar, cider vinegar, water, and lemon juice. Stir well to dissolve the sugar.
- Bring to a Boil: Bring the mixture to a full rolling boil over high heat, stirring constantly to prevent sticking. A full rolling boil is one that cannot be stirred down.
- Add Pectin: Once the mixture is at a full rolling boil, quickly stir in the powdered pectin. Stir constantly for 1 minute, ensuring the pectin is fully dissolved.
- Continue Boiling: Return the mixture to a full rolling boil and continue boiling for exactly 1 minute, stirring constantly. This ensures the jelly sets properly.
- Remove from Heat: Remove the saucepan from the heat. Skim off any foam that may have formed on the surface using a metal spoon.
- Ladle into Jars: Carefully ladle the hot jelly into the prepared jars, leaving ¼ inch of headspace at the top.
- Remove Air Bubbles: Use a non-metallic utensil (like a plastic knife or chopstick) to gently push out any trapped air bubbles from the sides of the jar.
- Wipe Jar Rims: Wipe the rims of the jars clean with a damp paper towel to ensure a good seal.
- Center Lids and Apply Bands: Center the lids on the jars and apply the bands, tightening them fingertip-tight.
- Process in a Water Bath Canner: Place the jars in a boiling water bath canner. The water should cover the jars by at least 1 inch. Bring the water to a rolling boil and process for 10 minutes for half-pint jars or 15 minutes for pint jars. Adjust processing time for altitude (add 1 minute for every 1,000 feet above sea level).
- Cool and Check Seals: Turn off the heat and let the jars sit in the canner for 5 minutes before carefully removing them with a jar lifter. Place the jars on a towel-lined surface and let them cool completely for 12-24 hours. As the jars cool, you should hear a “pop” sound, indicating that the lids have sealed properly.
- Check Seals: After the jars have cooled completely, check the seals. Press down on the center of each lid. If the lid doesn’t flex or “give” when you press on it, the jar is sealed. If the lid flexes, the jar is not properly sealed and should be reprocessed with a new lid or stored in the refrigerator for immediate use.
- Store: Store sealed jars in a cool, dark place. Properly canned hot pepper jelly can last for up to 1 year.
Why You’ll Love This Canning Hot Pepper Jelly

The main highlight of this Hot Pepper Jelly is its captivating sweet and spicy flavor profile. Unlike typical fruit preserves, this jelly delivers a fiery punch that tantalizes your taste buds and adds excitement to any dish. Making your own hot pepper jelly at home is incredibly cost-effective. Store-bought versions are often expensive, but with this recipe, you can create a generous batch using inexpensive ingredients from your local grocery store or even your own garden.
The flavorful toppings or ingredients that make this jelly special are the combination of carefully selected peppers – jalapeños, serranos, and even a touch of habanero – creating a complex and nuanced heat, that adds a personal element to your jelly. It’s a world apart from your regular raspberry jam! Ready to experience the sweet heat? Try this Canning Hot Pepper Jelly recipe today!
What to Serve Canning Hot Pepper Jelly With:
- Crackers and Cream Cheese: This classic combination is a crowd-pleaser and perfect for parties.
- Grilled Cheese Sandwiches: Elevate your grilled cheese with a smear of hot pepper jelly for a sweet and savory twist.
- Glazed Meats: Use it as a glaze for grilled chicken, pork tenderloin, or salmon for a sticky, flavorful finish.
- Breakfast Toast: Spread it on toast or bagels for a spicy start to your day.
- Charcuterie Boards: Add a jar of hot pepper jelly to your charcuterie board for a sweet and spicy element that complements cheeses and meats.
Pork Tenderloin with Pepper Jelly Glaze: A savory and sweet main course.
Top Tips for Perfecting Canning Hot Pepper Jelly:
- Adjust the Heat: Control the heat level by adjusting the type and amount of peppers used. Remove the seeds and membranes for a milder heat.
- Use Fresh Pectin: For best results, use fresh pectin that hasn’t expired. Old pectin may not set properly.
- Chop Peppers Finely: Chop the peppers very finely to ensure even distribution of heat and flavor throughout the jelly. A food processor can be helpful for this step.
- Monitor the Boil: Pay close attention to the boiling process and ensure it reaches a full rolling boil before adding the pectin.
- Proper Sealing: Ensure proper sealing by following the canning instructions carefully. Improperly sealed jars can cause spoilage.
5 Facts about Canning Hot Pepper Jelly:
- Hot pepper jelly originated in the Southern United States.
- The first published recipe for hot pepper jelly appeared in the 1970s.
- It can be made with a variety of peppers, each lending a unique flavor and heat level.
- Hot pepper jelly is a versatile condiment that can be used in both sweet and savory dishes.
- Homemade hot pepper jelly makes a thoughtful and delicious gift.
Storing and Reheating Tips:
- Storing: Properly sealed jars of hot pepper jelly can be stored in a cool, dark place for up to 1 year. Once opened, store in the refrigerator.
- Refrigerating: Once opened, hot pepper jelly should be stored in the refrigerator and will last for several weeks.
- Freezing: While technically possible, freezing hot pepper jelly is not recommended as it can alter the texture. However, if you must freeze it, use airtight containers and thaw in the refrigerator before using.
Final Thoughts:
Canning Hot Pepper Jelly isn’t just a recipe; it’s an experience. It’s about taking simple ingredients and transforming them into something truly special. It’s about adding a personal touch to your meals and sharing that creativity with friends and family. Whether you’re a canning enthusiast or just looking to add some excitement to your pantry, this recipe is sure to impress.
And with the knowledge of correct preparation, storage capacity of the jelly and other valuable tips, you are able to perform and have the best Canning Hot Pepper Jelly in town!
Read More also:
- Canning Bone Broth
- Canning Beef Broth
- Canning Chicken Broth with Vegetables
- Canning Turkey Broth
- Canning Mushroom Soup
- Canning Apricot Jam Recipe
- Canning Fig Jam Recipe
- Canning Plum Jam
- Our Pinterest
Canning Hot Pepper Jelly FAQs:
Q: Can I use different types of peppers?
A: Absolutely! Feel free to experiment with different combinations of peppers to create your preferred heat level and flavor profile.
Q: How long does hot pepper jelly last?
A: Properly canned and sealed jars can last up to 1 year in a cool, dark place. Once opened, store in the refrigerator for several weeks.
Q: My jelly didn’t set. What did I do wrong?
A: Several factors can prevent jelly from setting, including old pectin, insufficient boiling time, or incorrect ratios of ingredients. Make sure to use fresh pectin, follow the recipe precisely, and ensure the mixture reaches a full rolling boil for the specified time.
Q: Can I reduce the amount of sugar?
A: Reducing the sugar can affect the setting process and overall preservation. It’s best to stick to the recommended amount. If you want a less sweet jelly, consider using a low-sugar pectin.
Q: Do I need to wear gloves when handling hot peppers?
A: Yes! It’s highly recommended to wear gloves when handling hot peppers to avoid skin irritation.
Print
Canning Hot Pepper Jelly
- Total Time: 40 minutes
- Yield: 6–8 half-pint jars 1x
Description
Hot Pepper Jelly is a jewel-toned condiment that brilliantly combines the sweetness of fruit preserves with the fiery kick of chili peppers. The canning process ensures a long shelf life, so you can enjoy your homemade jelly throughout the year.
Ingredients
- 4 cups finely chopped hot peppers (jalapeños, serranos, habaneros, seeds removed if less heat is desired)
- 6 cups granulated sugar
- 2 cups cider vinegar
- 1 cup water
- 1 package (1.75 oz) powdered pectin
- 1/4 cup bottled lemon juice
Instructions
- Wash and sterilize jars and lids, keeping them hot until use.
- In a large saucepan, combine peppers, sugar, vinegar, water, and lemon juice. Stir well.
- Bring to a full rolling boil, stirring constantly.
- Stir in powdered pectin and boil for 1 minute.
- Remove from heat and skim off any foam.
- Ladle jelly into jars, leaving 1/4 inch headspace.
- Remove air bubbles and wipe rims clean.
- Center lids and screw on bands fingertip-tight.
- Process in boiling water bath canner for 10 minutes (half-pint) or 15 minutes (pint). Adjust for altitude.
- Let jars cool 12–24 hours and check seals.
- Store sealed jars in a cool, dark place for up to 1 year.
Notes
Wear gloves when handling hot peppers. Properly canned jelly lasts up to 1 year.
- Prep Time: 20 minutes
- Cook Time: 20 minutes
- Category: Condiment
- Method: Canning
- Cuisine: American
Nutrition
- Serving Size: 1 tablespoon
- Calories: 55
- Sugar: 14g
- Sodium: 0mg
- Fat: 0g
- Saturated Fat: 0g
- Unsaturated Fat: 0g
- Trans Fat: 0g
- Carbohydrates: 14g
- Fiber: 0g
- Protein: 0g
- Cholesterol: 0mg

