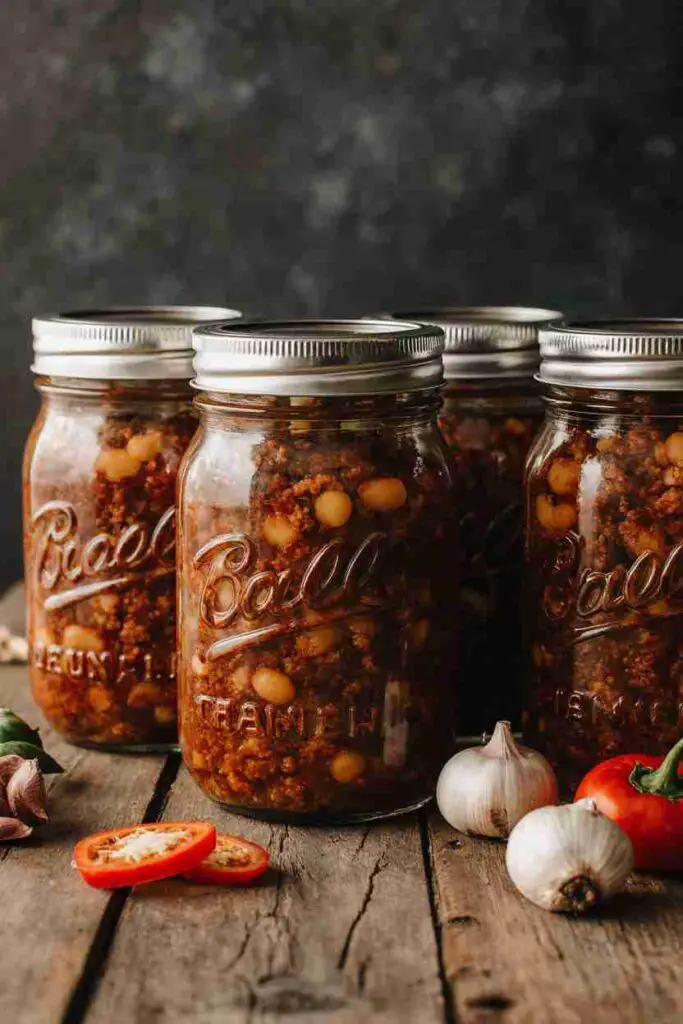
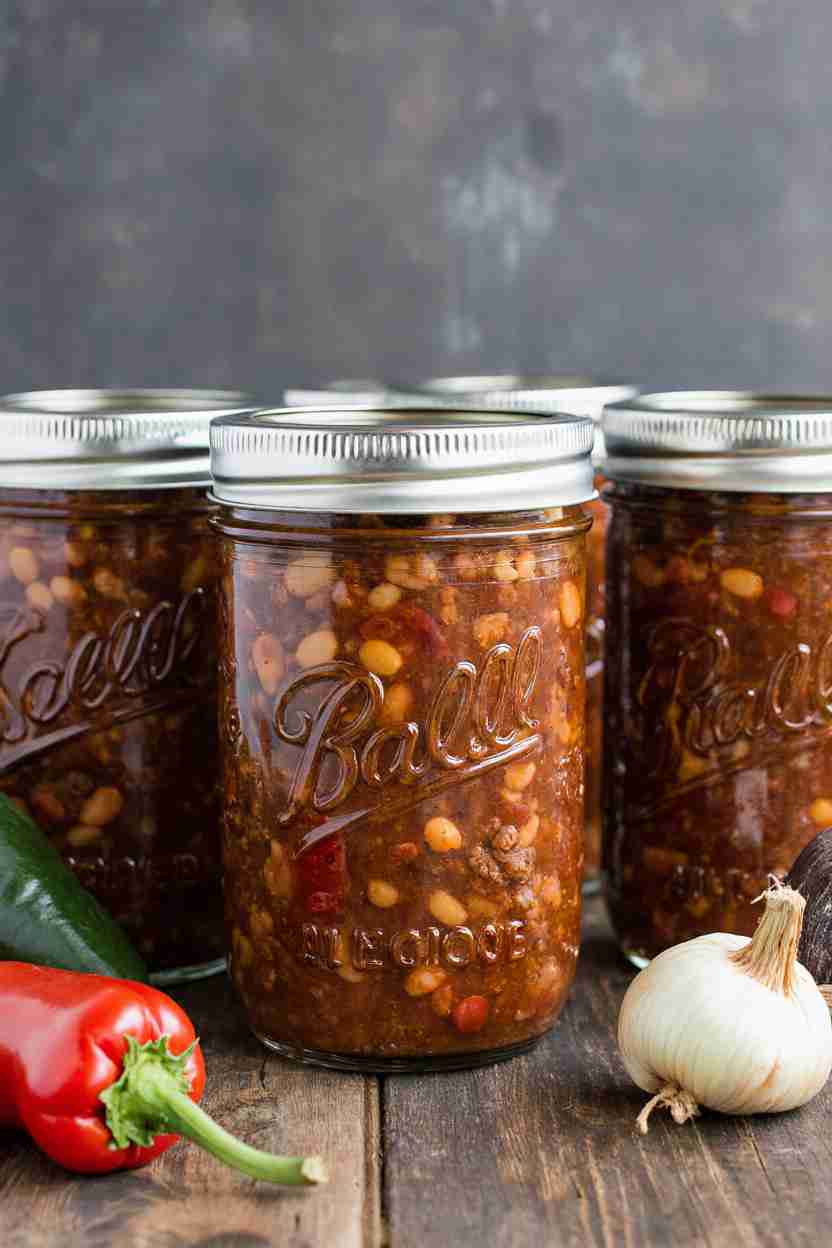
Canning Chili is the perfect recipe for anyone who loves hearty, flavorful meals that are ready whenever you are. This pressure-canned chili combines lean ground beef, beans, tomatoes, and a blend of bold spices, creating a rich and satisfying dish that’s shelf-stable for months. Whether you’re meal prepping, stocking your pantry for emergencies, or planning for camping trips, this homemade chili recipe ensures you’ll always have a comforting meal on hand.
Unlike store-bought versions, you control the ingredients, spice level, and freshness. Follow this easy step-by-step guide to safely can your own delicious chili at home.
Jump To :
What is Canning Chili?
Canning chili is a method of preserving a hearty, bean, and meat stew by sealing it in jars and processing it with heat to destroy harmful bacteria. This allows you to store chili at room temperature for an extended period, making it ideal for emergency preparedness, camping trips, or simply enjoying a quick and satisfying meal anytime. Unlike store-bought chili, homemade canned chili allows you to control the ingredients, ensuring high quality and your preferred level of spice.
It’s a rewarding process that results in a delicious, ready-to-eat meal that you can proudly call your own. So, roll up your sleeves, gather your ingredients, and let’s create a pantry full of deliciousness! Give this Canning Chili recipe a try and experience the joy of homemade, shelf-stable comfort food!
Key Ingredients for Canning Chili:
- 2 lbs Ground Beef: Use lean ground beef (90/10) for less fat. Brown it thoroughly before adding it to the chili.
- 1 large Onion, chopped: Yellow or white onion works well. Chop finely for even cooking.
- 2 cloves Garlic, minced: Adds a pungent flavor. Use fresh garlic for the best taste.
- 2 (15 oz) cans Kidney Beans, drained and rinsed: Rinsing removes excess starch and sodium.
- 2 (15 oz) cans Pinto Beans, drained and rinsed: Adds a variety of textures and flavors.
- 1 (28 oz) can Diced Tomatoes, undrained: Adds a rich tomato base to the chili.
- 1 (15 oz) can Tomato Sauce: Thickens the chili and adds sweetness.
- 1 (6 oz) can Tomato Paste: Concentrated tomato flavor, thickens the chili further.
- 1 Green Bell Pepper, chopped: Adds a mild, slightly sweet flavor and vibrant color.
- 1-2 Jalapeño Peppers, seeded and minced (optional): For a spicy kick! Adjust the amount to your preference.
- 1/4 cup Chili Powder: The foundation of chili flavor. Use a high-quality chili powder for the best results.
- 2 tbsp Cumin: Adds a warm, earthy flavor.
- 1 tbsp Smoked Paprika: Adds a smoky depth of flavor.
- 1 tsp Dried Oregano: Adds a herbaceous note.
- 1 tsp Salt: Enhances the other flavors. Adjust to your liking.
- 1/2 tsp Black Pepper: Adds a subtle spice.
- 1/2 cup Water or Beef Broth: To adjust the consistency of the chili.
- 2 tbsp Vinegar (5% acidity): Required for safe canning to lower the pH of the mixture. White vinegar or apple cider vinegar are both acceptable.
How to Make Canning Chili:
Get ready to enjoy a satisfying batch of homemade Canning Chili. This recipe makes approximately 6-pint jars of hearty and delicious chili. With a prep time of around 20 minutes and a cooking time of about 2 hours, you’ll have a pantry full of delightful homemade chili ready to enjoy anytime.
The best part? This chili is incredibly easy to make and bursting with flavor. Let’s get started so you can enjoy a filling and tasty canned chili!
Step-by-Step Instructions:
- Prepare the Jars: Wash canning jars and lids in hot, soapy water. Rinse well. Place jars in a simmering water bath to keep them hot until ready to fill. Heat lids in a separate saucepan of simmering water (do not boil).
- Brown the Ground Beef: In a large pot or Dutch oven, brown the ground beef over medium-high heat. Drain off any excess grease.
- Sauté Aromatics: Add the chopped onion and minced garlic to the pot with the browned beef. Cook until the onion is softened, about 5 minutes.
- Add Remaining Ingredients: Stir in the kidney beans, pinto beans, diced tomatoes (with juice), tomato sauce, tomato paste, green bell pepper, jalapeño peppers (if using), chili powder, cumin, smoked paprika, dried oregano, salt, and black pepper.
- Simmer: Add the water or beef broth. Bring the mixture to a simmer, then reduce the heat to low, cover, and simmer for at least 1 hour, or up to 2 hours, stirring occasionally to prevent sticking. This step is crucial for developing the flavors.
- Add Vinegar: Stir in the vinegar. This is essential for safe canning as it lowers the pH.
- Fill the Jars: Remove jars from the hot water bath, one at a time. Using a jar lifter and funnel, carefully fill each jar with the hot chili, leaving 1-inch headspace. Headspace is the empty space between the top of the chili and the lid.
- Remove Air Bubbles: Use a non-metallic spatula or bubble remover to gently slide down the inside of the jar to release any trapped air bubbles. Adjust the headspace if necessary.
- Wipe Jar Rims: Wipe the rim of each jar with a clean, damp cloth to ensure a good seal.
- Place Lids and Rings: Place a lid on each jar, then screw on a band until it is fingertip tight (snug, but not forced).
- Process in a Pressure Canner: Place the jars in a pressure canner. Add water to the canner following the manufacturer’s instructions (usually about 2-3 inches of water).
- Processing Time: Lock the lid of the pressure canner and bring to the required pressure (follow pressure canner instructions for use and safety procedures). For altitudes of 0-1000 feet, process pint jars for 75 minutes at 11 lbs of pressure and quart jars for 90 minutes at 11 lbs of pressure. Adjust processing time and pressure according to your altitude (consult your pressure canner’s manual or a reputable canning resource like the National Center for Home Food Preservation).
- Cool and Check Seals: Once the processing time is complete, turn off the heat and allow the pressure to return to zero naturally. Carefully remove the lid (venting away from your face). Let the jars sit in the canner for 10 minutes before removing them.
- Cool Completely: Remove the jars from the canner and place them on a towel-lined surface to cool completely. Avoid bumping or tilting the jars during cooling.
- Verify Seals: After the jars have cooled completely (usually 12-24 hours), check the seals. The lid should be concave (curved downward) and not flex when pressed.
- Label and Store: Remove the rings, label the jars with the date, and store them in a cool, dark, and dry place.
Why You’ll Love This Canning Chili

This Canning Chili recipe is a guaranteed crowd-pleaser thanks to its hearty, flavorful combination of beans, meat, and spices. The simmering process melds all the ingredients together, resulting in a rich and deeply satisfying chili that rivals any restaurant version. Not only does it taste amazing, but making it at home is also incredibly cost-effective. You can easily feed a large family for a fraction of the price compared to buying individual servings of chili. Plus, you get to control the quality of ingredients and customize the spice level to your preference.
Adding a dollop of sour cream, shredded cheese, or chopped green onions elevates this chili to the next level of deliciousness. The creamy coolness of sour cream complements the savory heat of the chili perfectly. For a tangier flavor, consider stirring in a spoonful of Greek yogurt. Now that you’ve got that down, explore different versions of this classic chili, like a vegetarian option with sweet potatoes and black beans to discover something new. What are you waiting for? Grab your pot and start canning!
What to Serve Canning Chili With:
Canning Chili is a versatile dish that pairs well with a variety of sides and condiments. Consider serving it with:
- Cornbread: A classic pairing!
- Tortilla Chips and Guacamole: For a Southwestern twist.
- Sour Cream, Shredded Cheese, and Green Onions: Customizable toppings.
- A Side Salad: For a light and refreshing contrast.
Top Tips for Perfecting Canning Chili:
- Use Quality Ingredients: The better the ingredients, the better the chili. Invest in good quality ground beef, spices, and canned goods.
- Don’t Skip the Simmering: Allowing the chili to simmer for at least an hour (or longer) is crucial for developing the flavors.
- Taste and Adjust: Taste the chili throughout the cooking process and adjust the seasonings as needed.
- Be Precise with Headspace: Maintaining the proper headspace is essential for a good seal.
- Adjust for Altitude: Be sure to adjust the processing time and pressure according to your altitude to ensure safe canning.
- Consider using a commercial chili seasoning: This will reduce the number of individual spices needed and guarantee a good flavor. Note, be sure to still add acidity.
5 Facts about Canning Chili:
- Shelf-Stable: Properly canned chili can be stored at room temperature for up to a year or more.
- Convenient Meal: It’s a quick and easy meal option for busy weeknights or camping trips.
- Customizable: You can easily adjust the ingredients and spice level to your preference.
- Cost-Effective: Making chili at home is much cheaper than buying canned chili from the store.
- Emergency Preparedness: Canned chili is a great addition to any emergency food supply.
Storing and Reheating Tips:
Storing Canned Chili: After processing, ensure that the jars have properly sealed. Store sealed jars in a cool, dark, and dry place, away from direct sunlight and temperature fluctuations. Properly canned chili can be stored for up to a year or more. Discard any jars that show signs of spoilage, such as bulging lids, leaks, or an unusual odor.
Reheating Canned Chili: To reheat, simply open a jar and pour the chili into a saucepan. Heat over medium heat until warmed through, stirring occasionally. You can also microwave it in a microwave-safe bowl, heating in intervals and stirring in between. Serve hot with your favorite toppings.
Freezing Canned Chili (Not Recommended): While you can technically freeze opened canned chili, it is not recommended to freeze the contents directly in the jar. It may crack. The texture and quality of the chili is likely to degrade significantly upon thawing and reheating.
Final Thoughts:
This Canning Chili Recipe is a fantastic way to enjoy the flavors of fall and winter all year round. With its hearty blend of beans, meat, and spices, it’s a satisfying and comforting meal that’s perfect for any occasion. By following these simple steps and tips, you can safely can your chili and enjoy homemade goodness whenever you crave it. Give it a try and taste the difference!
Read More also:
- Canning Bone Broth
- Canning Beef Broth
- Canning Chicken Broth with Vegetables
- Canning Turkey Broth
- Canning Mushroom Soup
- Canning Apricot Jam Recipe
- Canning Fig Jam Recipe
- Canning Plum Jam
- Our Pinterest
Canning Chili FAQs:
- Is canning chili safe? Yes, it is safe as long as you follow a tested recipe and use proper canning techniques, including adding vinegar to lower the pH and processing the jars in a pressure canner for the correct amount of time.
- Can I use dried beans in this recipe? Yes, but you will need to cook them first before adding them to the chili. Soak dried beans overnight, then cook them until tender before adding them to the chili recipe.
- Can I add other vegetables to this chili? Sure! Feel free to add other vegetables like corn, carrots, or zucchini. Just be sure to chop them into small pieces so they cook evenly. Do not add squash.
- What if my jars don’t seal? If a jar doesn’t seal within 24 hours, store it in the refrigerator and use it within a week.
- Can I reduce the amount of meat? Yes, you can reduce the amount of meat and increase the amount of beans or vegetables, if you prefer. Be sure to keep the ratio of solids to liquids consistent.
- Do I need a pressure canner to can chili? YES! A pressure canner is required to safely can chili because it is not a high-acid food. If you don’t have a pressure canner, you should freeze your chili instead.

Canning Chili
- Total Time: 2 hours 20 minutes
- Yield: 6 pint jars 1x
Description
Canning chili is a hearty, bean and meat stew preserved in jars for long shelf life. Perfect for meal prep, camping, or emergency food storage, it delivers rich flavors with customizable spice levels.
Ingredients
- 2 lbs Ground Beef (lean 90/10)
- 1 large Onion, chopped
- 2 cloves Garlic, minced
- 2 (15 oz) cans Kidney Beans, drained and rinsed
- 2 (15 oz) cans Pinto Beans, drained and rinsed
- 1 (28 oz) can Diced Tomatoes, undrained
- 1 (15 oz) can Tomato Sauce
- 1 (6 oz) can Tomato Paste
- 1 Green Bell Pepper, chopped
- 1–2 Jalapeño Peppers, seeded and minced (optional)
- 1/4 cup Chili Powder
- 2 tbsp Cumin
- 1 tbsp Smoked Paprika
- 1 tsp Dried Oregano
- 1 tsp Salt
- 1/2 tsp Black Pepper
- 1/2 cup Water or Beef Broth
- 2 tbsp Vinegar (5% acidity)
Instructions
- Wash jars and lids in hot soapy water, rinse well. Keep jars hot in simmering water.
- Brown ground beef in a large pot, drain excess grease.
- Add onion and garlic, cook until softened.
- Stir in beans, diced tomatoes, tomato sauce, tomato paste, bell pepper, jalapeños, and spices.
- Add broth or water, simmer covered 1-2 hours, stirring occasionally.
- Stir in vinegar before filling jars.
- Fill jars with hot chili leaving 1-inch headspace.
- Remove air bubbles, wipe rims, and apply lids and rings fingertip tight.
- Process in a pressure canner: pints 75 min at 11 lbs, quarts 90 min at 11 lbs (adjust for altitude).
- Allow pressure to return to zero, remove jars after 10 min rest.
- Cool jars on towel-lined surface 12-24 hours.
- Check seals, label, and store in a cool dark place.
Notes
Makes approx. 6 pint jars. Always use a pressure canner for safety. Customize spice level with jalapeños. Great served with sour cream, shredded cheese, or green onions.
- Prep Time: 20 minutes
- Cook Time: 2 hours
- Category: Main Dish
- Method: Pressure Canning
- Cuisine: American
Nutrition
- Serving Size: 1 cup
- Calories: 280
- Sugar: 6g
- Sodium: 720mg
- Fat: 12g
- Saturated Fat: 5g
- Unsaturated Fat: 6g
- Trans Fat: 0g
- Carbohydrates: 26g
- Fiber: 8g
- Protein: 20g
- Cholesterol: 55mg

