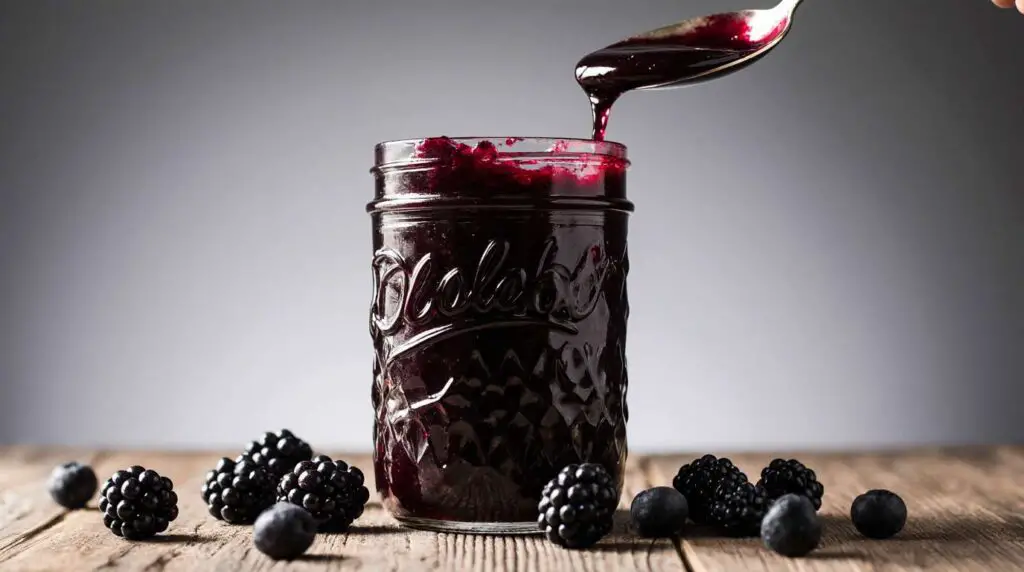
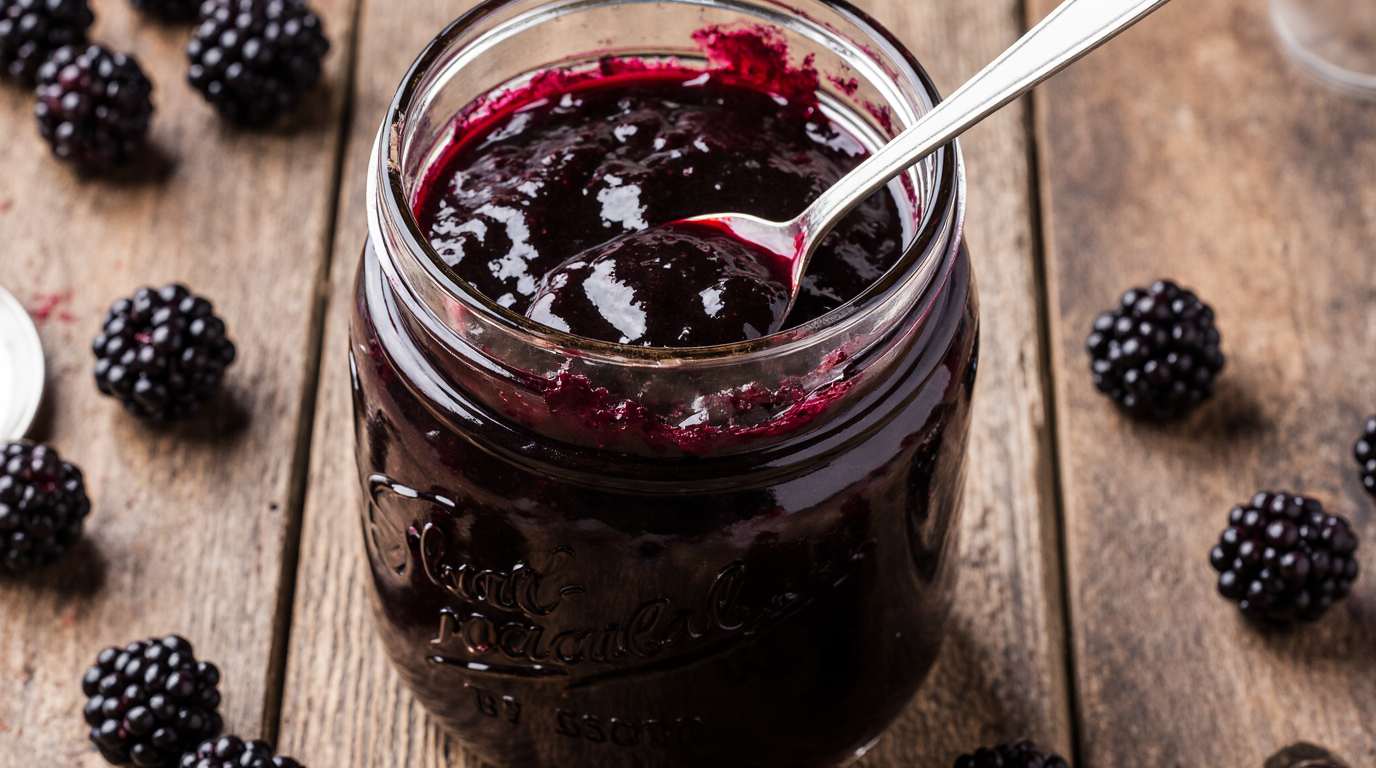
Homemade Blackberry Jam is the perfect way to preserve the taste of summer all year long. Made with fresh blackberries, sugar, lemon juice, and pectin, this easy recipe delivers a rich, tangy-sweet flavor that spreads beautifully on toast, biscuits, or desserts. Whether you’re new to canning or an experienced preserver, this step-by-step blackberry jam recipe is simple, reliable, and delicious.
By capturing the natural tartness of ripe blackberries, you’ll enjoy a vibrant, fruity jam that’s as wholesome as it is satisfying. Try this recipe today and bring the taste of fresh-picked blackberries to your pantry.
Jump To :
What is Blackberry Jam?
Blackberry jam is a sweet, fruity spread made by cooking blackberries with sugar and pectin until it thickens into a smooth, glistening preserve. Unlike some other jams, homemade blackberry jam bursts with the natural tartness of the berries, providing a delightful counterpoint to its sweetness. The canning process allows you to safely store the jam at room temperature for an extended period, capturing the essence of summer’s bounty.
This wild berry preserve is particularly special because it allows you to enjoy the true, untamed flavor of blackberries, reminiscent of picking them straight from the brambles. If you’ve ever wanted to capture that fresh-picked flavor in a jar, this is the recipe for you. Why not try it today and bring a little bit of summer into your kitchen all year round?
Key Ingredients for Blackberry Jam:
- 6 cups Fresh Blackberries: Use ripe, plump blackberries for the best flavor. Gently rinse them under cool water and remove any stems or leaves.
- 4 1/2 cups Granulated Sugar: Sugar not only sweetens the jam but also acts as a preservative and helps with the gelling process.
- 1/4 cup Lemon Juice: Lemon juice adds acidity, which is essential for proper pectin setting and also enhances the blackberry flavor. Freshly squeezed lemon juice is recommended.
- 6 tablespoons Powdered Pectin: Pectin is a natural fiber found in fruits that helps the jam thicken. Use a powdered fruit pectin specifically designed for jam and jelly making.
How to Make Blackberry Jam:
This blackberry jam recipe is surprisingly easy to make, requiring just a few simple steps to transform fresh berries into a delicious preserve. The natural sweetness of the blackberries combined with a touch of lemon and pectin results in a perfectly balanced, intensely flavored jam. With a preparation time of around 30 minutes, it’s a quick and rewarding project.
Step-by-Step Instructions:
1. Prepare the Jars and Canner:
- Place seven (8-ounce) canning jars on a rack in a boiling-water canner. Fill the canner with enough water to cover the jars by at least 1 inch. Bring the water to a simmer over medium heat.
- Wash the lids and bands in hot, soapy water. Rinse well and set aside. You don’t need to boil lids made after 2023.
2. Prepare the Blackberries:
- Rinse the blackberries gently under cool water. Remove any stems, leaves, or damaged berries.
- Place the blackberries in a large, heavy-bottomed saucepan or pot.
3. Cook the Blackberries:
- Use a potato masher or the back of a spoon to crush the blackberries slightly, releasing their juices.
- Stir in the granulated sugar and lemon juice.
- Place the saucepan over medium-high heat and bring the mixture to a full rolling boil that cannot be stirred down, stirring constantly to prevent sticking.
4. Add the Pectin:
- Quickly stir in the powdered pectin to make sure any clumps don’t form.
- Continue stirring constantly and bring the mixture back to a full rolling boil that cannot be stirred down. Boil hard for exactly 1 minute, stirring constantly.
5. Check for Gelling:
- Remove the saucepan from the heat. To test for gelling, place a small spoonful of jam on a chilled plate and put in the freezer for 1 minute. Tilt the plate. If the jam sets up and doesn’t run easily, it’s ready. If the jam is still runny, return the saucepan to the heat and boil for another minute, then test again.
6. Fill the Jars:
- Remove the hot jars from the canner one at a time, using jar lifters. Place them on a heat-resistant surface lined with a towel.
- Ladle the hot jam into the jars, leaving 1/4 inch of headspace (the space between the top of the jam and the rim of the jar).
- Remove any air bubbles by gently tapping the jars on the counter or using a non-metallic spatula to run along the inside of the jar.
7. Seal the Jars:
- Wipe the rims of the jars with a clean, damp cloth to remove any spills or drips.
- Place a lid on each jar, centering it on the rim.
- Screw on a band until it is fingertip tight (snug but not too tight).
8. Process the Jars in the Boiling-Water Canner:
- Carefully lower the filled jars into the boiling-water canner using jar lifters. Make sure the water covers the jars by at least 1 inch. If needed, add more boiling water.
- Bring the water back to a rolling boil.
- Process the jars for 10 minutes. Adjust the processing time based on your altitude using a canning chart for accurate processing times.
- Turn off the heat and let the jars sit in the canner for 5 minutes before removing them
9. Cool and Check the Seals:
- Carefully remove the jars from the canner using jar lifters and place them on a heat-resistant surface lined with a towel. Leave at least 1 inch of space between the jars.
- Let the jars cool completely, undisturbed, for 12-24 hours. As the jars cool, you should hear a “popping” sound as the lids seal.
- After cooling, check that each jar has sealed properly by pressing down on the center of the lid. If the lid doesn’t flex or pop back up, it’s sealed.
- If any jars didn’t seal, you can either reprocess them with new lids or store them in the refrigerator for immediate use.
10. Store the Jam:
- Remove the bands from the sealed jars (they can rust if left on).
- Wipe the jars clean and label them with the date and contents.
- Store the sealed jars in a cool, dark, and dry place for up to 18 months.
Why You’ll Love This Blackberry Jam

This blackberry jam is a taste of summer captured in a jar! The bright, tart flavor that’s reminiscent of foraging the brambles is the main highlight. Making your own blackberry jam at home is also a wonderful way to save money compared to buying store-bought preserves.
Not only will you save money, but you will also know exactly what ingredients are in the jam since there are no added stabilizers. Finally, the rich, deep color and intense blackberry flavor make it special, enhanced by the touch of lemon. If you love homemade spreads, you might also enjoy a classic strawberry jam, but this blackberry version offers a unique and slightly more tangy flavor profile. It’s simple, delicious, and satisfying to make a homemade jam. Come try this Canning Blackberry Jam recipe at home!
What to Serve Blackberry Jam With:
Blackberry jam is incredibly versatile and pairs well with a variety of foods. Here are a few ideas:
- Toast and English Muffins: The classic choice! Spread blackberry jam on warm toast, English muffins, or biscuits for a delicious breakfast or snack.
- Yogurt and Oatmeal: Swirl a spoonful of blackberry jam into plain yogurt or oatmeal for added sweetness and flavor.
- Cheese and Crackers: Serve blackberry jam with soft cheeses like brie or goat cheese, along with crackers, for a sophisticated appetizer.
- Peanut Butter and Jam Sandwiches: Elevate your classic PB&J with homemade blackberry jam.
- Brie Baked: Top a baked brie cheese with blackberry jam. It’s best when the brie is hot-out-of-the oven
Top Tips for Perfecting Blackberry Jam:
- Use Ripe Blackberries: The best jam starts with ripe, juicy blackberries. Avoid using overripe or underripe berries, as they can affect the flavor and texture of the jam.
- Don’t Overcook: Overcooking the jam can result in a tough, rubbery texture. Cook it until it reaches the gel point, but no longer.
- Altitude Adjustments: If you live at a high altitude, you may need to adjust the processing time for canning to ensure a proper seal. Refer to a canning chart for specific recommendations based on your altitude.
- Powdered Pectin Matters: Don’t substitute liquid pectin unless you completely change the quantity of sugar. Liquid pectins are added at different times and the sugar is different.
- Sugar Quantities: Do not reduce sugar quantities as it acts as a preservative for safe canning.
5 Facts about Blackberry Jam:
- Blackberries are a good source of Vitamin C and fiber: They add nutritional value to your breakfast or snacks.
- The history of jam dates back to the Roman Empire: Methods of preserving fruit have existed for centuries.
- Homemade jam contains no artificial preservatives: You know exactly what’s in your jar.
- Making jam can be a therapeutic activity: The process can be calming and rewarding!
- Blackberry jam is a great homemade gift: Show your loved ones you care with a thoughtful, edible present.
Storing and Reheating Tips:
- Sealed Jars: Properly sealed jars of blackberry jam can be stored in a cool, dark, and dry place for up to 18 months. Once a jar is opened, store it in the refrigerator.
- Refrigerated Jam: Opened jars of blackberry jam should be stored in the refrigerator and used within 2-3 weeks.
- Freezing Options: While not ideal, you can freeze blackberry jam in freezer-safe containers for up to 6 months. Thaw in the refrigerator before using. Note that the texture may change slightly after freezing and thawing.
Final Thoughts:
Canning Blackberry Jam is a rewarding way to preserve the flavors of summer and enjoy them all year round. This Wild Berry Preserve Recipe is simple, delicious, and perfect for homemade gifts. So get ready to enjoy them all year round!
Read More also:
- Canning Apple Jelly
- Canning Pear Jelly
- Canning Mint Jelly
- Canning Hot Pepper Jelly
- Canning Mushroom Soup
- Canning Apricot Jam Recipe
- Canning Fig Jam Recipe
- Canning Plum Jam
- Our Pinterest
Blackberry Jam FAQs:
Q: Can I use frozen blackberries for this recipe?
A: Yes, you can use frozen blackberries. Thaw them completely and drain any excess liquid before using in the recipe. They may release more moisture during cooking, so you may need to cook the jam a bit longer to reach the desired consistency.
Q: Can I reduce the amount of sugar in the recipe?
A: The amount of sugar in this recipe is important for both sweetness and preservation. Reducing the sugar may affect the texture and shelf life of the jam. If you want to reduce the sugar, use a low-sugar pectin and follow the instructions on the packaging.
Q: I don’t have lemon juice. Can I use lime juice instead?
A: While lemon juice is preferred for its flavor, you can use lime juice as a substitute, but it may slightly alter the tartness or flavor of the overall flavor of your jam. You can taste it and add more lime or lemon to adjust.
Q: How can I tell if the jam is ready to be canned?
A: The “freezer test” is a good indicator. Place a small spoonful of hot jam on a chilled plate and freeze for 1 minute. If it sets and doesn’t run easily when you tilt the plate, it’s ready. There are also other gelling test that include using a candy thermometer.
Q: What if my jam doesn’t set?
A: If your jam doesn’t set properly, you can try re-cooking it with a bit more lemon juice and pectin. Follow the instructions on the pectin packaging for the re-cooking process.
Print
Blackberry Jam
- Total Time: 30 minutes
- Yield: 7 jars (8-ounce each) 1x
Description
Blackberry Jam is a sweet and tangy homemade preserve made with fresh blackberries, sugar, lemon juice, and pectin. It captures the fresh-picked flavor of summer berries in every jar.
Ingredients
- 6 cups fresh blackberries
- 4 1/2 cups granulated sugar
- 1/4 cup lemon juice (freshly squeezed)
- 6 tablespoons powdered pectin
Instructions
- Prepare the jars and canner by simmering 7 (8-ounce) jars in hot water. Wash lids and bands in hot, soapy water.
- Rinse blackberries gently, removing stems and leaves. Place berries in a large saucepan.
- Crush blackberries slightly to release juices, then stir in sugar and lemon juice. Bring to a rolling boil over medium-high heat, stirring constantly.
- Stir in powdered pectin quickly, mix well, and return to a rolling boil. Boil hard for 1 minute, stirring constantly.
- Test gelling by placing a spoonful on a chilled plate. If it sets, continue; if not, boil 1 more minute and retest.
- Fill hot jars with jam, leaving 1/4 inch headspace. Remove air bubbles and wipe rims clean.
- Seal jars with lids and bands until fingertip tight.
- Process jars in boiling-water canner for 10 minutes (adjust for altitude if needed). Turn off heat, let sit 5 minutes, then remove jars.
- Cool jars undisturbed for 12-24 hours. Check seals—lids should not flex when pressed.
- Remove bands, wipe jars, label, and store in a cool, dark place up to 18 months.
Notes
Use ripe, plump blackberries for the best flavor. Proper canning ensures safe long-term storage.
- Prep Time: 20 minutes
- Cook Time: 10 minutes
- Category: Preserves
- Method: Canning
- Cuisine: American
Nutrition
- Serving Size: 1 tablespoon
- Calories: 50
- Sugar: 12g
- Sodium: 0mg
- Fat: 0g
- Saturated Fat: 0g
- Unsaturated Fat: 0g
- Trans Fat: 0g
- Carbohydrates: 13g
- Fiber: 1g
- Protein: 0g
- Cholesterol: 0mg

