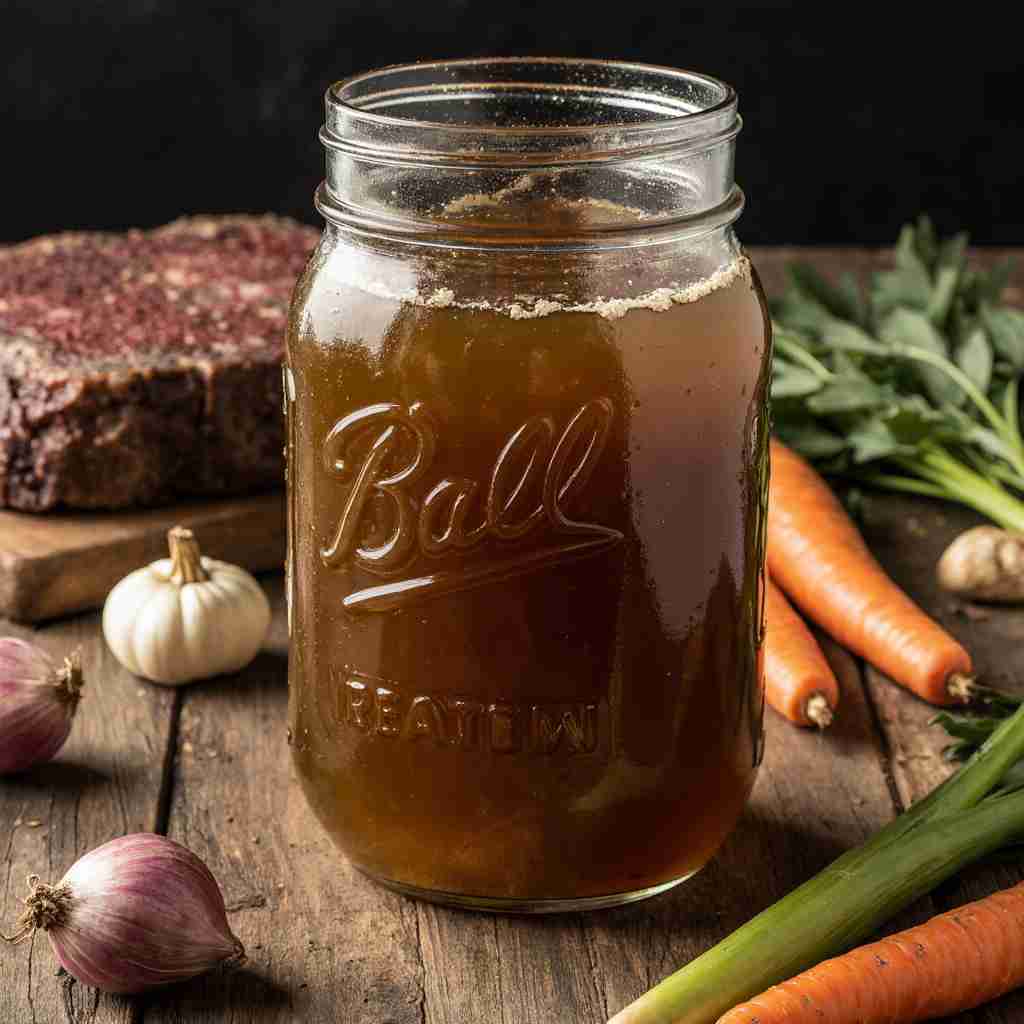
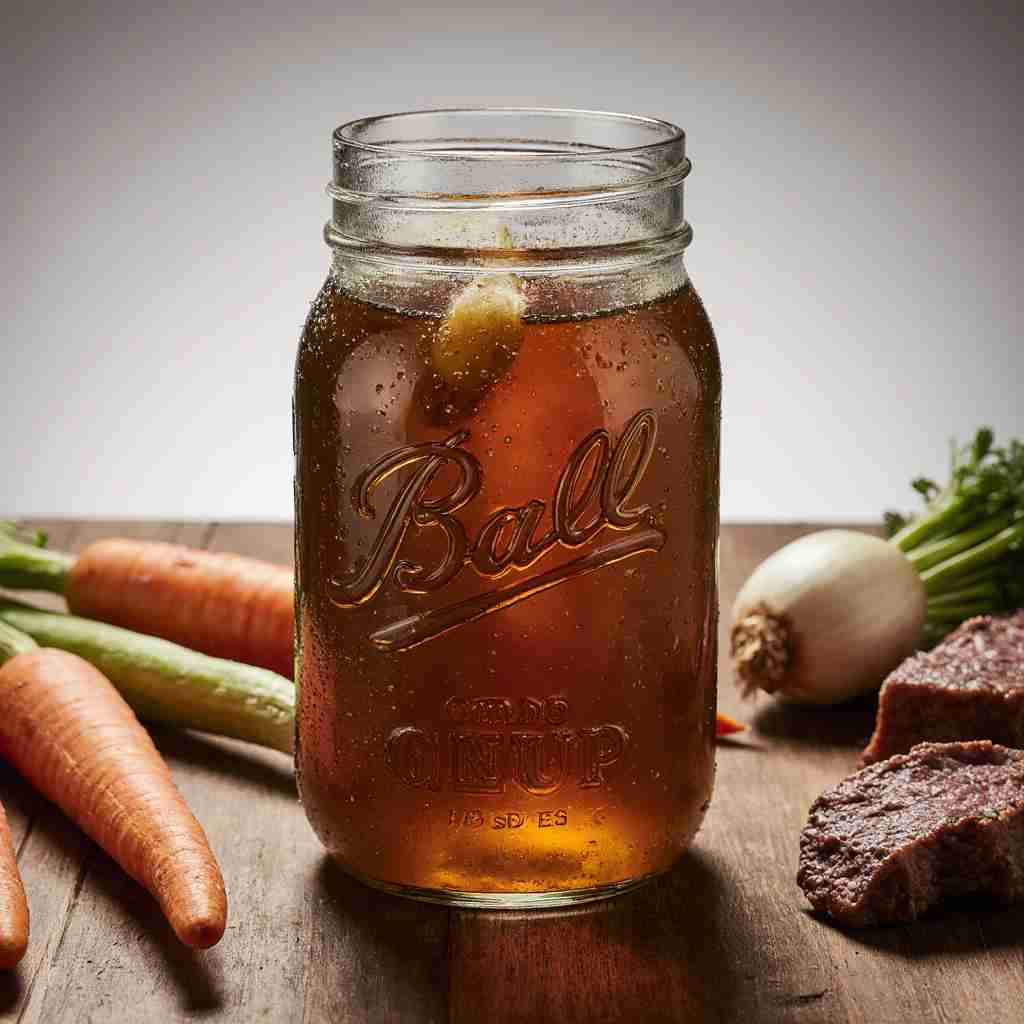
Canning Beef Broth is the ultimate way to preserve rich, flavorful homemade stock made from beef bones, meat, and fresh vegetables. Unlike store-bought broth, this recipe delivers depth of flavor, collagen, and nutrients that elevate soups, stews, sauces, and countless dishes.
By pressure canning, you can store your broth safely at room temperature for up to a year, ensuring a ready supply of high-quality stock in your pantry. This guide walks you through the process step-by-step, from roasting bones for maximum flavor to sealing jars for long-term storage. Homemade canned beef broth is a game-changer in the kitchen.
Jump To :
What is Canning Beef Broth?
Canning Beef Broth is the process of preserving the savory liquid created by simmering beef bones, meat, and vegetables. The resulting broth is packed with flavor, collagen, and nutrients, making it far superior to store-bought alternatives. Canning allows you to safely store this homemade broth at room temperature for extended periods, ensuring you always have a high-quality stock on hand to enhance your culinary creations.
The process involves heating the broth in sterilized jars to a temperature that kills harmful bacteria, then sealing the jars to prevent spoilage. Properly canned beef broth can last for up to a year or more, making it a great way to utilize leftover beef bones and veggie scraps.
Ready to transform your cooking with this essential ingredient? Then get ready to learn how to make and can your own beef broth!
Key Ingredients for Canning Beef Broth:
Here’s what you’ll need to make this delicious and versatile beef broth:
- 4-5 lbs Beef Bones (Marrow and Knuckle Bones Preferred): These bones are the foundation of your broth, imparting rich flavor and collagen. Roasting them beforehand enhances the flavor even more.
- 2 lbs Beef Meat (Shank, Chuck, or Short Ribs): Adds meaty depth and richness to the broth. You can use leftover cooked beef or raw beef.
- 2 Large Onions, Quartered: Contribute sweetness and aromatic complexity. Don’t peel them completely; the skins add color to the broth.
- 4 Carrots, Roughly Chopped: Lend sweetness and body to the broth. Peeling is optional; just scrub them clean.
- 4 Celery Stalks, Roughly Chopped: Adds earthy notes and complements the other vegetables.
- 4 Garlic Cloves, Crushed: Infuse the broth with pungent garlic flavor. Crushing them releases their aroma more effectively.
- 1 tbsp Black Peppercorns: Provide a subtle spicy kick and enhance the overall flavor profile.
- 2 Bay Leaves: Add a subtle, herbaceous aroma. Remember to remove them before canning.
- 1 tbsp Apple Cider Vinegar (Optional): Helps to extract minerals and collagen from the bones.
- 12-16 Cups Water: Enough to cover the bones and vegetables. Adjust as needed.
- Salt to taste: Enhances the flavor of all the ingredients. Add it gradually towards the end of the simmering process.
How to Make Canning Beef Broth:
This Canning Beef Broth recipe is surprisingly simple, yielding a flavorful and satisfying base for countless dishes. It’s easy to make and worth the waiting! By simmering bones, meat, and vegetables, you’ll end up with a far better tasting broth than you can buy in a grocery store. The total preparation time can be roughly 4-6 hours, depending on desired broth concentration.
Step-by-Step Instructions:
Here’s how to create your own delicious, shelf-stable beef broth:
- Prepare the Bones (Optional but Recommended): Preheat your oven to 400°F (200°C). Spread the beef bones and meat on a baking sheet and roast for 30-45 minutes, flipping halfway through, until nicely browned. This step deepens the flavor of the broth, but it is not essential. Roasting the ingredients really elevates the final product.
- Combine Ingredients: Transfer the roasted (or unroasted) bones and meat to a large stockpot or Dutch oven. Add the onions, carrots, celery, garlic, peppercorns, bay leaves, and apple cider vinegar (if using).
- Add Water: Pour enough water into the pot to completely cover the bones and vegetables, about 12-16 cups.
- Simmer: Bring the mixture to a boil over high heat, then immediately reduce the heat to low and simmer gently for at least 4 hours, or up to 6-8 hours for a richer flavor. Skim off any foam or impurities that rise to the surface during the first hour of simmering.
- Strain the Broth: Carefully strain the broth through a fine-mesh sieve lined with cheesecloth (optional for extra clarity) to remove all solids. Discard the bones, vegetables, and meat (or reserve the meat for another use, such as adding to soup). Don’t squeeze the solids, as this can make the broth cloudy.
- Defat the Broth (Optional): If desired, refrigerate the strained broth overnight. The fat will solidify on the surface, making it easy to skim off. This step is optional but results in a clearer, less greasy broth.
- Prepare Canning Equipment: Sterilize your canning jars, lids, and rings according to the manufacturer’s instructions. Typically you can run your jars through the dishwasher’s sterilize cycle, or boil the jars, lids, and rings for 10 minutes. Keep the jars hot until ready to fill.
- Heat the Broth: Return the strained and defatted (if desired) broth to the pot and bring it to a rolling boil. Ensure the broth is thoroughly heated before canning.
- Fill the Jars: Ladle the boiling broth into the hot, sterilized jars, leaving 1 inch of headspace (the space between the top of the liquid and the lid).
- Remove Air Bubbles: Run a non-metallic spatula or bubble removing tool around the inside of each jar to release any trapped air bubbles. Readjust the headspace if necessary.
- Wipe Rims: Use a clean, damp cloth to wipe the rims of the jars to ensure a good seal.
- Apply Lids and Rings: Place a sterilized lid on each jar and screw on a canning ring until fingertip tight (not too tight).
- Process in a Pressure Canner: Place the jars in a pressure canner filled with 2-3 inches of water. Follow the manufacturer’s instructions for your pressure canner to ensure proper processing.
- For Pints: Process for 20 minutes at 10 PSI.
- For Quarts: Process for 25 minutes at 10 PSI.
Adjust processing time and pressure according to your altitude, if necessary. Consult your pressure canner’s manual for specific instructions.
- Cool and Check Seals: Turn off the heat and allow the pressure to release naturally. Carefully remove the jars from the canner and place them on a towel-lined surface to cool completely. As the jars cool, you should hear a “popping” sound indicating that the lids have sealed correctly.
- Test Seals: After the jars have cooled completely (12-24 hours), check the seals by pressing on the center of each lid. If the lid doesn’t flex or pop down, it’s properly sealed. If a lid doesn’t seal, refrigerate the broth and use it within a week, or reprocess it with a new lid and ring.
- Label and Store: Label each jar with the date and contents. Store the canned beef broth in a cool, dark place for up to a year or more.
Why You’ll Love This Canning Beef Broth

This homemade Canning Beef Broth is a game-changer in my kitchen, primarily because of its depth of flavor. Unlike the bland, often sodium-laden store-bought versions, this broth is rich, savory, and bursting with natural goodness. The roasting of the bones (optional) intensifies the umami flavor, making it the perfect foundation for soups, stews, sauces, and braises. With homemade broth, your cooking becomes that much better.
Making this broth at home is also a significant cost-saver. Utilizing leftover beef bones and vegetable scraps that would otherwise be discarded transforms waste into a valuable ingredient. This method is especially economical if you often cook with beef roasts or other bone-in cuts. It helps you reduce food waste!
Finally, the ability to can this fantastic broth makes the whole process worthwhile. The ability to store jars of delicious broth for up to a year mean you’re ready for many different meals down the road.
What to Serve Canning Beef Broth With:
Canned beef broth is a highly versatile ingredient. Here are a few complementary dishes, sides, and even drinks that pair wonderfully with this versatile stock:
- Soups and Stews: Use as a base for classic beef stew, French onion soup, or hearty vegetable soup.
- Sauces and Gravies: Incorporate into rich beef gravy, mushroom sauce, or a flavorful pan sauce.
- Risotto: Use to cook risotto for a creamy and savory dish.
- Braised Meats: Braise beef short ribs or pot roast in the broth for extra tenderness and depth of flavor.
- Vegetable Dishes: Enhance the flavor of roasted vegetables or steamed greens by adding a splash of beef broth.
- Mashed Potatoes: Use beef broth instead of milk or cream for savory, flavorful mashed potatoes.
- Shepherd’s Pie: A hearty classic that uses a ton of delicious, flavorful stock to keep the vegetables moist.
- Drinks: Believe it or not, warm beef broth can be consumed by itself as a warming and nourishing beverage during cold weather.
Top Tips for Perfecting Canning Beef Broth:
To ensure your canned beef broth turns out perfectly every time, keep these tips in mind:
- Roast the Bones: Roasting the beef bones before simmering adds depth and richness to the broth.
- Use a Variety of Bones: Marrow bones and knuckle bones are rich in collagen, which will give your broth a silky texture.
- Don’t Overcrowd the Pot: Make sure the bones and vegetables are not overcrowded in the pot; otherwise, they won’t release their maximum flavor.
- Skim Frequently: Skimming off the foam and impurities during the first hour of simmering will result in a clearer broth.
- Don’t Boil Vigorously: Simmer the broth gently to avoid clouding it.
- Cool Quickly: If you’re not canning the broth immediately, cool it quickly in an ice bath to prevent bacterial growth.
- Headspace is Key: Leaving the correct amount of headspace in the jars is crucial for proper sealing.
- Follow Pressure Canning Instructions: Carefully follow the manufacturer’s instructions for your pressure canner to ensure safe processing.
- Adjust for Altitude: If you live at a high altitude, you may need to adjust the processing time and pressure.
5 Facts about Canning Beef Broth:
- Collagen Rich: Simmering beef bones releases collagen, which is beneficial for joint health and skin elasticity.
- Nutrient Dense: Beef broth is packed with vitamins, minerals, and amino acids that support overall health.
- Long Shelf Life: Properly canned beef broth can last for up to a year or more at room temperature.
- Versitile ingredient: Beef broth can be used in a variety of recipes, from soups and stews to sauces and braises.
- Zero Additives: Unlike a lot of store-bought broths, homemade broth only contains natural ingredients.
Storing and Reheating Tips:
- Storage: Store canned beef broth in a cool, dark place, such as a pantry or basement, for up to a year or more. Once opened, refrigerate any unused broth in an airtight container and use it within 5-7 days. Uncanned excess broth can also be stored in the fridge for up to four days.
- Reheating: To reheat canned beef broth, simply pour the desired amount into a saucepan and heat over medium heat until warmed to your desired temperature. You can also reheat it in the microwave in a microwave-safe container.
- Freezing: You can freeze uncanned leftover beef broth for longer storage. Pour the cooled broth into freezer-safe containers or freezer bags, leaving some headspace to allow for expansion. Freeze for up to 3-4 months. Thaw overnight in the refrigerator before using.
Final Thoughts:
Making your own Canning Beef Broth is a very rewarding experience. It allows you to control the ingredients, tailor the flavor to your liking, and preserve a valuable ingredient for year-round use. Whether you’re a seasoned canner or a beginner, this recipe is a great way to elevate your cooking and reduce food waste. So, gather your bones, vegetables, and canning supplies, and get ready to create a flavorful and versatile stock that will enhance countless dishes! Happy Canning!
Read More also:
Canning Beef Broth FAQs:
Q: Can I use frozen beef bones for this recipe?
A: Yes, you can use frozen beef bones, but thaw them completely before roasting or simmering.
Q: Do I have to roast the bones and meat?
A: No, roasting is optional, but it significantly enhances the flavor of the broth.
Q: Can I add other vegetables to the broth?
A: Yes, you can add other vegetables such as parsnips, turnips, or mushrooms.
Q: How do I know if my jars are properly sealed?
A: After the jars have cooled completely, press on the center of each lid. If the lid doesn’t flex or pop down, it’s properly sealed. You should be able to lift the jar by the edges of the lid.
Q: What if a jar doesn’t seal?
A: If a jar doesn’t seal, refrigerate the broth and use it within a week, or reprocess it with a new lid and ring.
Print
Canning Beef Broth
- Total Time: 5 hours
- Yield: 8 quarts 1x
Description
Canning Beef Broth is the process of preserving the savory liquid created by simmering beef bones, meat, and vegetables. The resulting broth is packed with flavor, collagen, and nutrients, making it far superior to store-bought alternatives. Canning allows you to safely store this homemade broth at room temperature for extended periods, ensuring you always have a high-quality stock on hand to enhance your culinary creations.
Ingredients
- 4–5 lbs beef bones (marrow and knuckle bones preferred)
- 2 lbs beef meat (shank, chuck, or short ribs)
- 2 large onions, quartered
- 4 carrots, roughly chopped
- 4 celery stalks, roughly chopped
- 4 garlic cloves, crushed
- 1 tbsp black peppercorns
- 2 bay leaves
- 1 tbsp apple cider vinegar (optional)
- 12–16 cups water
- Salt to taste
Instructions
- Preheat oven to 400°F (200°C). Roast beef bones and meat for 30-45 minutes until browned (optional but recommended).
- Transfer bones and meat to a large stockpot or Dutch oven. Add onions, carrots, celery, garlic, peppercorns, bay leaves, and vinegar if using.
- Pour in 12-16 cups of water to cover the ingredients.
- Bring to a boil, then reduce heat and simmer for 4-8 hours. Skim foam during the first hour.
- Strain broth through a fine-mesh sieve lined with cheesecloth. Discard solids.
- Optional: Refrigerate overnight to remove solidified fat.
- Sterilize canning jars, lids, and rings.
- Bring strained broth to a rolling boil.
- Ladle broth into jars, leaving 1 inch headspace.
- Remove air bubbles, wipe rims, and apply lids and rings.
- Process jars in a pressure canner: 20 minutes for pints, 25 minutes for quarts, at 10 PSI (adjust for altitude).
- Allow pressure to release naturally, then cool jars on a towel-lined surface.
- Check seals after 12-24 hours. Properly sealed jars are shelf-stable up to a year.
- Label jars with date and contents before storing.
Notes
Roasting bones adds deeper flavor, but the recipe works without it. Always adjust pressure canner settings for altitude to ensure safe preservation.
- Prep Time: 30 minutes
- Cook Time: 4 hours
- Category: Preserving & Canning
- Method: Pressure Canning
- Cuisine: American
Nutrition
- Serving Size: 1 cup
- Calories: 40
- Sugar: 1g
- Sodium: 150mg
- Fat: 1g
- Saturated Fat: 0g
- Unsaturated Fat: 1g
- Trans Fat: 0g
- Carbohydrates: 2g
- Fiber: 0g
- Protein: 6g
- Cholesterol: 5mg

