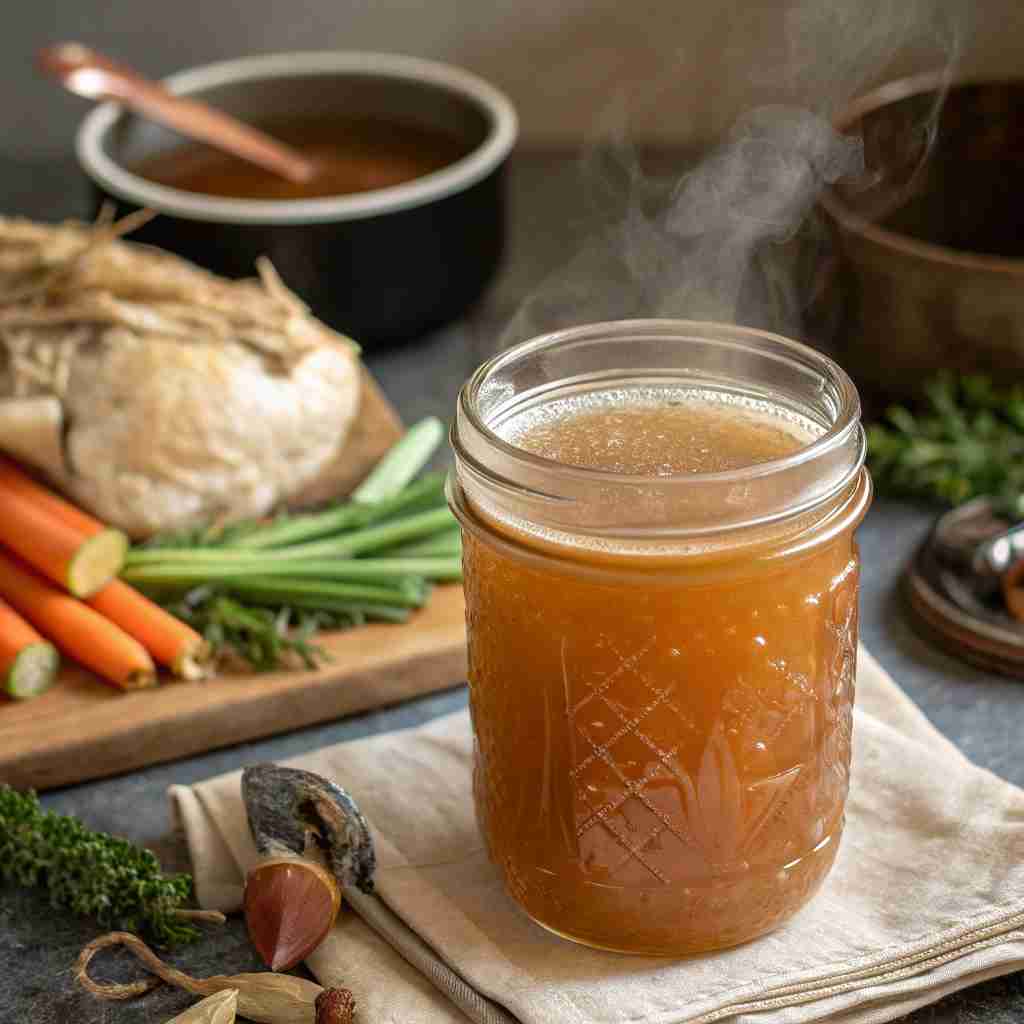
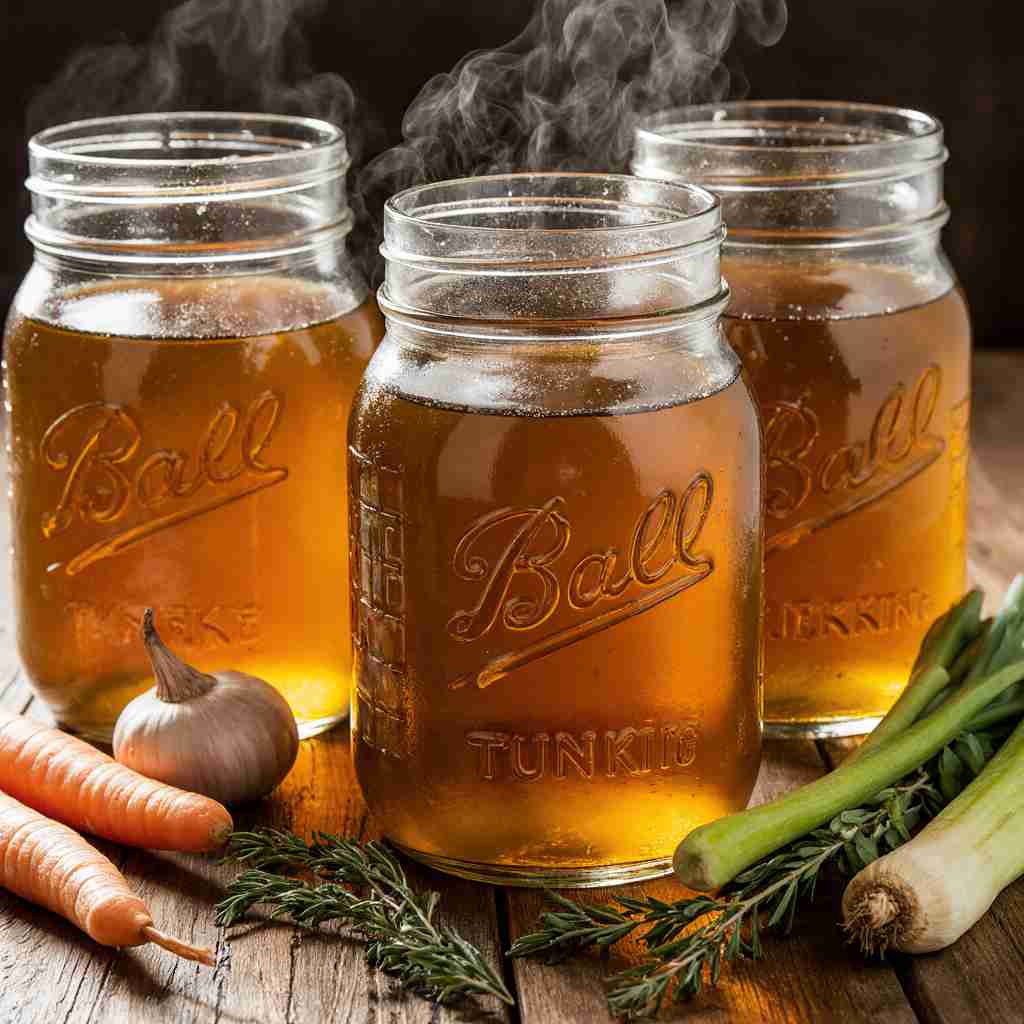
Canning Turkey Broth is the best way to transform your holiday turkey carcass into a flavorful, nutrient-packed base you can enjoy year-round. This easy pressure canning recipe shows you how to simmer turkey bones with vegetables and herbs to create a rich broth, then safely preserve it in jars for long-term storage. Homemade canned turkey broth is healthier and more flavorful than store-bought, with no added preservatives or excess sodium.
Perfect for soups, stews, gravies, and sauces, this recipe helps reduce food waste while keeping the comforting taste of turkey broth ready anytime you need it.
Jump To :
What is Canning Turkey Broth?
Canning Turkey Broth is the process of extracting the rich flavor and nutrients from a leftover turkey carcass and preserving it for later use. It involves simmering the carcass with vegetables and herbs to create a flavorful broth, then using a pressure canner to safely process the broth in jars, creating a shelf-stable product that can be stored at room temperature for months.
This not only reduces food waste but also provides a healthy and versatile base for soups, stews, sauces, and more. Homemade turkey broth is far superior to store-bought versions, offering a deeper, more authentic flavor without the added preservatives and sodium. Ditch the waste and embrace the flavor! Try this Canning Turkey Broth recipe and savor the taste of the holidays all year round.
Key Ingredients for Canning Turkey Broth:
- Turkey Carcass: 1 leftover turkey carcass, mostly meat removed. Some meat scraps are fine and add flavor.
- Yellow Onions: 2 large, roughly chopped. These are foundational in building the broth’s flavor.
- Carrots: 3 large, roughly chopped. Adds sweetness and depth of flavor.
- Celery: 3 stalks, roughly chopped. Contributes to the classic mirepoix flavor profile.
- Garlic: 4 cloves, smashed. Provides a pungent and savory note.
- Bay Leaves: 2-3 dried. Adds a subtle, herbal aroma.
- Dried Thyme: 1 teaspoon. Earthy and aromatic, complements the turkey flavor.
- Dried Rosemary: 1/2 teaspoon. Adds a piney, fragrant note. Use sparingly as it can be overpowering.
- Peppercorns: 1 teaspoon whole black peppercorns. Adds a gentle spice.
- Apple Cider Vinegar: 2 tablespoons. Helps to extract minerals and nutrients from the bones.
- Water: Enough to cover the carcass and vegetables, approximately 12-16 cups.
- Salt: To taste, added after canning. It’s best to avoid adding salt before canning, as it can affect the canning process and final product.
How to Make Canning Turkey Broth:
This Canning Turkey Broth recipe is an incredibly easy and satisfying way to extend the holiday spirit. The recipe delivers a rich, flavorful liquid gold. It requires a little time to simmer, but the hands-on time is minimal.
Get ready to make the most of your holiday leftovers by making a broth you can use all year round! It will take about 4 hours to cook and prepare.
Step-by-Step Instructions:
- Prepare the Carcass: After your holiday feast, remove as much meat as possible from the turkey carcass. Don’t worry about getting every single piece; small bits of meat will enhance the broth’s flavor. Break or chop the carcass into smaller pieces to fit comfortably in your stockpot or Dutch oven. Save all pan drippings! They hold incredible flavor.
- Sauté Aromatics (Optional but Recommended): In a large stockpot or Dutch oven, heat a tablespoon or two of oil. Add the chopped onions, carrots, and celery. Sauté over medium heat for about 5-7 minutes, until the vegetables are slightly softened and fragrant. This step deepens the overall flavor of the broth but can be skipped if you’re short on time.
- Combine Ingredients: Add the turkey carcass pieces and smashed garlic to the pot, with the sauteed vegetables. Add the bay leaves, dried thyme, dried rosemary, and peppercorns to the pot.
- Add Apple Cider Vinegar: Pour in the apple cider vinegar. This helps draw out the nutrients and minerals from the bones, enhancing the broth’s health benefits.
- Cover with Water: Pour enough cold water into the pot to completely cover the carcass and vegetables. Ensure there’s about 1-2 inches of water above the ingredients.
- Simmer the Broth: Bring the water to a boil over high heat, then immediately reduce the heat to low. Simmer gently, uncovered, for at least 3-4 hours, or even longer for a richer flavor. Skim off any foam or impurities that rise to the surface occasionally. A longer simmer time extracts more flavor and collagen from the bones, resulting in a more gelatinous broth.
- Strain the Broth: Once the broth has simmered for the desired time, carefully strain it through a fine-mesh sieve lined with cheesecloth. This will remove all the solids, leaving you with a clear broth. Discard the solids. They have given all their flavor to the broth.
- Prepare Jars and Canning Equipment: While the broth is simmering, prepare your canning jars and equipment. Sterilize your jars by boiling them in water for 10 minutes. Keep the jars hot until ready to fill. Heat the jar lids in simmering water. Ensure your pressure canner is clean and in good working condition.
- Fill the Jars: Using a jar funnel, carefully ladle the hot broth into the sterilized jars, leaving 1-inch of headspace (the space between the broth and the top of the jar). Use a clean, damp cloth to wipe the rim of each jar to ensure a clean seal.
- Apply Lids and Rings: Place a sterilized lid on each jar and screw on the metal ring, tightening it fingertip tight. Do not overtighten.
- Process in Pressure Canner: Place the jars in the pressure canner according to the manufacturer’s instructions. Add the correct amount of water to the canner. Follow the manufacturer’s instructions for venting the canner and bringing it to the correct pressure.
- Canning Time: Process the jars at the following pressure and time, adjusted for your altitude.
- Pints: 20 minutes at 10 PSI (pounds per square inch) or 15 PSI depending on your altitude and canner type. Consult your canner’s manual for specific instructions.
- Quarts: 25 minutes at 10 PSI or 15 PSI, also canner dependent.
- Cool and Check Seals: Once the processing time is complete, turn off the heat and let the pressure release naturally in the canner. Do not force the release. Once the pressure is completely released, carefully remove the jars from the canner and place them on a towel-lined surface to cool completely. Let jars sit undisturbed for 12-24 hours. After cooling, check the seals by pressing down on the center of each lid. If the lid does not flex or pop, the jar is properly sealed. Label each jar with the date and contents and store in a cool, dark place.
Why You’ll Love This Canning Turkey Broth

This Canning Turkey Broth is more than just a recipe; it’s a gateway to unlocking layers of flavor in your soups, stews, and sauces. The main highlight of this recipe is its ability to transform a commonly discarded item – the turkey carcass – into a liquid gold. The flavor is far more satisfying than any store-bought broth, offering a depth and richness that’s unmatched. Secondly, making turkey broth at home is an excellent cost-saving measure.
Instead of purchasing pre-made broth, you’re utilizing ingredients you already have from your holiday feast, minimizing waste and maximizing your budget. Compared to making chicken broth, canning turkey broth offers a slightly richer, more robust flavor profile perfect for heartier dishes. Don’t let those flavors go to waste—try making your own batch!
What to Serve Canning Turkey Broth With:
Canning Turkey Broth is an incredibly versatile base for countless dishes. Here are a few suggestions:
- Turkey Noodle Soup: The classic! Use your homemade broth as the foundation for a comforting and nourishing turkey noodle soup. Add diced turkey meat, noodles, carrots, celery, and your favorite herbs.
- Turkey and Wild Rice Soup: A heartier and more flavorful twist on the traditional turkey soup. The nuttiness of wild rice pairs beautifully with the rich flavor of turkey broth.
- Gravy: Use your homemade turkey broth as the base for a delicious and homemade gravy. Simply whisk in some cornstarch or flour to thicken, and season to taste.
- Risotto: Use turkey broth in place of chicken broth when making risotto for added depth of flavor.
- Pot Pie Filling: Use the flavorful broth as the liquid component for homemade turkey pot pie filing.
Top Tips for Perfecting Canning Turkey Broth:
- Roast the Carcass: For an even deeper, richer flavor, consider roasting the turkey carcass in the oven at 350°F (175°C) for about 30-45 minutes before simmering.
- Add Vegetable Scraps: Don’t throw away your vegetable scraps! Save your onion skins, carrot peels, and celery ends in a freezer bag and add them to the broth for extra flavor. Just be sure to wash them and avoid using bitter or strong flavored scraps like broccoli stems.
- Simmer, Don’t Boil: Simmering the broth gently is key to extracting the most flavor without making it cloudy. Avoid boiling the broth vigorously.
- Adjust Seasoning After Canning: Avoid adding salt to the broth before canning. Add salt to taste when you use the broth in a recipe. I usually add onion powder, and garlic powder after opening for additional flavor.
- Check Altitude Adjustments: Be sure to adjust processing times and pressure based on your altitude to ensure proper canning and food safety. Always consult your canner’s manual for specific instructions.
5 Facts about Canning Turkey Broth:
- Reduces Food Waste: Transforms leftovers into a useful and delicious resource.
- Freezes Well: If you don’t want to can it all, freeze some broth in freezer safe containers. It can keep up to 6 months in the freezer.
- Enhances Flavor: Homemade broth has a much richer and more complex flavor than store-bought versions.
- Nutrient-Rich: Turkey bones release beneficial nutrients like collagen and minerals into the broth.
- Shelf-Stable: Properly canned turkey broth can be stored at room temperature for up to a year.
Storing and Reheating Tips:
- Storing Canned Broth: Properly sealed and processed jars of turkey broth can be stored in a cool, dark, and dry place for up to a year or longer.
- Refrigerating After Opening: Once a jar of turkey broth is opened, it should be refrigerated immediately. Use the broth within 5-7 days.
- Freezing Broth: If you have leftover broth after opening a jar, you can freeze it for later use. Pour the broth into freezer-safe containers or ice cube trays. Frozen broth can be stored for up to 3 months.
- Reheating Instructions: To reheat the canned turkey broth, simply pour the desired amount into a saucepan and heat over medium heat until simmering. You can also microwave the broth in a microwave-safe container until heated through.
Final Thoughts:
Canning Turkey Broth is not just a recipe; it’s a sustainable and flavorful solution for dealing with holiday leftovers. It’s a convenient way to have delicious, homemade broth on hand for all of your culinary creations. Take the plunge and transform your turkey remnants into a culinary masterpiece!
Read More also:
Canning Turkey Broth FAQs:
- Can I use a store-bought turkey carcass?
- While it’s preferable to use a carcass from a turkey you’ve cooked yourself, you can use a store-bought cooked turkey carcass if necessary. Ensure the turkey is high-quality and free of any additives or preservatives that may affect the canning process.
- How much broth will this recipe make?
- The yield will vary depending on the size of your turkey carcass and the amount of water you use, but generally, one carcass will yield approximately 6-8 quarts of broth.
- Do I need a pressure canner?
- Yes, a pressure canner is essential for safely canning turkey broth. Broth is a low-acid food and requires processing at high temperatures under pressure to eliminate the risk of botulism. You must use a pressure canner; a water bath canner will not reach high enough temperatures to safely process the broth.
- What if my cans don’t seal?
- If the jars don’t seal you will have to refrigerate them as soon as possible. Consume them within the next 7 days, or freeze those jars for later use.

Canning Turkey Broth
- Total Time: 4 hours
- Yield: 8–10 jars 1x
Description
Canning Turkey Broth is the process of extracting the rich flavor and nutrients from a leftover turkey carcass and preserving it for later use. It creates a shelf-stable, flavorful broth perfect for soups, stews, sauces, and more all year round.
Ingredients
- 1 leftover turkey carcass, mostly meat removed (some scraps are fine)
- 2 large yellow onions, roughly chopped
- 3 large carrots, roughly chopped
- 3 stalks celery, roughly chopped
- 4 cloves garlic, smashed
- 2–3 dried bay leaves
- 1 teaspoon dried thyme
- 1/2 teaspoon dried rosemary
- 1 teaspoon whole black peppercorns
- 2 tablespoons apple cider vinegar
- 12–16 cups water (enough to cover)
- Salt to taste (add after canning)
Instructions
- Prepare the carcass: remove most meat, break into smaller pieces, and save pan drippings.
- Sauté aromatics (optional): heat oil in stockpot, cook onions, carrots, and celery 5-7 minutes.
- Combine ingredients: add carcass, garlic, bay leaves, thyme, rosemary, and peppercorns.
- Add apple cider vinegar to help extract nutrients.
- Cover with water: add enough to submerge carcass and vegetables by 1-2 inches.
- Simmer broth: bring to boil, reduce to low, simmer 3-4 hours or more, skimming foam as needed.
- Strain broth: pour through cheesecloth-lined sieve, discard solids.
- Prepare jars: sterilize jars 10 minutes, keep hot, heat lids.
- Fill jars: ladle hot broth into jars, leaving 1-inch headspace, wipe rims clean.
- Apply lids and rings: tighten fingertip tight.
- Process in pressure canner: follow manufacturer instructions for water, venting, and pressure.
- Canning time: pints 20 minutes, quarts 25 minutes at 10–15 PSI (adjust for altitude).
- Cool and check seals: let jars cool 12-24 hours, test seals, label, and store in cool, dark place.
Notes
Do not add salt before canning. Always adjust pressure and time according to your altitude and canner type.
- Prep Time: 30 minutes
- Cook Time: 3 hours 30 minutes
- Category: Canning & Preserving
- Method: Pressure Canning
- Cuisine: American
Nutrition
- Serving Size: 1 cup
- Calories: 40
- Sugar: 1g
- Sodium: 30mg
- Fat: 1g
- Saturated Fat: 0g
- Unsaturated Fat: 1g
- Trans Fat: 0g
- Carbohydrates: 2g
- Fiber: 0g
- Protein: 6g
- Cholesterol: 5mg

