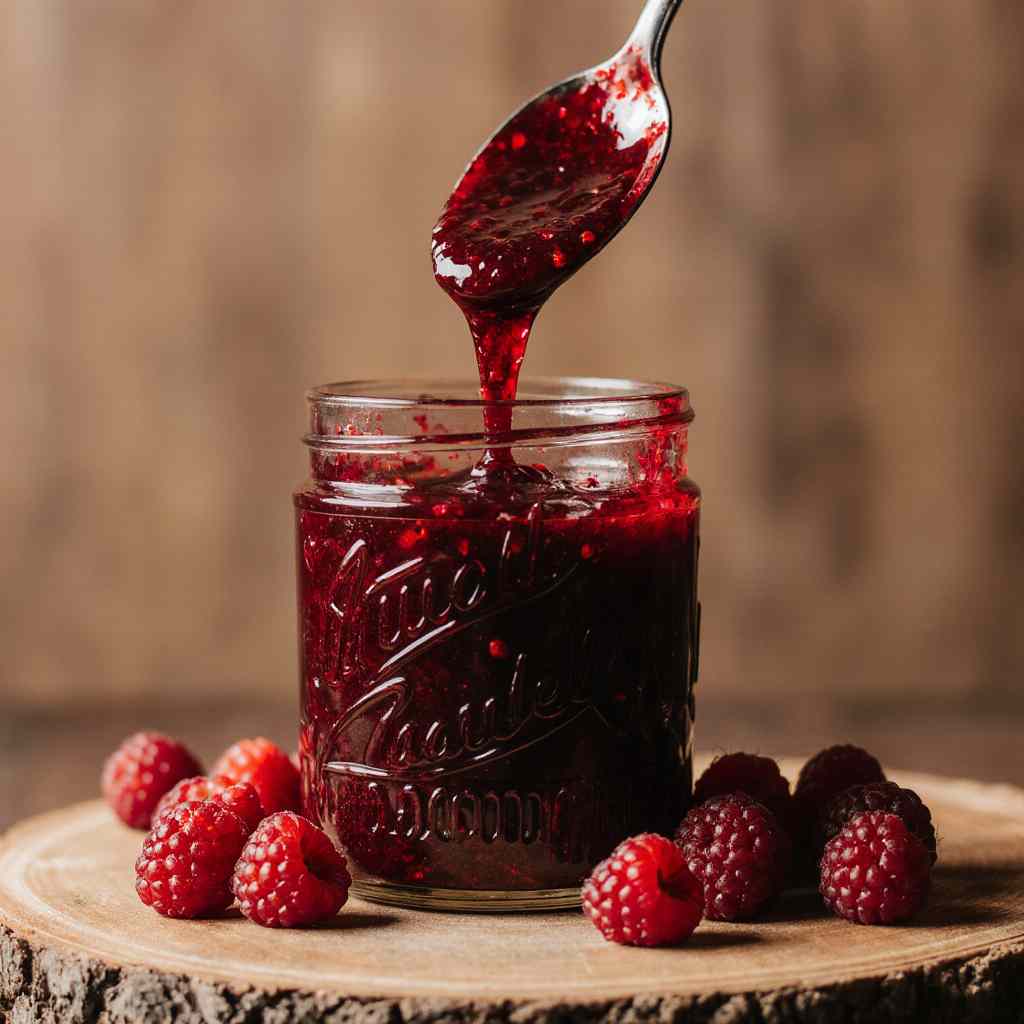
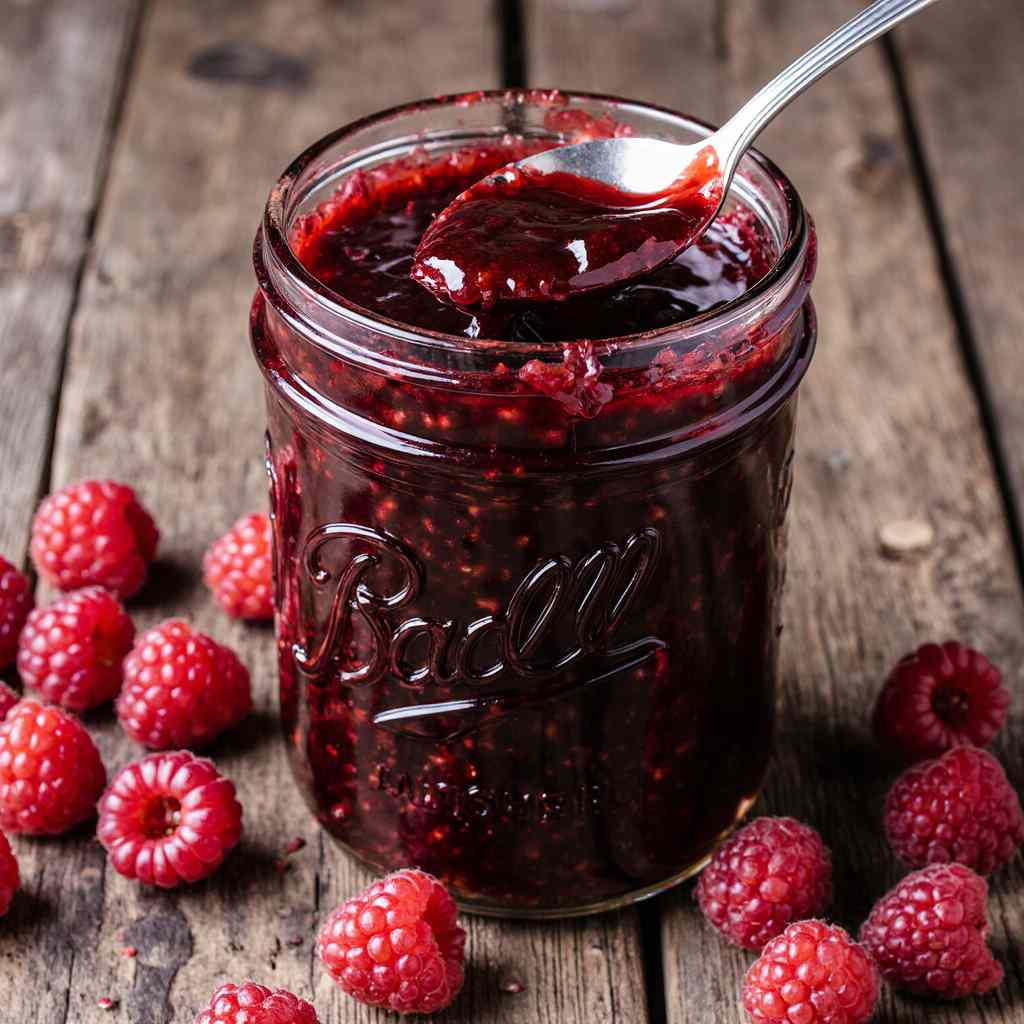
This Canning Raspberry Jam recipe is the perfect way to preserve the bright, tangy flavor of fresh raspberries. Made with simple ingredients—ripe raspberries, sugar, lemon juice, and pectin—this jam delivers a sweet yet slightly tart taste that pairs beautifully with toast, pastries, and desserts. You’ll also find the option to make it seedless for a smooth, spreadable texture.
With step-by-step instructions for safe water bath canning, this recipe ensures jars of vibrant homemade jam that can be enjoyed year-round. If you’re looking for an easy, delicious way to capture summer’s best berries, this raspberry jam recipe is for you.
Jump To :
What is Raspberry Jam?
Raspberry jam is a classic fruit preserve made from raspberries, sugar, pectin, and sometimes a touch of lemon juice. It’s a delightful spread enjoyed on toast, pastries, incorporated into desserts, or even used as a glaze for meats. The flavor is a balance of sweet and tart, capturing the essence of ripe, juicy raspberries. While many store-bought varieties exist, nothing compares to the fresh, homemade taste of raspberry jam, especially when you control the ingredients and sweetness level.
This recipe offers a seedless option for those who prefer a smoother texture, eliminating the sometimes-noticeable crunch of raspberry seeds. Making your own raspberry jam is easier than you might think, and the results are incredibly satisfying. So, why not give it a try and experience the joy of homemade goodness? Let’s get started with this canning raspberry jam recipe!
Key Ingredients for Canning Raspberry Jam:
- Fresh Raspberries: 6 cups (about 3 pounds), preferably fully ripe. Slightly underripe berries will provide more pectin, aiding in the jelling process.
- Granulated Sugar: 4 1/2 cups. The sugar is essential for flavor, preservation, and helping the jam set properly.
- Pectin: 1 package (1.75 ounces) of powdered pectin, specifically for low-sugar or no-sugar recipes if you prefer a less sweet jam. Using the correct type of pectin is crucial for achieving the desired consistency.
- Lemon Juice: 1/4 cup, freshly squeezed. Lemon juice adds acidity, which helps the jam set and brightens the raspberry flavor. Bottled lemon juice can be used, but fresh is preferred for the best taste.
- Water: 1/2 cup (optional, if needed for easier stirring early in cooking).
- Butter or Margarine: 1/2 teaspoon (optional, to reduce foaming).
How to Make Canning Raspberry Jam:
This Canning Raspberry Jam recipe is easier than you think! In under an hour, you’ll have jars filled with delicious, vibrant jam. Its simplicity comes from using foolproof steps and readily available ingredients. The delightful and satisfying experience of spreading this homemade jam on your morning toast will immediately brighten your day.
It features a perfect balance of sweet and tart and the option to remove the seeds for a silky smooth texture. Preparation time is approximately 15 minutes, and total cooking time is around 45 minutes.
Step-by-Step Instructions:
1. Prepare Jars and Lids:
- Wash canning jars, lids, and bands in hot, soapy water. Rinse well.
- Sterilize the jars and lids by placing them in a large pot of boiling water for 10 minutes. Keep jars submerged.
- Heat the jars on low simmer setting until you’re ready to fill them with jam. Remove them from water with tongs when ready to fill.
- Leave lids in hot water.
2. Prepare the Raspberries:
- Gently rinse the raspberries and remove any stems or leaves.
- For Seedless Jam: Place the raspberries in a food mill or sieve lined with cheesecloth and process or press to remove the seeds. This step may take a little time, but it’s worth it if you prefer a seedless texture. For jam with seeds, skip this step.
- Measure out 4 cups of prepared raspberry pulp or whole raspberries into a large, heavy-bottomed saucepan.
3. Combine Ingredients and Cook:
- Add the sugar and lemon juice to the raspberries in the saucepan. Alternatively, if you are using less or a no sugar mixture, combine this now.
- If using, add 1/2 cup of water to the saucepan.
- Stir well to thoroughly combine the ingredients.
- Add the butter or margarine (if using) to reduce foaming during cooking.
4. Bring to a Boil:
- Over medium-high heat, bring the mixture to a full rolling boil that cannot be stirred down. Stir constantly to prevent sticking and burning.
- Add the pectin. Stir constantly until the pectin is completely dissolved and the mixture returns to a full rolling boil.
5. Cook to Gelling Point:
- Continue to boil hard for 1 minute, stirring constantly.
- To test for gelling, place a small spoonful of jam on a cold plate that has been in the freezer for a few minutes. Let it sit for 30 seconds, then gently push it with your finger. If it wrinkles, it’s ready. If not, continue to cook for another minute and test again.
6. Fill Jars:
- Remove the hot jars from the simmering water using tongs and set them on a clean towel.
- Ladle the hot jam into the sterilized jars, leaving 1/4 inch headspace at the top.
- Wipe the jar rims with a clean, damp cloth to remove any spills.
- Center the lids on the jars and screw on the bands fingertip tight.
7. Process in a Water Bath Canner:
- Place the filled jars in a water bath canner fitted with a rack. Ensure the jars are fully submerged in water, with at least 1 inch of water covering the tops of the jars.
- Bring the water to a rolling boil and process for 10 minutes for half-pint jars (adjust time based on altitude – see chart below).
8. Cool and Check Seals:
- Turn off the heat and carefully remove the jars from the canner using tongs. Place them on a clean towel-lined surface, leaving space between the jars.
- Let the jars cool completely for 12-24 hours. As they cool, you should hear a “popping” sound as the lids seal.
- After cooling, check the seals by pressing down on the center of each lid. If the lid doesn’t flex or give, it’s properly sealed. If a lid flexes, it’s not sealed, and you should refrigerate that jar and use the jam within a few weeks.
Why You’ll Love This Canning Raspberry Jam Recipe

This Canning Raspberry Jam recipe stands out because of its fresh, homemade taste that surpasses store-bought options. The star highlight is the vibrant, fruity flavor captured at its peak, creating a delicious spread that brightens any breakfast or dessert. Making jam at home is incredibly cost-effective as raspberries in season are easily accessible and low-cost. A similar gourmet jar of jam from the store could cost upwards of $10! This recipe also gives you complete control over the sweetness and ingredients, allowing you to tailor it to your preferences.
The seedless option makes it even more versatile in recipes. If you enjoy making homemade preserves, you might also want to try our Strawberry Jam recipe, which offers a different, equally delightful flavor profile. The process of canning ensures a shelf life of at least 12 months, so you can enjoy sweet, seasonal flavor year-round! So, ditch the preservative-filled store-bought stuff and make your own Canning Raspberry Jam today!
What to Serve Raspberry Jam With:
Raspberry jam is incredibly versatile and pairs well with a variety of foods. Here are some suggestions:
- Toast and Pastries: The classic pairing! Spread it on your morning toast, croissants, scones, or muffins.
- Peanut Butter Sandwiches: Elevate your PB&J with the fruity sweetness of raspberry jam.
- Cheese and Crackers: Serve it alongside creamy cheeses like brie or goat cheese for a sweet and savory combination.
- Yogurt and Granola: Swirl it into plain yogurt and top with granola for a delicious and healthy breakfast or snack.
- Desserts: Use it as a filling for cakes, tarts, or cookies, or as a topping for ice cream or pancakes.
Top Tips for Perfecting Canning Raspberry Jam:
- Use Ripe Berries: Ripe berries have the best flavor and pectin content, ensuring a flavorful and well-set jam and making great seedless jams.
- Don’t Overcook: Overcooking can result in a tough, overly firm jam. Be sure to test for gelling accurately.
- Adjust Sugar to Taste: While sugar is important for preservation, you can adjust the amount slightly to suit your preference, especially if using a low-sugar pectin.
- Use a Heavy-Bottomed Pan: This helps prevent the jam from sticking and burning.
- Remove Foam Carefully: After cooking, skim off any foam from the surface of the jam before ladling it into jars for a clearer appearance.
- Altitude Adjustments for Canning: If you live at a higher altitude, you need to increase canning time. See instructions above.
- If your jam doesn’t thicken, if can usually be fixed by adding a commercial pectin, and recooking.
5 Facts about Home Canned Raspberry Jam:
- Nutrient Retention: Homemade raspberry jam retains more nutrients from the raspberries compared to commercially processed jams due to shorter cooking times and fewer additives.
- Customizable: You can adjust the sweetness, thickness, and even add spices like vanilla or cinnamon to customize the flavor to your liking.
- Sustainable: Making your own jam reduces reliance on store-bought products and promotes sustainable food practices, especially when using locally sourced raspberries.
- Meaningful Gift: A jar of homemade raspberry jam makes a thoughtful and personal gift for friends and family.
- Food Safety First: Using tested recipes and proper methods ensures a safe and high-quality product, making it a healthier choice for you and your family.
Storing and Reheating Tips:
- Unopened Jars: Properly canned and sealed jars of raspberry jam can be stored in a cool, dark place (like a pantry) for up to 18months.
- Opened Jars: Once opened, refrigerate the raspberry jam. It will typically stay fresh for 2-3 weeks.
- Freezing: While not ideal, you can freeze raspberry jam if you need to extend its shelf life. Transfer the jam to a freezer-safe container, leaving some headspace, and freeze for up to 6 months. Thaw in the refrigerator before using.
- *Reheating: Raspberry jam is typically eaten cold or at room temperature, no reheating is necessary.
Final Thoughts:
Making your own Canning Raspberry Jam, especially the seedless version, is a rewarding experience. The taste of fresh, homemade goodness is unmatched, and the process is surprisingly simple. Knowing that you’ve created a delicious and safe product from scratch is incredibly satisfying. With this recipe and a little practice, you’ll be enjoying homemade raspberry jam for years to come! Enjoy!
Read More also:
- Canning Apple Jelly
- Canning Pear Jelly
- Canning Mint Jelly
- Canning Hot Pepper Jelly
- Canning Mushroom Soup
- Canning Apricot Jam Recipe
- Canning Fig Jam Recipe
- Canning Plum Jam
- Our Pinterest
Canning Raspberry Jam FAQs:
• Can I use frozen raspberries?
Yes, you can use frozen raspberries. Thaw them completely before using and drain off any excess liquid.
• Can I reduce the sugar in this recipe?
Yes, but you’ll need to use a low-sugar pectin specifically designed for reduced-sugar recipes. Follow the instructions on the pectin package.
• How do I adjust the recipe for high altitude?
Increase the processing time in the water bath canner by 1 minute for every 1,000 feet above sea level.
• My jam didn’t set. What can I do?
There are a few reasons your jam may not have set. Insufficient pectin, overcooking, or inaccurate measurements of ingredients are all possible culprits. You can try recooking the jam with additional pectin or using it as a syrup instead.
• How do I know if my jars are sealed properly?
After cooling, check the seals by pressing down on the center of each lid. If the lid doesn’t flex or give, it’s properly sealed. If a lid flexes, it’s not sealed, and you should refrigerate that jar and use the jam as soon as possible.
Print
Canning Raspberry Jam
- Total Time: 1 hour
- Yield: 6–7 half-pint jars 1x
- Diet: Vegetarian
Description
Raspberry jam is a sweet and tart fruit preserve made from fresh raspberries, sugar, lemon juice, and pectin. This homemade canning recipe creates a vibrant jam that’s perfect on toast, pastries, desserts, or even as a glaze for meats. With the option to make it seedless for a smooth texture, this jam is both versatile and delicious.
Ingredients
- 6 cups fresh raspberries (about 3 pounds)
- 4 1/2 cups granulated sugar
- 1 package (1.75 oz) powdered pectin
- 1/4 cup lemon juice, freshly squeezed
- 1/2 cup water (optional)
- 1/2 teaspoon butter or margarine (optional, to reduce foaming)
Instructions
- Wash canning jars, lids, and bands in hot soapy water. Sterilize by boiling jars for 10 minutes. Keep jars hot until filling.
- Rinse raspberries and remove stems/leaves. For seedless jam, press through a sieve or food mill. Measure 4 cups of prepared pulp or whole raspberries into a saucepan.
- Add sugar and lemon juice to raspberries. Stir in 1/2 cup water if needed. Add butter (optional) to reduce foaming.
- Bring to a full rolling boil over medium-high heat, stirring constantly. Add pectin and stir until dissolved. Return to full boil.
- Boil hard for 1 minute, stirring constantly. Test for gelling by placing a spoonful on a cold plate; if it wrinkles when pushed, it’s ready.
- Remove jars from hot water. Ladle hot jam into jars, leaving 1/4 inch headspace. Wipe rims clean and secure lids and bands fingertip tight.
- Process jars in a boiling water bath for 10 minutes (adjust for altitude if needed).
- Cool jars 12-24 hours. Check seals; lids should not flex. Refrigerate unsealed jars and use within a few weeks.
Notes
For best results, use fully ripe raspberries. Underripe berries naturally contain more pectin, which helps the jam set. Always adjust canning times based on your altitude.
- Prep Time: 15 minutes
- Cook Time: 45 minutes
- Category: Preserves & Canning
- Method: Canning
- Cuisine: American
Nutrition
- Serving Size: 1 tablespoon
- Calories: 50
- Sugar: 12g
- Sodium: 0mg
- Fat: 0g
- Saturated Fat: 0g
- Unsaturated Fat: 0g
- Trans Fat: 0g
- Carbohydrates: 13g
- Fiber: 1g
- Protein: 0g
- Cholesterol: 0mg


looks amazing this recipe