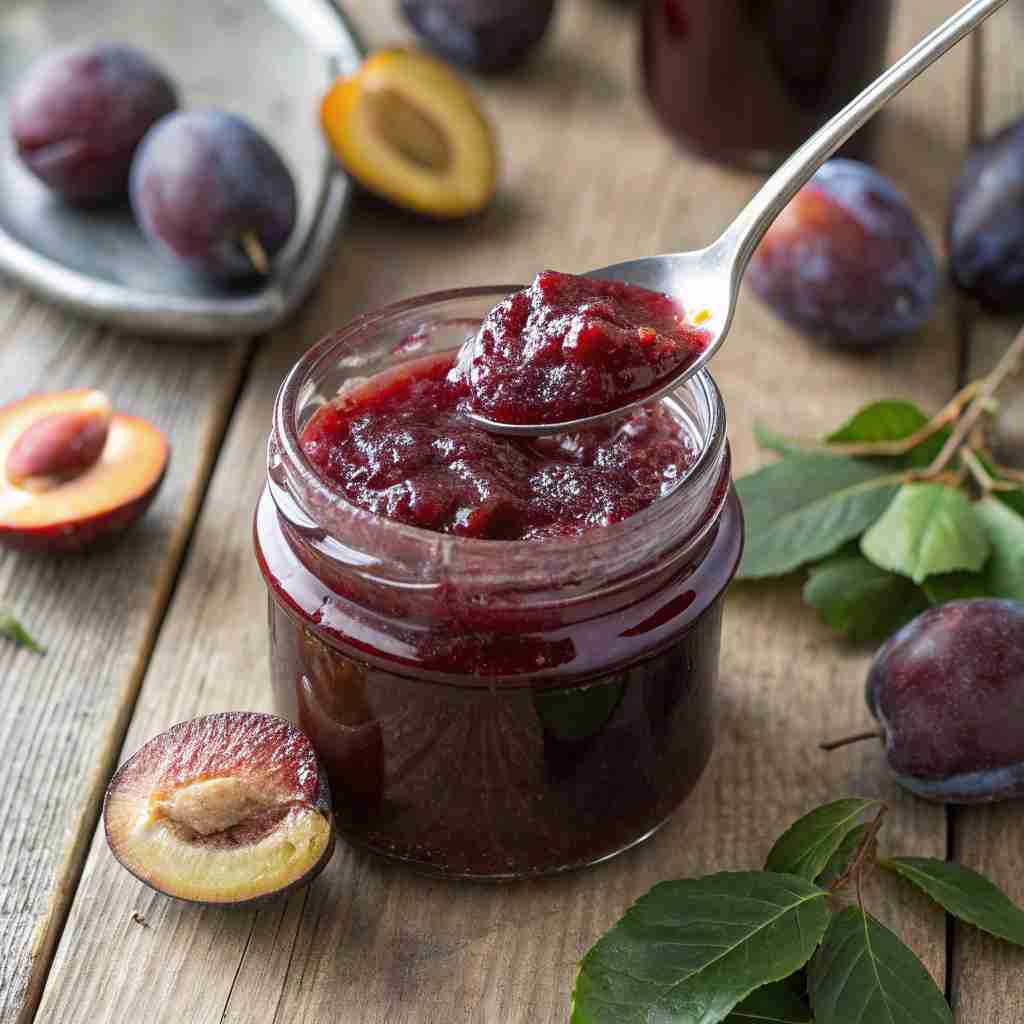
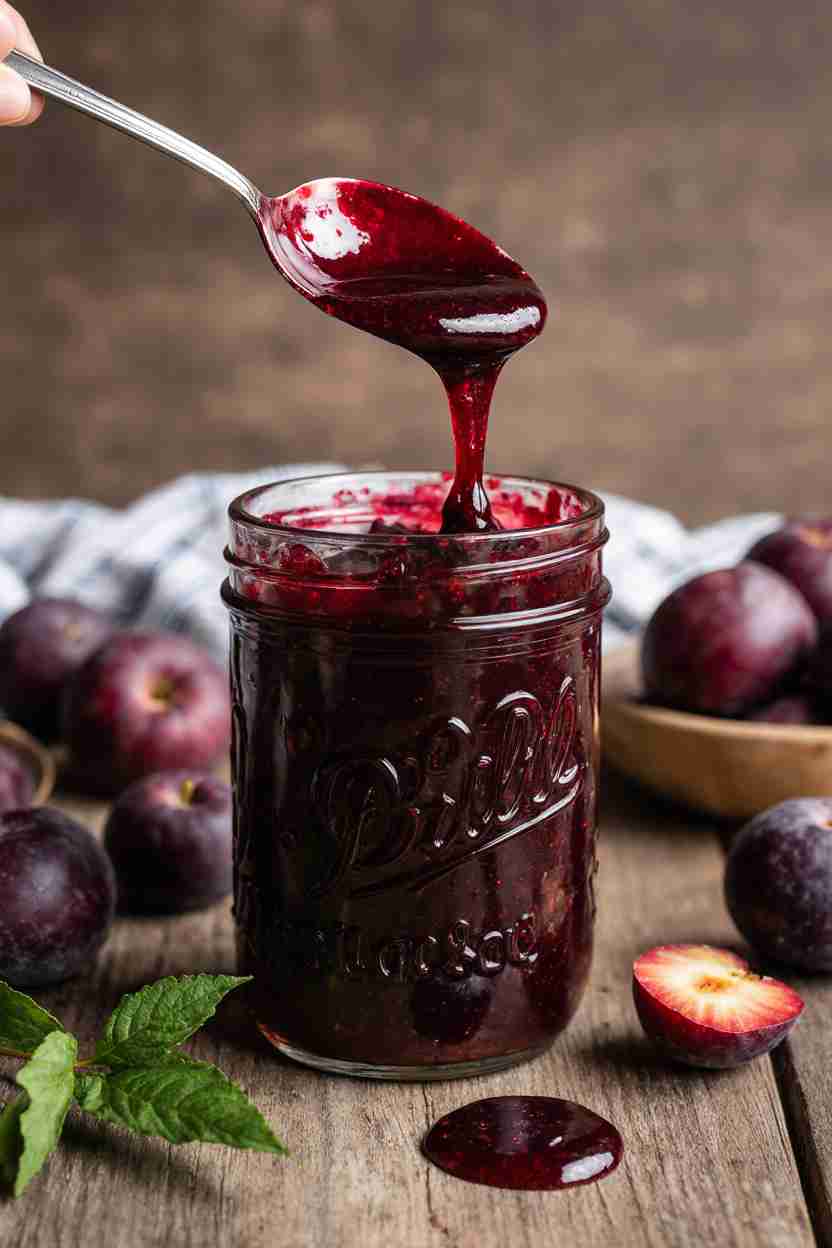
Yes, this is it! This Canning Plum Jam – Sweet and Tart Fruit Recipe is your ticket to preserving the taste of summer all year round. Homemade plum jam is a delightful blend of sweet and tart notes, perfect for spreading on toast, swirling into yogurt, or gifting to loved ones.
What is Canning Plum Jam?
Canning Plum Jam is the art of transforming fresh, ripe plums into a luscious, sweet and tangy spread that can be safely stored for an extended period. This method involves cooking plums with sugar, pectin (a natural fruit thickener), and sometimes a touch of lemon juice to enhance flavor and ensure proper setting.
The resulting jam is then processed in sterilized jars using a boiling water bath to create a vacuum seal, preventing spoilage and preserving the jam for months, or even years! The brilliance of homemade plum jam lies in its ability to capture the essence of the plum’s unique flavor profile, the initial sweetness that gives way to a subtle tartness—all in a velvety smooth texture. Unlike store-bought versions brimming with artificial additives,
Canning Plum Jam allows you to control every ingredient, ensuring a natural and delicious product. So, gather your plums, sterilize those jars, and let’s embark on a journey to create a pantry staple you’ll be proud to share. Ready to try it? Let’s get started!
Key Ingredients for Canning Plum Jam:
- 4 lbs Fresh Plums: Ripe, but not overripe, plums are essential. Choose a variety like Santa Rosa or Damson for the best flavor and pectin content. Wash, pit, and coarsely chop the plums.
- 4 cups Granulated Sugar: Sugar not only sweetens the jam but also acts as a preservative and helps with the gelling process.
- 1/4 cup Lemon Juice: Adds acidity, which is crucial for activating pectin and enhancing the plum flavor. Freshly squeezed is always best!
- 1 package (1.75 oz) Pectin: Pectin is a natural fruit fiber that helps the jam thicken properly. Use a pectin specifically designed for jams and jellies.
- 1/2 cup Water: Adds to cooking consistency.
- Optional Flavor Enhancements: A pinch of ground cinnamon or a teaspoon of almond extract can add depth and complexity to your plum jam.
How to Make Canning Plum Jam:
This Canning Plum Jam recipe is surprisingly easy. It’s a fantastic way to bottle up summer at home! We’ll combine juicy plums, sugar, lemon juice, pectin, and a little water in a large pot. This mixture cooks down on your stovetop by boiling these ingredients together.
This process allows the pectin to work, creating a beautiful, thick jam ready for canning. We will then ladle the sweet fruit into sterilized jars. Secure the lids to create their vacuum seal when submerged in a boiling water bath. This entire process, from prep to finish, takes roughly 1.5 hours.
Step-by-Step Instructions:
- Prepare the Plums: Wash, pit, and coarsely chop the plums. Aim for pieces that are about 1/2 inch in size. Place the chopped plums in a large, heavy-bottomed pot or Dutch oven.
- Combine Ingredients: Add the granulated sugar, lemon juice, and water to the pot with the plums. Stir well to ensure the sugar is evenly distributed.
- Cook the Plum Mixture: Place the pot over medium-high heat and bring the mixture to a full rolling boil, stirring constantly to prevent sticking. A full rolling boil is defined as a boil that doesn’t stop when stirred.
- Add Pectin: Once the mixture reaches a full rolling boil, quickly add the pectin. Stir vigorously to ensure the pectin is fully dissolved.
- Continue Boiling: Return the mixture to a full rolling boil and continue to boil for exactly 1 minute, stirring constantly. This short boiling time is critical for activating the pectin and achieving the proper gel consistency. Remove the pot from the heat.
- Skim off Foam: Use a metal spoon to skim off any foam that has formed on the surface of the jam. This will result in a clearer and more visually appealing finished product.
- Prepare Jars and Lids: While the jam is cooking, prepare your canning jars and lids. Wash the jars in hot, soapy water and rinse thoroughly. Sterilize the jars by placing them in a large pot of boiling water for 10 minutes. Keep the jars hot until ready to use. Prepare the lids according to the manufacturer’s instructions, usually by simmering them in hot water.
- Fill the Jars: Carefully ladle the hot jam into the sterilized jars, leaving 1/4 inch of headspace at the top of each jar. Use a clean damp cloth to wipe the rim of each jar to remove any spills or drips.
- Seal the Jars: Place a lid on each jar and screw on the band until it is fingertip tight (not too tight).
- Process in Boiling Water Bath: Place the filled jars onto a canning rack and lower the rack into a large pot of boiling water. The water should cover the jars by at least 1 inch. Bring the water back to a boil and process for 10 minutes for half-pint (8 oz) jars and 15 minutes for pint (16 oz) jars. Adjust the processing time based on your altitude; if you are above 1,000 feet, increase the processing time by 1 minute for every 1,000 feet of altitude.
- Cool and Check Seals: After processing, turn off the heat and carefully remove the jars from the boiling water bath using jar lifters. Place the jars on a towel-lined surface to cool completely for 12-24 hours. As the jars cool, you should hear a “pop” sound, indicating that the jars have sealed properly.
- Check Seals: After the jars have cooled completely, check the seals by pressing down on the center of the lid. If the lid does not flex or “give,” the jar is properly sealed. If the lid flexes, the jar is not sealed and should be refrigerated immediately and used within a few weeks, or reprocessed with a new lid.
- Store the Jam: Remove the bands from the sealed jars (they are not needed for long-term storage). Label the jars with the date and contents, and store them in a cool, dark place. Properly sealed jars of plum jam can be stored for up to 1 year.
Why You’ll Love This Canning Plum Jam

This Canning Plum Jam beautifully balances the sweetness of sugar with the natural tang of plums. It’s a taste revelation that is sure to impress. Making your own plum jam at home is a lot more cost-effective than buying it from the store. You know exactly what goes into it—no artificial colors, flavors, or preservatives. Plus, it makes a thoughtful and personalized gift.
You can experiment with various flavor additions, such as cinnamon, vanilla, or even a hint of chili, to create a truly unique jam. Consider exploring our other jam recipes, such as our Strawberry Rhubarb Jam, for a delightful and seasonal spread. So, why settle for store-bought when you can create a delicious, homemade plum jam that’s bursting with flavor? Get canning today!
What to Serve Canning Plum Jam With:
Canning Plum Jam is versatile and delicious in countless ways. Here are a few serving suggestions:
- On Toast or Biscuits: The classic pairing! Spread generously on warm toast, scones, or biscuits for a delightful breakfast or afternoon treat.
- With Cheese and Crackers: The sweet and tart flavors of plum jam complement creamy cheeses like brie, goat cheese, or cream cheese. Serve with an assortment of crackers for an elegant appetizer.
- Swirled into Yogurt or Oatmeal: Add a spoonful of plum jam to your morning yogurt or oatmeal for a burst of flavor and sweetness.
- As a Glaze for Meats: Use plum jam as a glaze for roasted meats like pork or chicken. The sweet and tangy flavors create a delicious contrast to the savory meat.
- In Baked Goods: Incorporate plum jam into baked goods such as muffins, cakes, or pastries for added flavor and moisture.
Top Tips for Perfecting Canning Plum Jam:
- Choose the Right Plums: Opt for plums that are ripe but not overripe. Plums that are too ripe may not have enough pectin to set properly.
- Don’t Overcook: Overcooking can result in a tough or rubbery jam. Stick to the specified boiling time for the best results.
- Use a Heavy-Bottomed Pot: A heavy-bottomed pot will help to prevent the jam from sticking and burning.
- Sterilize Jars Properly: Proper sterilization is essential for preventing spoilage and ensuring the safety of your canned jam.
- Adjust for Altitude: If you live at a high altitude, you’ll need to adjust the processing time to ensure that the jars seal properly. Add one minute to processing time for every 1,000 feet above sea level.
- Test for a Set: Before jarring, place a small spoonful of jam on a chilled plate and refrigerate for a minute. If it wrinkles when you push it with your finger, it’s ready.
- Get Creative with Flavors: Enhance your plum jam with a variety of additions such as a vanilla bean, cinnamon stick, ginger, or a splash of brandy for a unique flavor profile.
5 Facts about Canning Plum Jam:
- Plum jam has been a staple preserve in many cultures for centuries, often using locally grown plum varieties.
- The natural pectin content of plums means they often set well without needing excessive additional pectin.
- Different plum varieties (like Italian, Damson, or Santa Rosa) will yield jams with varying color, sweetness, and tartness levels.
- The addition of lemon juice not only helps the jam set but also enhances the plum’s natural flavor.
- Canning plum jam at home allows you to control the sugar content, catering to dietary needs or preferences.
Storing and Reheating Tips:
Storing:
- Unopened Jars: Properly sealed jars of Canning Plum Jam should be stored in a cool, dark, and dry place, such as a pantry or cupboard. The jam can be stored for up to 1 year.
- Opened Jars: Once a jar of plum jam has been opened, it should be stored in the refrigerator. The jam will stay fresh for several weeks if refrigerated properly.
Reheating:
- Canning Plum Jam does not typically require reheating, as it is usually served cold or at room temperature. However, if you wish to warm it slightly, you can do so by placing a small amount in a microwave-safe bowl and heating for a few seconds, or by gently warming it in a saucepan over low heat. Be careful not to overheat the jam, as this can alter its texture and flavor.
- Freezing: Freezing cooked plum jam can be done for longer shelf life but may change the consistency when thawed. Make sure only to use freezer safe container that will not let air ruin your delicious plum jam.
Final Thoughts:
Canning Plum Jam is more than just a recipe; it’s a celebration of seasonal fruit and the joy of preserving nature’s bounty. Whether you’re a seasoned canner or a beginner, this recipe is designed to guide you through creating a delicious and long-lasting preserve. So, gather those plums, follow the steps, and savor the taste of homemade goodness throughout the year!
Read More also:
Canning Plum Jam FAQs:
Q: Can I reduce the amount of sugar in this recipe?
A: While you can reduce the sugar slightly, remember that sugar acts as a preservative and contributes to the jam’s setting. Reducing it too much can affect the texture and shelf life. Consider using a low-sugar pectin option if you want to reduce the sugar significantly.
Q: Can I use frozen plums for this recipe?
A: Yes, you can use frozen plums. Thaw them completely before using, and drain off any excess liquid.
Q: How do I know if my jam has set properly?
A: The easiest way is the “cold plate test.” Place a small spoonful of hot jam on a chilled plate and refrigerate for a minute. If it forms a skin and wrinkles when you push it with your finger, it has set.
Q: My jam is too runny. What did I do wrong?
A: Several factors can cause runny jam, including using underripe fruit, not adding enough pectin, or not boiling the mixture long enough. Next time, ensure your plums are ripe and follow the recipe’s boiling time precisely. You might need to reprocess the jam with additional pectin.
Q: Can I use honey or other sweeteners instead of granulated sugar?
A: While you can experiment with other sweeteners, they may affect the taste, texture, and setting of the jam. Honey, for example, is sweeter than sugar and can result in a softer set. It’s best to use a tested recipe that specifically calls for alternative sweeteners.
Print
Canning Plum Jam
- Total Time: 1 hour 30 minutes
- Yield: 6 to 7 half-pint jars 1x
Description
Canning Plum Jam is the art of transforming fresh, ripe plums into a luscious, sweet and tangy spread that can be safely stored for months. This homemade jam captures the essence of plums with their natural sweetness and subtle tartness.
Ingredients
- 4 lbs fresh plums, ripe but not overripe (washed, pitted, coarsely chopped)
- 4 cups granulated sugar
- 1/4 cup lemon juice (freshly squeezed)
- 1 package (1.75 oz) pectin (for jams and jellies)
- 1/2 cup water
- Optional: pinch of ground cinnamon or 1 tsp almond extract
Instructions
- Wash, pit, and coarsely chop plums into 1/2-inch pieces. Place in a large pot.
- Add sugar, lemon juice, and water. Stir to combine.
- Bring mixture to a full rolling boil over medium-high heat, stirring constantly.
- Quickly add pectin and stir until dissolved.
- Return to a full rolling boil and cook exactly 1 minute, stirring constantly. Remove from heat.
- Skim off any foam with a metal spoon.
- Sterilize jars in boiling water for 10 minutes and keep hot until use. Prepare lids as directed.
- Ladle hot jam into jars, leaving 1/4 inch headspace. Wipe rims clean.
- Place lids and screw on bands until fingertip tight.
- Process jars in a boiling water bath: 10 minutes for half-pint, 15 minutes for pint jars (adjust for altitude).
- Remove jars and let cool 12–24 hours. Listen for “pops” indicating seals.
- Check seals: if lid center is firm, it’s sealed. If not, refrigerate and use soon or reprocess.
- Label sealed jars and store in a cool, dark place for up to 1 year.
Notes
This jam balances sweet and tangy flavors beautifully. Experiment with cinnamon, vanilla, or chili for unique twists. Serve on toast, with cheese, swirled into yogurt, as a glaze for meats, or in baked goods.
- Prep Time: 30 minutes
- Cook Time: 1 hour
- Category: Preserves & Canning
- Method: Boiling Water Bath
- Cuisine: American
Nutrition
- Serving Size: 1 tablespoon
- Calories: 50
- Sugar: 12g
- Sodium: 0mg
- Fat: 0g
- Saturated Fat: 0g
- Unsaturated Fat: 0g
- Trans Fat: 0g
- Carbohydrates: 13g
- Fiber: 0g
- Protein: 0g
- Cholesterol: 0mg

