Ingredients
Equipment
Method
- In a medium-sized mixing bowl, add the rolled oats and chia seeds. If you’re using cinnamon, add it now and give it a quick stir to distribute evenly.1 cup rolled oats, 2 tablespoons chia seeds, 1 pinch cinnamon
- To the bowl with the dry ingredients, add the sunflower seed butter, pure maple syrup, hemp seeds, and vanilla extract. If you're adding any optional mix-ins like nut-free mini chocolate chips or shredded coconut, stir them in at this stage as well.1/2 cup sunflower seed butter, 1/4 cup pure maple syrup, 1 tablespoon hemp seeds, 1 teaspoon vanilla extract, 1/4 cup mini chocolate chips, 2 tablespoons shredded unsweetened coconut
- Use a sturdy spoon or a spatula to mix all the ingredients together until they are well combined. You want to create a thick, slightly sticky dough. It might look a little dry at first, but keep mixing.
- If the mixture still seems too dry and crumbly to hold its shape after thorough mixing, add water or plant-based milk, one tablespoon at a time, mixing after each addition. Be careful not to add too much liquid, as you don’t want the balls to be too wet or sticky to handle.1-2 tablespoons water or unsweetened plant-based milk
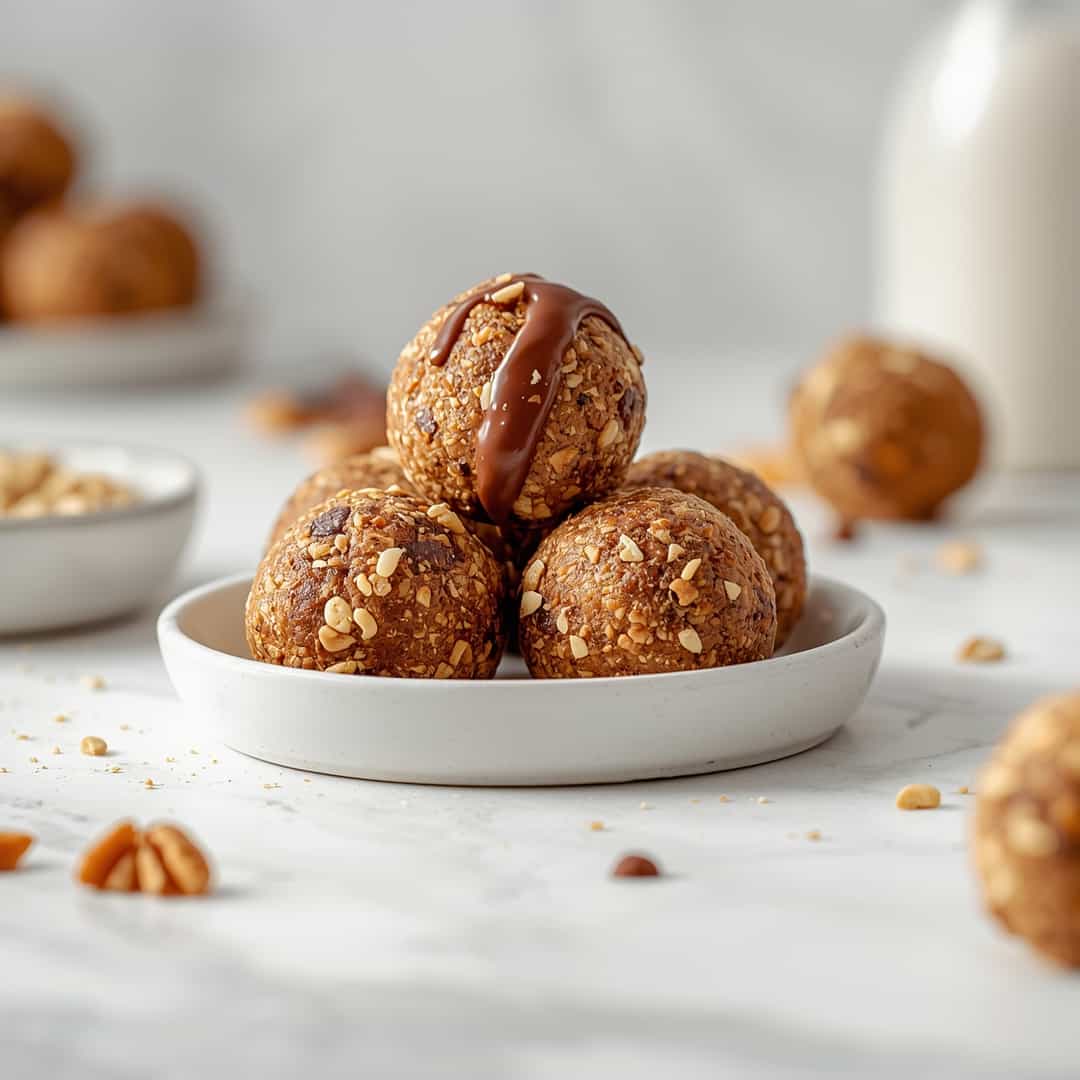
- Once the mixture is cohesive and easy to work with, it’s time to roll. Take about a tablespoon of the mixture at a time and roll it between your palms to form small, bite-sized balls, about 1-inch in diameter. The warmth of your hands will help the mixture bind together nicely.
- Place the formed protein balls onto a plate or baking sheet lined with parchment paper. This prevents them from sticking. Once all the mixture has been rolled into balls, place the plate or baking sheet in the refrigerator for at least 30 minutes. This chilling time allows the balls to firm up and hold their shape better.
Notes
Store in an airtight container in the refrigerator for up to one week. Can also be frozen for up to 2 months.