Ingredients
Equipment
Method
- In a medium mixing bowl, combine the almond butter (or your chosen alternative), honey (or maple syrup), and vanilla extract. Stir these ingredients together until they are well incorporated and create a smooth, cohesive base.1/2 cup gluten-free almond butter, 1/3 cup honey, 1 teaspoon vanilla extract
- To the wet ingredients, add the rolled oats, chia seeds (or flax seeds), and a pinch of salt. If you're using chocolate chips, now is the time to fold them in as well.1 cup rolled oats, 2 tablespoons chia seeds, Pinch salt, 1/4 cup gluten-free chocolate chips
- Using a sturdy spoon or spatula, mix all the ingredients together until a thick, sticky dough forms. Ensure that all the dry ingredients are fully incorporated and there are no dry pockets of oats. The mixture might seem a little crumbly at first, but keep mixing until it starts to hold together.
- For easier handling, cover the bowl with plastic wrap or a lid and refrigerate the mixture for at least 15-30 minutes. This will firm up the dough, making it less sticky and much easier to roll.
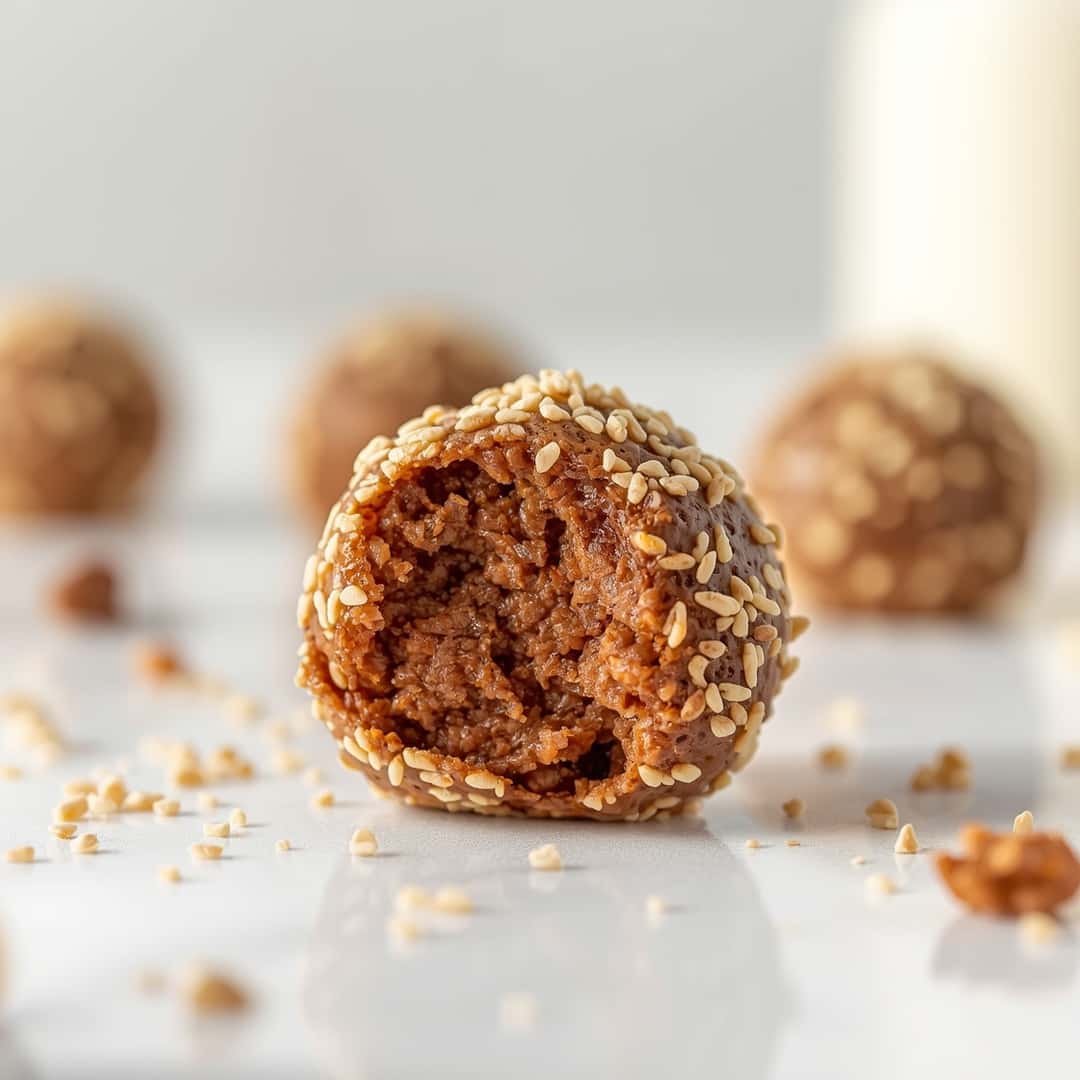
- Once chilled, scoop out approximately one tablespoon of the mixture at a time. Roll the mixture between your palms to form small, compact balls, about 1 inch in diameter. If the mixture is too sticky, you can lightly dampen your hands with water.
- Place the rolled protein balls onto a baking sheet lined with parchment paper. Ensure they are not touching each other.
- Refrigerate the protein balls for at least another 30 minutes to allow them to firm up completely before enjoying.
Notes
Store in an airtight container in the refrigerator for up to 10-14 days. For longer storage, freeze for up to 2-3 months. Thaw in the refrigerator or at room temperature.