Ingredients
Equipment
Method
- Line a baking sheet or trays with parchment paper or wax paper. This will prevent the chocolate-covered pretzels from sticking and make for easy cleanup. Have all your chosen toppings ready and within easy reach.
- Microwave Method: Place the melting chocolate (chopped if you're using chocolate bars) in a microwave-safe bowl. Add the optional coconut oil or shortening if using. Microwave on 50% power for 30-second intervals, stirring well after each interval, until the chocolate is almost completely melted. Continue stirring until the residual heat melts any remaining bits. Be careful not to overheat, as this can cause the chocolate to seize or burn.12 ounces high-quality melting chocolate (milk chocolate, semi-sweet, dark chocolate, or white chocolate – your choice!), 1-2 tablespoons coconut oil or vegetable shortening
- Double Boiler Method: Fill a saucepan with about an inch of water and bring it to a gentle simmer. Place the melting chocolate (chopped if necessary) in a heatproof bowl that fits snugly over the saucepan without touching the water. Add the optional coconut oil or shortening if using. Stir the chocolate constantly until it is smooth and completely melted.12 ounces high-quality melting chocolate (milk chocolate, semi-sweet, dark chocolate, or white chocolate – your choice!), 1-2 tablespoons coconut oil or vegetable shortening
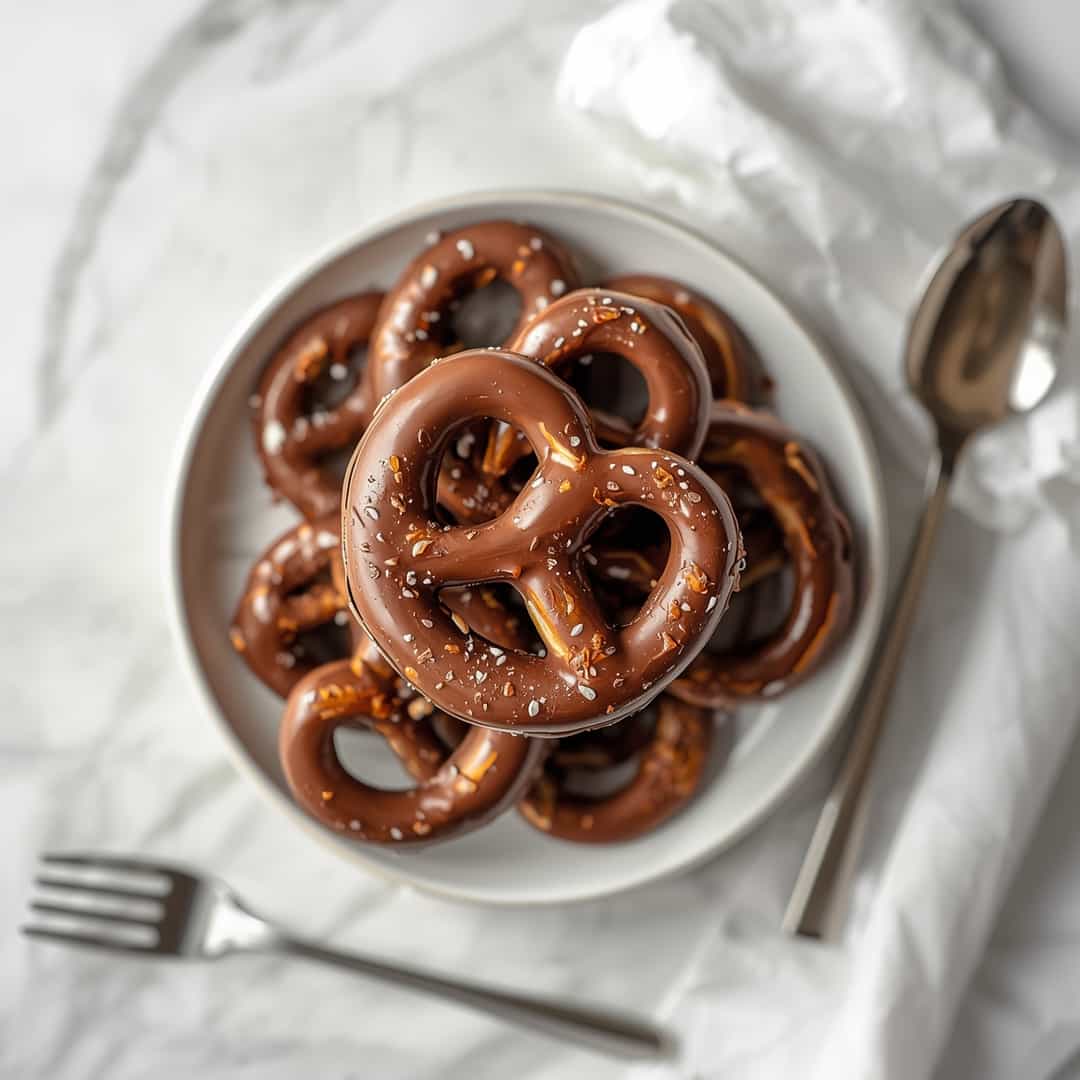
- Dip each pretzel into the melted chocolate, using a fork or a toothpick to help swirl and coat it evenly. Allow any excess chocolate to drip back into the bowl. For a more artistic look, you can partially dip pretzels or create swirls. (Alternatively, you can spoon the melted chocolate over the pretzels on the parchment paper for a simpler drizzle effect.)1 (12 ounce) bag favorite pretzels (twists, rods, or snaps work great!), 12 ounces high-quality melting chocolate (milk chocolate, semi-sweet, dark chocolate, or white chocolate – your choice!)
- Before the chocolate sets, immediately sprinkle your chosen toppings over the coated pretzels. This is where you can get creative! Press down lightly if needed to ensure the toppings adhere well.
- Carefully place the decorated chocolate-covered pretzels onto the prepared baking sheet. Once all pretzels are coated and decorated, transfer the baking sheet to the refrigerator for at least 15-30 minutes, or until the chocolate is completely firm and set. This ensures a good snap when you bite into them.1 (12 ounce) bag favorite pretzels (twists, rods, or snaps work great!)
Notes
Store in an airtight container at room temperature for up to 1 week. Avoid direct sunlight or warm areas. Refrigeration is an option if your kitchen is warm.
Reheating is not necessary. If softened, briefly chill.
Freezing is possible but may affect crispness. Thaw in refrigerator.