Ingredients
Equipment
Method
- In a large skillet, heat 1 tablespoon of olive oil over medium-high heat. Add the chicken pieces and season them with salt and pepper. Cook the chicken, stirring occasionally, until it's browned on all sides and cooked through. Once cooked, remove the chicken from the skillet and set it aside in a bowl.1.5 pounds Chicken Breast, 1/2 teaspoon Salt, 1/4 teaspoon Black Pepper
- To the same skillet (no need to wipe it clean), add the remaining 1 tablespoon of olive oil and the butter. Once the butter has melted, add the minced garlic and cook for about 1 minute, until fragrant. Be careful not to burn the garlic.2 tablespoons Olive Oil, 2 tablespoons Butter, 4 cloves Garlic
- Sprinkle the flour over the garlic and butter. Whisk continuously for about 1 minute to cook off the raw flour taste, forming a smooth paste (this is called a roux).1 tablespoon All-Purpose Flour
- Gradually whisk in the milk, ensuring no lumps form. Continue whisking until the sauce starts to thicken, which should take about 3-5 minutes.1 cup Milk
- Reduce the heat to low. Add the softened cream cheese and stir until it's fully melted and incorporated into the sauce. Then, add 1 cup of the shredded cheddar cheese, stirring until it’s melted and the sauce is smooth and creamy.4 ounces Cream Cheese, 1.5 cups Shredded Cheddar Cheese
- Stir in the Worcestershire sauce, 1/2 teaspoon of salt, and 1/4 teaspoon of black pepper. Taste and adjust seasonings as needed.1 teaspoon Worcestershire Sauce, 1/2 teaspoon Salt, 1/4 teaspoon Black Pepper
- Return the cooked chicken to the skillet with the cheese sauce. Stir well to coat all the chicken pieces evenly. Cook for another 2-3 minutes, allowing the chicken to heat through and absorb the delicious flavors.
- Warm the tortillas according to package directions. This can be done in a dry skillet, in the microwave, or briefly in the oven. Warmer tortillas are more pliable and less likely to tear.8 count Large Flour Tortillas
- Spoon a generous amount of the cheesy garlic chicken mixture into the center of each warmed tortilla. Sprinkle the remaining 1/2 cup of shredded cheddar cheese over the chicken.1.5 cups Shredded Cheddar Cheese
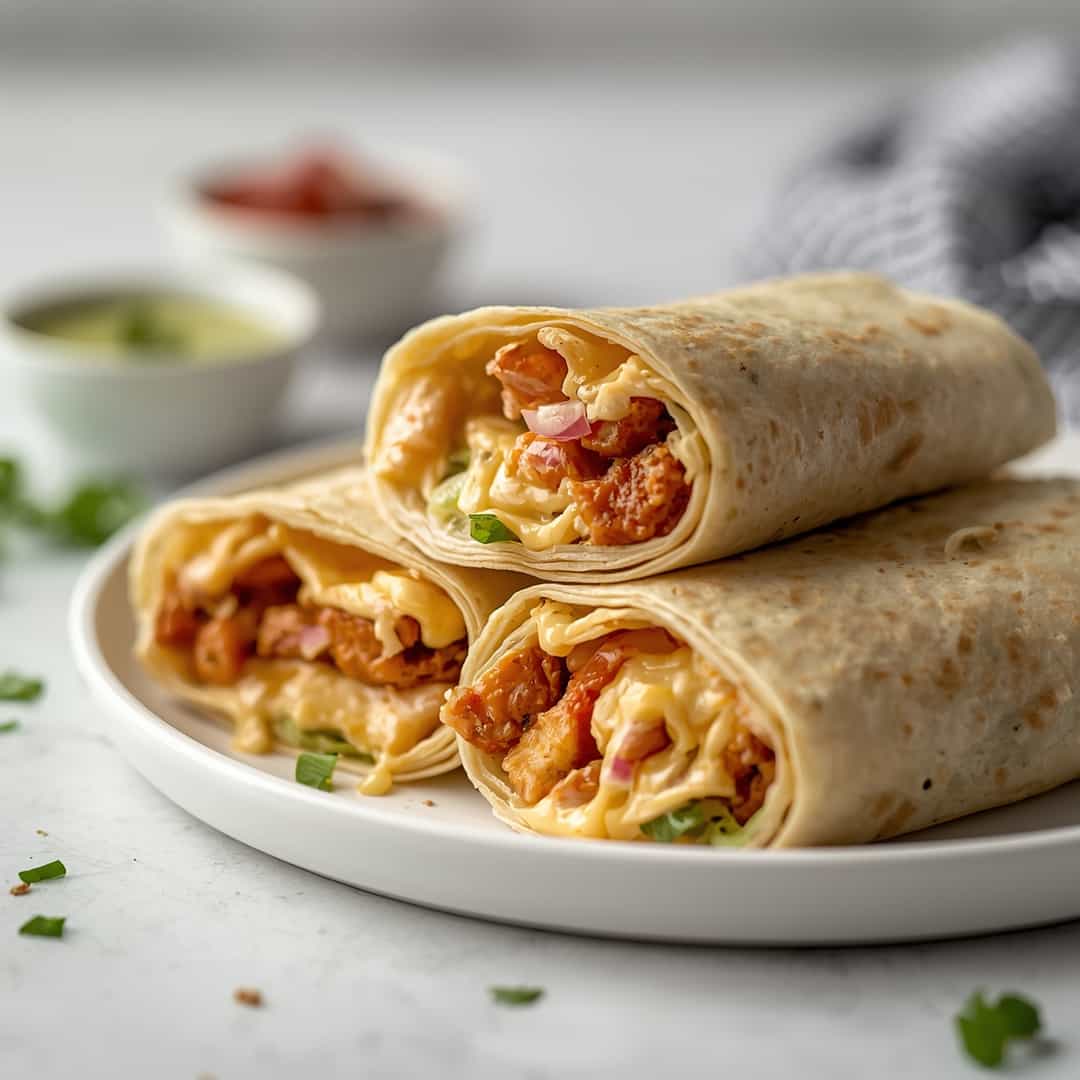
- Fold in the sides of each tortilla, then tightly roll them up from the bottom to create your wraps. Serve immediately, garnished with fresh parsley or a pinch of red pepper flakes if desired.Chopped fresh parsley, Red pepper flakes
Notes
Refrigeration: Allow any leftover Cheesy Garlic Chicken Wraps to cool completely. Wrap them tightly in plastic wrap or aluminum foil, or store them in an airtight container. They will stay fresh in the refrigerator for up to 2-3 days.
Reheating:
Oven: Place the wrap on a baking sheet and reheat in a preheated oven at 350°F (175°C) for 10-15 minutes, or until heated through. For a crispier exterior, you can place them directly on the oven rack for the last few minutes.
Skillet: You can reheat the wraps in a dry skillet over medium-low heat, turning frequently, until warmed through. This method can help achieve a nice slight crisp.
Microwave: While quick, microwaving can sometimes make tortillas a bit chewy. Reheat in 30-second intervals, checking for warmth, until heated through.
Freezing: For longer storage, wrap cooled wraps tightly in plastic wrap and then in aluminum foil, or place them in a freezer-safe bag or container. They can be frozen for up to 1-2 months. Thaw overnight in the refrigerator before reheating using one of the methods above. Note that the texture of the tortilla might slightly change after freezing and reheating.
Reheating:
Oven: Place the wrap on a baking sheet and reheat in a preheated oven at 350°F (175°C) for 10-15 minutes, or until heated through. For a crispier exterior, you can place them directly on the oven rack for the last few minutes.
Skillet: You can reheat the wraps in a dry skillet over medium-low heat, turning frequently, until warmed through. This method can help achieve a nice slight crisp.
Microwave: While quick, microwaving can sometimes make tortillas a bit chewy. Reheat in 30-second intervals, checking for warmth, until heated through.
Freezing: For longer storage, wrap cooled wraps tightly in plastic wrap and then in aluminum foil, or place them in a freezer-safe bag or container. They can be frozen for up to 1-2 months. Thaw overnight in the refrigerator before reheating using one of the methods above. Note that the texture of the tortilla might slightly change after freezing and reheating.