
Luscious Homemade Apricot Jam: The Perfect Summer Preserve
There is nothing quite like the bright, tangy sweetness of homemade apricot jam slathered over warm toast on a Sunday morning. Capturing the essence of peak summer fruit, this recipe for Luscious Homemade Apricot Jam is surprisingly simple to make, resulting in a vibrant, jewel-toned preserve that far surpasses anything you can buy at the store. Get ready to fill your pantry with the taste of sunshine!
Why You Will Love This Recipe
This recipe for Luscious Homemade Apricot Jam is a staple for any home canner or beginner preserver. You will love it because it requires very few ingredients, allowing the natural flavor of the apricots to truly shine through. It yields a beautiful texture—perfectly spreadable yet holding its shape, thanks to the natural pectin in the fruit. Furthermore, making your own jam allows you to control the sugar content and avoid artificial additives, ensuring a truly pure and delicious preserve.
Ingredients
- 4 cups ripe apricots, pitted and halved (about 2 pounds)
- 4 cups granulated white sugar
- 1 tablespoon fresh lemon juice
Step-by-Step Instructions
- Prepare the Fruit: Wash the apricots thoroughly. Remove the pits and cut the fruit into halves or quarters, depending on their size.
- Macerate (Optional but Recommended): In a large, non-reactive pot (stainless steel is ideal), combine the prepared apricots and sugar. Stir gently to combine. Cover the pot and let the mixture sit at room temperature for at least 4 hours, or preferably overnight in the refrigerator. This process draws out the juices and helps the sugar dissolve, leading to a better final texture.
- Start Cooking: If you macerated the fruit, bring the mixture slowly to a boil over medium-high heat, stirring frequently until all the sugar has completely dissolved. If you are pressed for time, skip maceration and stir the fruit and sugar together over medium heat until the sugar dissolves before increasing the heat.
- Boil Rapidly: Once the mixture reaches a rolling boil (a boil that cannot be stirred down), add the lemon juice. Continue to boil rapidly, stirring often to prevent scorching on the bottom of the pot.
- Test for Set: Cook until the jam reaches the setting point. This typically takes between 15 and 25 minutes after reaching a rolling boil, depending on the water content of your fruit. To test for set, use a reliable candy thermometer (aim for 220°F / 104°C) or perform the ‘frozen plate test’: place a small spoonful of jam onto a plate that has been chilling in the freezer; return it to the freezer for one minute. If the jam wrinkles when you push it with your finger, it is set.
- Skim Foam (Optional): As the jam cooks, foam may form on the top. Skim this off with a metal spoon for a clearer final product.
- Jarring: Carefully ladle the hot jam into sterilized jars, leaving 1/4 inch headspace. Wipe the rims clean, apply the lids and bands fingertip tight.
- Processing: Process the jars in a boiling water bath canner for 10 minutes (adjust time for altitude), or freeze them if you choose not to process them for shelf stability. Allow jars to cool completely on the counter to check the seals.
Expert Tips / Pro Tips
To achieve the very best batch of Luscious Homemade Apricot Jam, remember these key points. First, use fruit that is ripe but still slightly firm; overly soft apricots might break down too easily into sauce rather than jam. Second, do not rush the boiling process once the setting point is reached; rapid, vigorous boiling reduces water content quickly, allowing the pectin to activate properly. Third, always use a large, heavy-bottomed pot. Apricot jam has a high sugar content and tends to scorch easily on thin pans when boiling vigorously. Finally, never double a jam recipe attempting to save time; jams that are too large a batch cook unevenly and often fail to set correctly.
Variations & Substitutions
While the classic version is wonderful, feel free to experiment with flavors. For a Spiced Apricot Jam, add 1/4 teaspoon of ground cinnamon or a few whole star anise pods during the last ten minutes of cooking (remove the star anise before jarring). If you prefer a less sweet preserve, you can reduce the sugar up to 1/2 cup less than the recipe calls for, though this may slightly impact the potential shelf life and the firmness of the set. For a brighter twist, substitute the lemon juice with 1/2 teaspoon of orange zest and 1/2 teaspoon of lime juice.
Serving Suggestions
This Luscious Homemade Apricot Jam is incredibly versatile beyond the toast rack. It makes a stunning glaze for roasted pork tenderloin or chicken. Swirl a spoonful into plain Greek yogurt or cottage cheese for a quick, flavorful breakfast boost. It is also a fantastic filling layer between cake layers or used as a sweet-and-tart topping for cheesecake. Don’t forget using it in classic thumbprint cookies!
Storage, Freezing & Reheating
For shelf-stable storage, properly processed sealed jars of this jam will last in a cool, dark pantry for up to one year. Examine the seal before opening; if the lid springs open when pressed, the jam is not safe for pantry storage and must be refrigerated. Once opened, store the jam in the refrigerator and consume within 3-4 weeks. For very long-term storage, jam can be frozen in freezer-safe containers or jars (leave 1 inch headspace) for up to 6 months. Thaw overnight in the refrigerator before serving.
Nutrition Information
Note: Nutritional data provided is an estimate per serving (assuming 16 total servings from the batch) and will vary based on exact fruit size and sugar absorption.
| Nutrient | Amount |
|---|---|
| Calories | 105 kcal |
| Total Fat | 0g |
| Sodium | 0mg |
| Total Carbohydrates | 27g |
| Sugars | 26g |
| Protein | 0g |
FAQ
Do I need added pectin for this jam?
No, this recipe does not require added commercial pectin. Apricots contain sufficient natural pectin to set the jam, especially when combined with the acid provided by the lemon juice, provided you cook it down to the correct setting temperature (220°F or the wrinkle test).
My jam is too runny. What went wrong?
If your jam is runny after cooling, it likely did not reach a full rolling boil long enough, or it didn’t reach the proper setting temperature (around 220°F). Next time, ensure a vigorous boil and retest rigorously. If you need to fix a batch immediately, you can pour the cooled jam back into a pot, add 1 tablespoon of fresh lemon juice and 1 teaspoon of sugar, bring it back to a boil, and cook until it passes the setting test again.
Can I use frozen apricots instead of fresh?
Yes, frozen apricots work well. Thaw them completely first, and drain off any excess accumulated liquid before combining them with the sugar. You might need to cook the jam slightly longer as the excess moisture needs to evaporate.
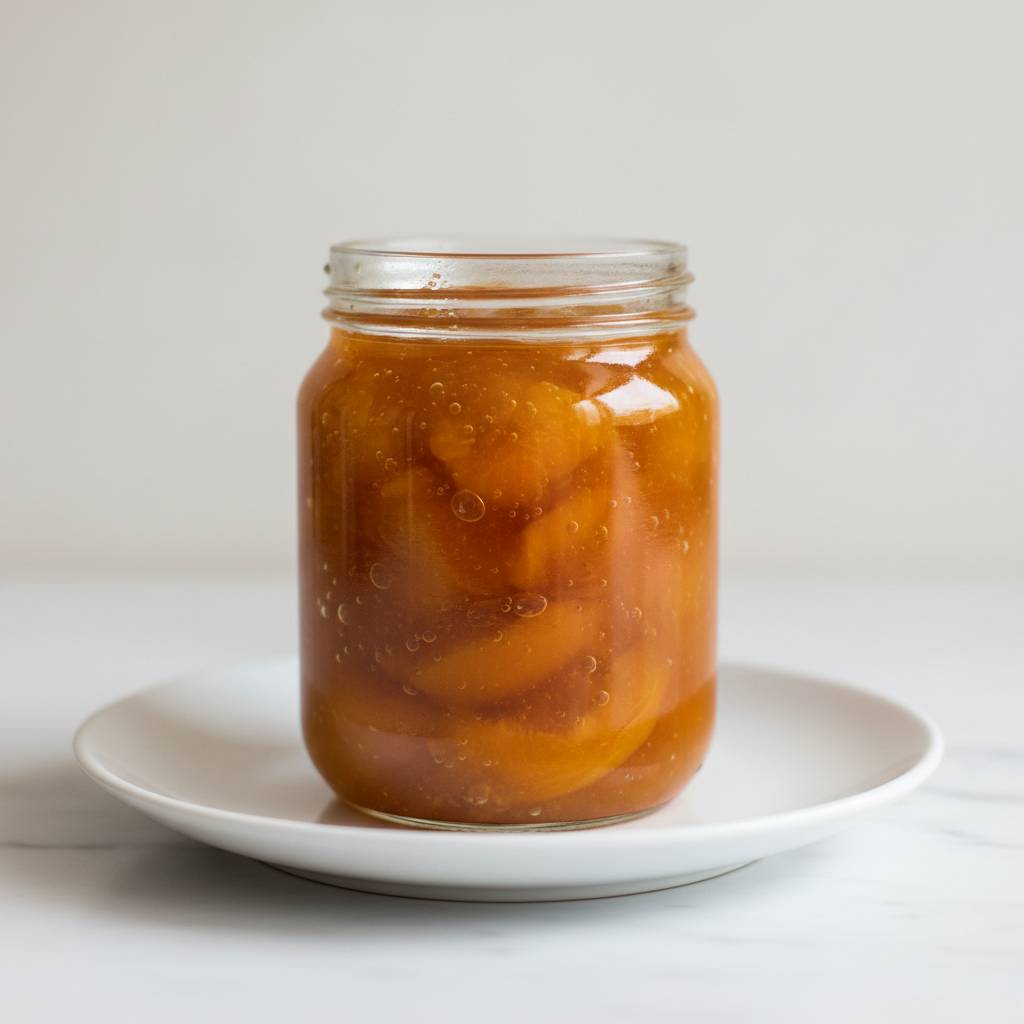
Luscious Homemade Apricot Jam
Ingredients
Method
- Combine the quartered apricots and lemon juice in a large, non-reactive pot. Cook over medium heat, stirring occasionally, until the fruit softens significantly and releases its juices (about 10-15 minutes).
- If you prefer a smoother jam, carefully use an immersion blender to pulse the mixture a few times until it reaches your desired consistency. Do not over-blend if you like whole fruit pieces.
- In a separate small bowl, whisk the powdered pectin into 1/2 cup of the granulated sugar until no lumps remain. This prevents lumping when added to the hot fruit.
- Increase the heat to high. Sprinkle the pectin-sugar mixture over the boiling fruit, stirring vigorously for 1 minute. Immediately add the remaining granulated sugar, stirring constantly until it is fully dissolved.
- Bring the mixture to a rolling boil that cannot be stirred down. Boil hard, stirring frequently to prevent scorching, until the jam reaches 220°F (105°C) on a candy thermometer, or passes the cold plate test (about 5-10 minutes after the hard boil begins).
- Remove from heat. Skim off any surface foam using a metal spoon. Ladle the hot jam carefully into sterilized hot jars, leaving 1/4 inch headspace. Wipe rims clean and seal with lids and bands.
- Process the sealed jars in a boiling water bath for 10 minutes to ensure a proper seal. Remove jars and let cool completely before checking seals.