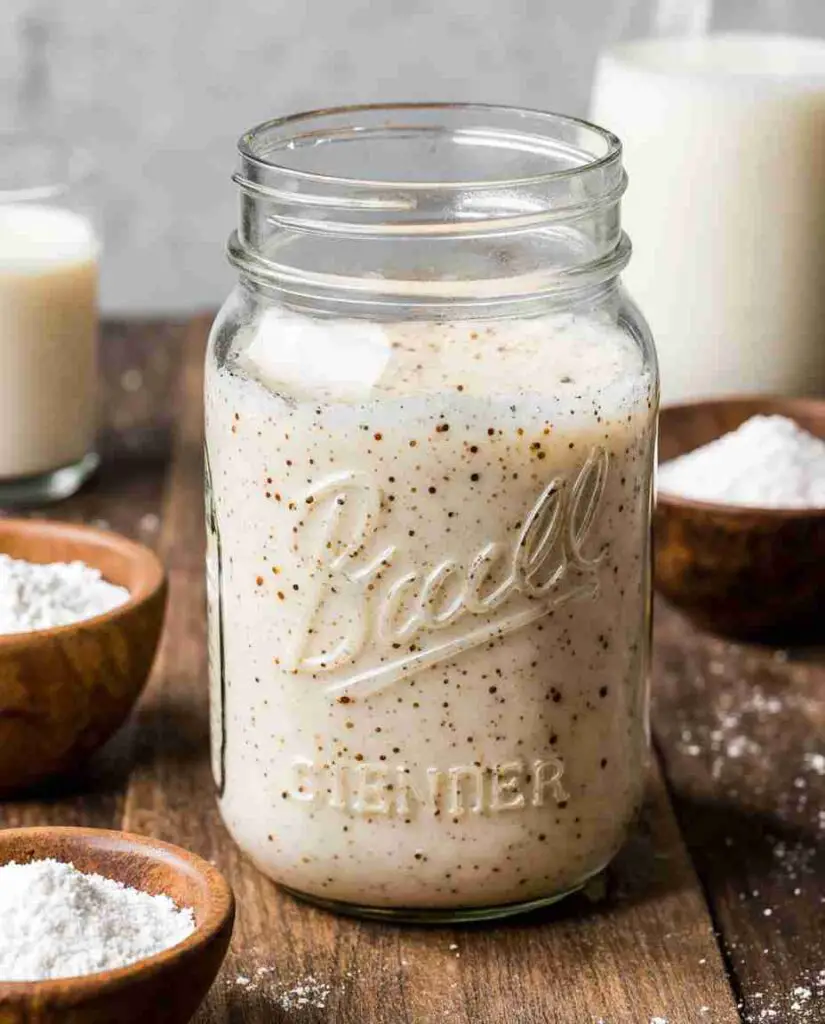
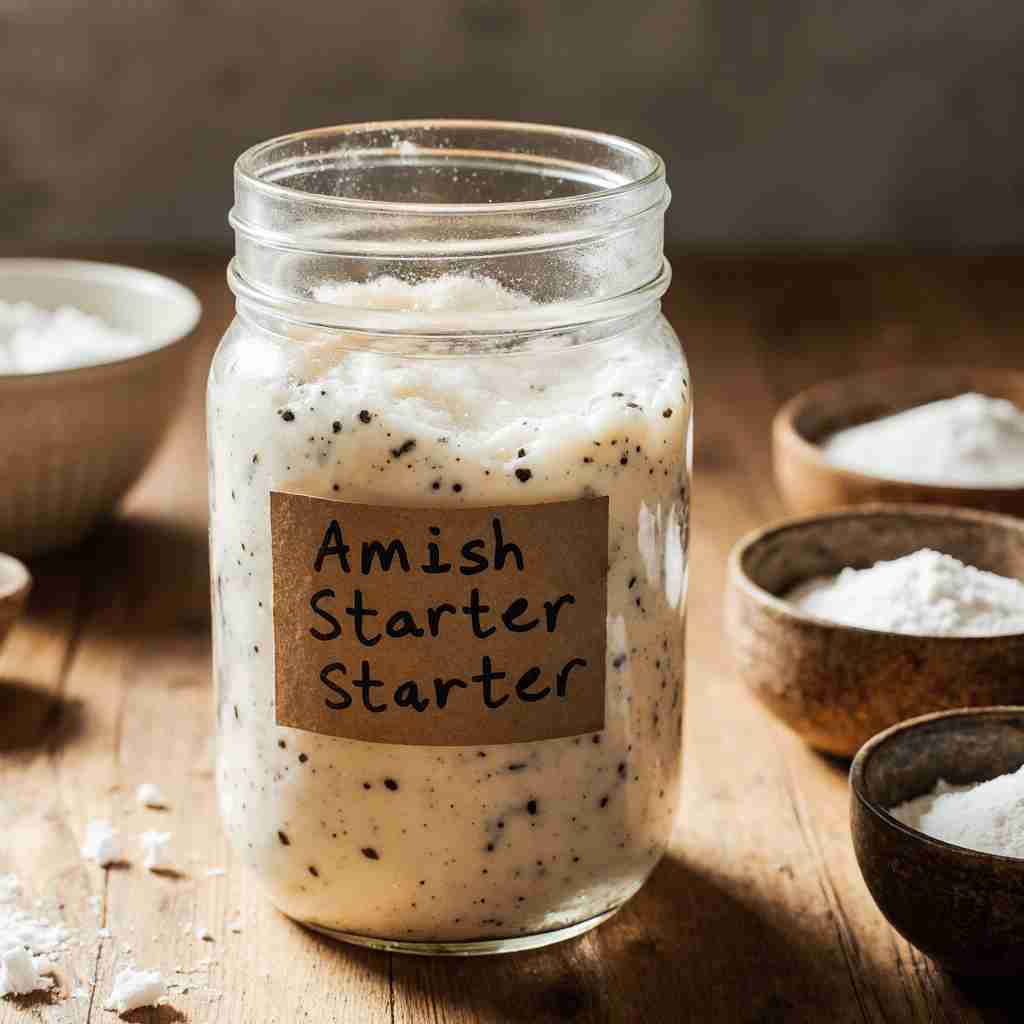
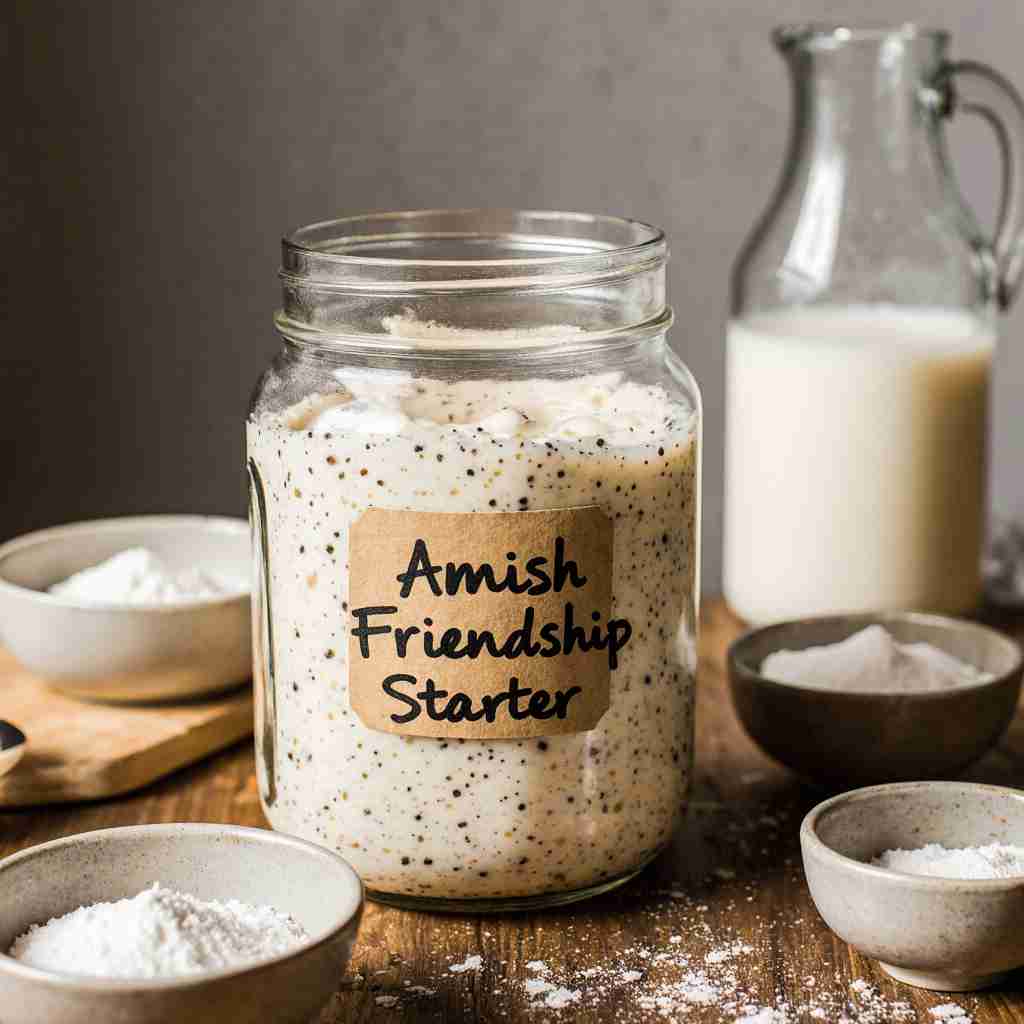
Wondering what to do with extra Amish starter you can’t use right away? This recipe shows you exactly how to freeze Amish starter safely, so you never waste a batch again. Freezing your Amish friendship bread starter is a smart way to pause your baking routine and pick it up whenever you’re ready.
Whether you’re saving time, reducing waste, or planning ahead, this guide makes it easy to portion, store, and revive your starter with success. Keep your starter active and ready for your next delicious bake, perfect for bread, pancakes, and more!
Jump To :
What is Amish Starter?
Amish starter, also known as friendship starter, is a living culture that you nurture and share. But where does it really come from? Is it a closely guarded Amish secret whispered down through generations? Did a magical yeast fairy sprinkle it on some flour one day? Probably not! But the mystery adds to the fun, doesn’t it? It’s more fun imagining it like that than knowing the mundane probably truth. Perhaps the name, Amish friendship bread, has something to do with the fact that the recipe, or some variation thereof, has been passed down for generations.
Some say the name has nothing to do with religion, it is merely because you give pieces of the dough to your friends to foster friendships. Who knows? Whether its origin is mundane or magical, one thing is certain: This starter creates absolutely delicious treats! Remember, ‘the way to a man’s (or anyone’s!) heart is through their stomach.’ Give it a try!
Why You’ll Love Freezing Your Amish Starter:
Freezing Amish starter is a game-changer! First, it’s a fantastic way to preserve your starter when you’re taking a break from baking. Imagine having fresh, active starter ready to go whenever you crave those fluffy pancakes or delicious bread. Unlike other time-sensitive cultures, freezing ensures your starter doesn’t go to waste when life gets busy. Secondly, it’s a HUGE money saver. By freezing, you avoid the guilt (and cost!) of discarding excess starter.
Who needs to buy expensive bread when you can whip up a fresh loaf? Finally, it makes Amish baking more attractive by making it more convenient. If you freeze it in smaller ready to bake portions, it will be ready when you are. If you love the tang of sourdough, give this freeze a try!
Key Ingredients for Healthy Amish Starter
Before we delve into freezing, it is important to ensure your starter is strong and healthy. Here are the basic ingredients for growing and maintaining your Amish starter:
- 1 cup all-purpose flour: Provides the necessary carbohydrates for the yeast to feed on.
- 1 cup milk: Adds moisture and lactose, which contributes to the fermentation process.
- 1 cup sugar: Provides additional food for the yeast and adds sweetness to the final product.
- Active Starter: The foundation of your Amish baking adventures.
[Image of Amish Starter Ingredients: Flour, Milk, Sugar, and Starter in separate bowls]
How to Prepare Your Freeze Amish Starter
The beautiful thing about Amish starter is that, while a living thing, it doesn’t demand much of you. Here is a brief overview to get you started.
Amish Starter is easy and delicious, requiring just a daily stir. This delightful process creates delicious food as you wait for the starter to bubble up indicating it is ready for baking. With the right recipe, this process can be repeated multiple times.

Step-by-Step Instructions:
Here’s how to freeze your Amish starter properly:
Step 1: Prepare the Starter
- Feed your starter: Before freezing, feed your starter as usual with flour, milk, and sugar. Then let it sit for 24 hours. This ensures it is active and healthy, which is crucial for successful revival after freezing.
Step 2: Portioning the Starter
- Divide the starter: Decide how you’ll use the starter when you revive it. If you typically use 1 cup per recipe, portion it into 1-cup servings. Use clean measuring instruments to ensure accuracy and avoid contamination.
- Select containers: Use freezer-safe bags. Squeeze out as much air as possible. Alternatively, use freezer-safe containers with airtight lids, leaving some headroom for expansion during freezing.
Step 3: Pre-Freezing Considerations
- Label and Date: *Before placing it freeze, label the bag/container with the name of the starter and the date to identify it and track its age. Use a permanent marker that will not smudge in cold conditions
- Write the date and ‘Amish Starter’ on each bag or container with a permanent marker. This will help you keep track of how long it has been frozen.
Step 4: Freezing Process
- Freeze Quickly: Place the bags or containers in the freezer. Arrange them in a single layer to facilitate rapid freezing. The quicker the starter freezes, the better it will maintain its viability.
- Do not freeze and unfreeze: Only take out and defrost enough of the starter to bake with so that you don’t run down the yeast.
Step 5: Thawing the Starter
- Thaw in the Refrigerator: When ready to use, transfer the frozen starter to the refrigerator. Allow it to thaw slowly over 24-48 hours. This gentle thawing process helps prevent damage to the yeast cells.
Step 6: Reviving the Starter
- Observe the Starter: After thawing, the starter may appear inactive. This is normal. Before trying to bake with it, give it another feeding.
- *Feed and Wait: After thawing the portion in the fridge and placing it back in the warmer, allow the starter to sit in the room a bit. If it doesn’t activate in the usual time, add a touch of sugar (about a tablespoon) and see if that wakes it up after several hours.
- Feed Again: Discard all but 1 cup of the thawed starter. Add 1 cup of flour, 1 cup of milk, and 1 cup of sugar. Stir well and let it sit at room temperature for 12-24 hours.
- Look for Activity: Watch for signs of activity, such as bubbling and an increase in volume. This indicates the yeast is reviving. It may take a couple of feedings to regain full activity.
Step 7: Baking with Revived Starter
- Bake As Usual: Once the starter is active again, you can use it in your favorite Amish friendship bread, pancake, or other recipes.
- Enjoy: It will be like it never slept!
What to Serve With Freeze Amish Starter:
Amish starter goes especially well with:
- Coffee or Tea: A warm cup of coffee or tea pairs perfectly with Amish friendship bread or cinnamon rolls made from the starter.
- Fresh Fruit: Serve bread alongside a bowl of fresh berries or slices of apple or pear.
- Yogurt: A dollop of plain yogurt complements the sweetness of many Amish starter-based desserts.
Top Tips for Perfecting Freeze Amish Starter

- Feed the Starter Well Before You Freeze: A well-fed starter will survive the freezing process much better.
- Use Freezer-Safe Containers: Improper storage can lead to freezer burn and affect the starter’s viability.
- Freeze in Usable Portions: This reduces waste and makes reviving the starter easier.
- Patience is Key: Don’t be discouraged if the starter doesn’t revive immediately. It may take a few feedings to get it going again.
- Observe: If you are uncertain if the starter is ready, observe the normal cues it would give when not frozen (bubble, rise.)
Storing and Reheating Tips:
- How to Store Leftover Amish Starter treats: Store bread and sweets made with Amish starter in airtight containers at room temperature for up to 3 days, or in the refrigerator for up to a week.
- Reheating: Reheat bread slices in a toaster or oven for a crispier texture. Other treats can be warmed in the microwave for a few seconds.
- Freezing Baked Products: Amish starter bread and other baked goods can also be frozen. Wrap them tightly in freezer-safe plastic wrap and store for up to 3 months. Thaw at room temperature or in the refrigerator before reheating.
Final Thoughts
Freezing Amish starter is a fantastic way to enjoy the delicious flavors of Amish friendship bread and other treats on your schedule. By following these simple steps, you can ensure your starter remains viable and ready to bake whenever inspiration strikes. Don’t let that bubbly goodness go to waste!
Looking for more classic Amish recipes and natural remedies? Check these out:
- Our latest posts on Medium – Discover more old-fashioned recipes and tips
- Follow us on Pinterest – Daily pins full of Amish goodness
- Best Amish Recipes for Easy Homemade Meals – A roundup of wholesome, simple favorites
- Amish Apple Cake Recipe – Moist, flavorful, and perfect for fall
- Amish Amoxicillin Natural Remedy – A powerful herbal immune booster
- Amish Chocolate Whoopie Pies – Soft, chocolatey, and filled with sweet nostalgia
- Best Amish Recipes for Easy Homemade Soups, Main Dishes & Desserts
Feel free to explore, save, and share your favorites – there’s a whole world of cozy, homemade magic waiting for you!
FAQs
How long can I freeze Amish starter?
You can freeze Amish starter for up to 3 months without significantly affecting its viability. However, for best results, use it within this timeframe.
Can I freeze Amish starter in a glass jar?
Yes, you can, but make sure to use a freezer-safe glass jar and leave plenty of headroom to allow for expansion during freezing. Glass can break if the contents expand too much.
How do I know if my Amish starter is still good after freezing?
After thawing and feeding, look for signs of activity, such as bubbling and an increase in volume. If the starter does not show any activity after a few feedings, it may no longer be viable. In that case, you might need to start a new batch.
Can I use frozen starter directly in a recipe without reviving it?
No, you need to thaw and revive the starter before using it in a recipe. This ensures the yeast is active and can leaven your baked goods properly.

How to Freeze Amish Starter
- Total Time: 30 minutes
- Yield: Multiple 1-cup portions 1x
Description
Freezing Amish starter is a smart way to preserve this living culture for when you’re ready to bake again. Whether you’re swimming in Amish bread dough or simply need a break, here’s a guide to freezing your starter safely and effectively.
Ingredients
- 1 cup all-purpose flour
- 1 cup milk
- 1 cup sugar
- 1 cup active Amish starter
Instructions
- Prepare the Starter: Feed your starter with flour, milk, and sugar. Let it sit for 24 hours until active.
- Portion the Starter: Divide into 1-cup portions using clean tools. Place into freezer-safe bags or containers.
- Label: Write the date and label as ‘Amish Starter’ using a permanent marker on each container.
- Freeze: Lay flat in the freezer for quick freezing. Avoid thawing and refreezing.
- Thawing: Move desired portion to the fridge for 24–48 hours.
- Revive: Let sit at room temp, then discard all but 1 cup. Feed with 1 cup each flour, milk, and sugar. Let sit 12–24 hours.
- Observe: Watch for bubbling or volume increase. Repeat feeding if needed until active.
- Bake: Use in your favorite Amish starter recipes as usual.
Notes
Use freezer-safe, airtight containers and never refreeze thawed starter. Always feed and wait until the starter shows signs of life before baking.
- Prep Time: 30 minutes
- Cook Time: 0 minutes
- Category: Preservation
- Method: Freezing
- Cuisine: American
Nutrition
- Serving Size: 1 cup
- Calories: 420
- Sugar: 48g
- Sodium: 45mg
- Fat: 5g
- Saturated Fat: 3g
- Unsaturated Fat: 2g
- Trans Fat: 0g
- Carbohydrates: 88g
- Fiber: 1g
- Protein: 7g
- Cholesterol: 15mg


Yummy