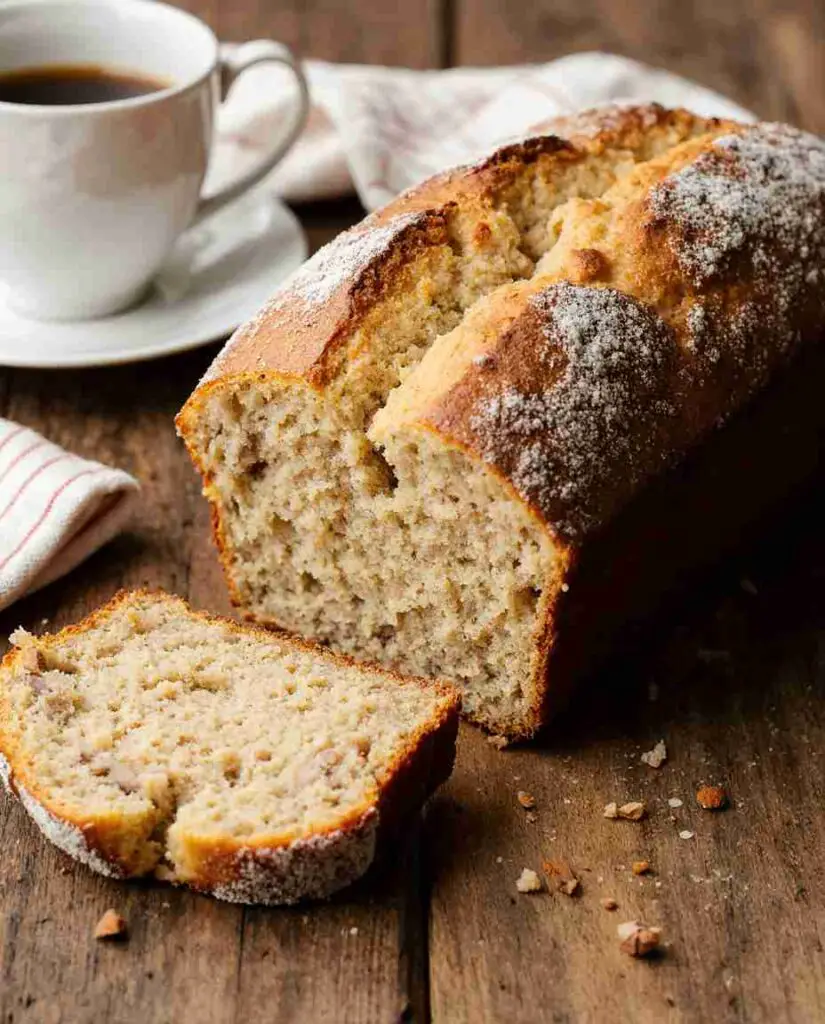
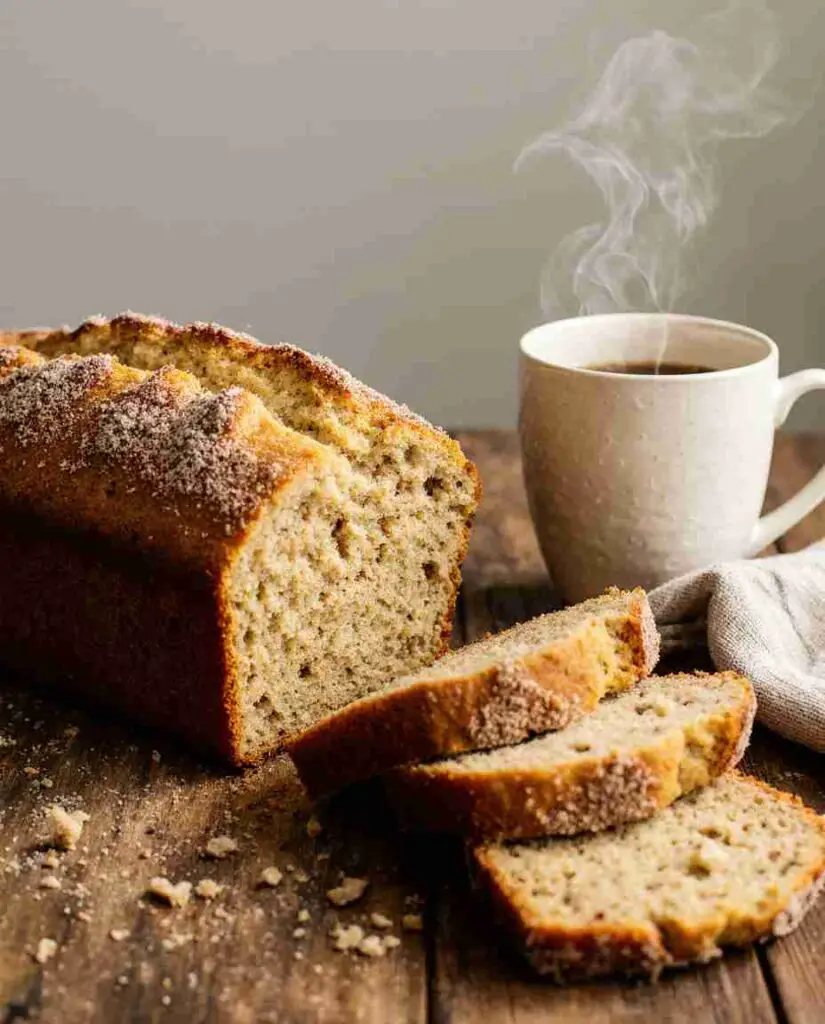
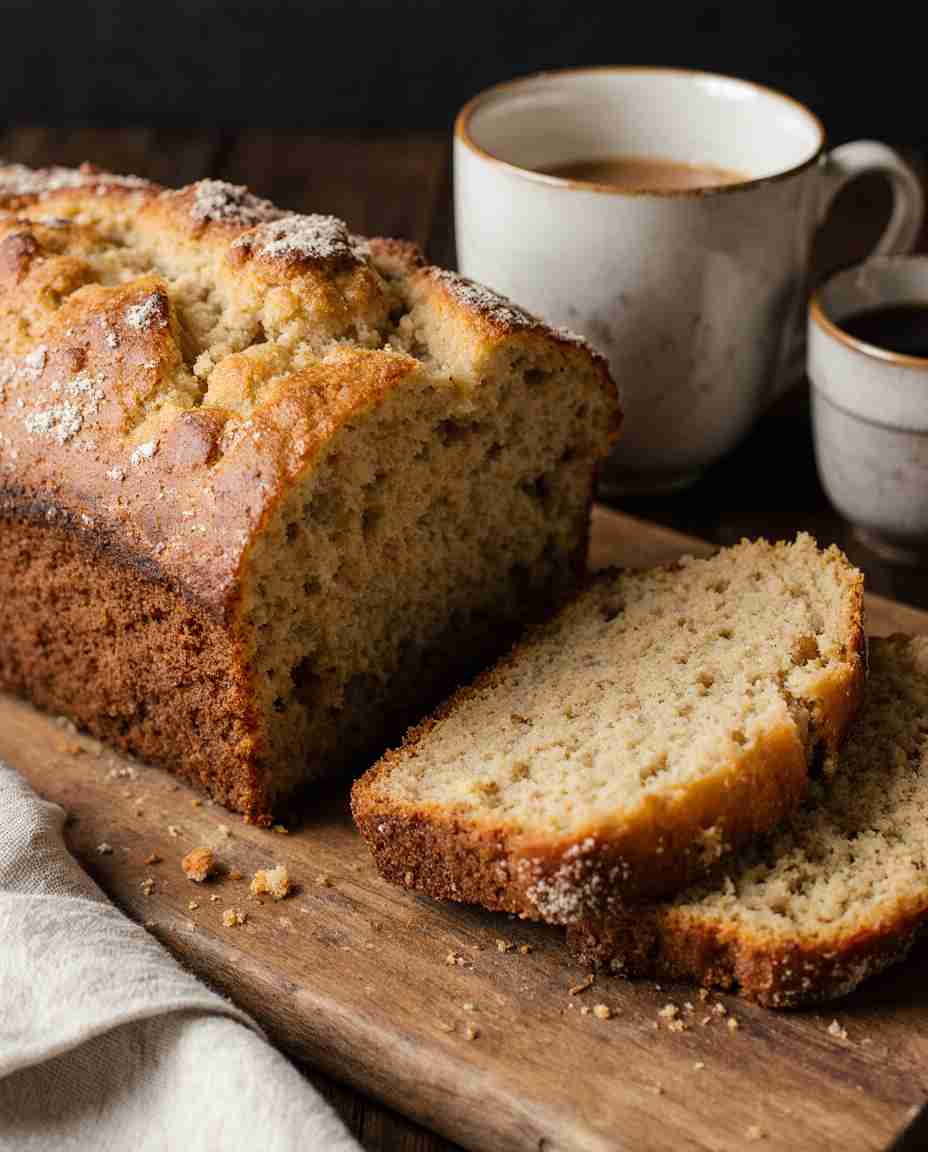
This Friendship Bread recipe is a sweet, cinnamon-flavored quick bread made using a sourdough starter that’s shared among friends. Known for its soft texture and comforting flavor, this bread is often passed along like a delicious chain letter, promoting connection and tradition.
Whether you’re baking for the first time or reviving a starter you received days ago, this step-by-step guide will walk you through making the starter and the final bread. With its snickerdoodle-like taste and moist crumb, it’s the perfect homemade treat for breakfast, snacking, or gifting. Make it your own with chocolate chips, nuts, or fruit!
Jump To :
What is Friendship Bread?
Friendship bread – the very name conjures images of cozy kitchens, warm smiles, and the comforting aroma of cinnamon and sugar. But why is it called “friendship” bread? Is it because sharing bread fosters friendship? Or perhaps because the starter, like a good friendship, requires nurturing and care? Maybe it’s because gifting a loaf is the best way to bribe your way into someone’s good graces (hey, the way to a man’s heart is through his stomach, right?).
Either way, the name perfectly encapsulates the spirit of generosity and community that this bread embodies. I even heard of someone who started a romantic relationship when they were given the starter and instructions and shared the final product as a first date! Who knows…you might find your new bread baking best friend! So grab your apron, get ready to bake, and let’s start this delicious journey together!
Key Ingredients for Friendship Bread:
Here’s what you’ll need to make the friendship bread starter and the bread itself:
For the Starter:
- 1 cup all-purpose flour
- 1 cup granulated sugar
- 1 cup milk (any kind will work, including non-dairy)
- 1 packet active dry yeast (2 1/4 teaspoons)
- Warm water (for activating yeast)
For the Bread (after Day 10):
- 1 cup friendship bread starter
- 1 cup all-purpose flour
- 1 cup granulated sugar
- 1/2 cup oil (vegetable or canola)
- 2 eggs
- 1 teaspoon vanilla extract
- 1 1/2 teaspoons ground cinnamon
- 1/2 teaspoon baking powder
- 1/2 teaspoon baking soda
- 1/4 teaspoon salt
Optional Toppings:
- Cinnamon & sugar mixture
- Chopped nuts (pecans or walnuts)
- Streusel topping
How to Make Friendship Bread
Friendship bread offers both ease and delicious results. At first, it may seem daunting, but don’t worry! It’s easier than sourdough, and after the starter does its magic, the bread is easy to make.
This recipe, though it takes time, will result in a delicious, moist, flavorful bread that can be customized. The magic truly happens as the starter ferments over ten days, developing a unique tangy-sweet flavor that permeates every slice.

Step-by-Step Instructions:
Here’s the breakdown of daily care and the final bread baking process:
Days 1-4: The Beginning
- Day 1 Don’t be scared! You are just receiving your starter and its ready to go instructions. Just place the starter in a large, non-metallic bowl lightly covered with plastic wrap at room temperature.
- Day 2 – Mash the bag to mix.
- Day 3 – Mash the bag to mix.
- Day 4 – Mash the bag to mix.
Day 5: Adding & Mixing
- Day 5: Add 1 cup flour, 1 cup sugar, and 1 cup milk. Stir well.
Days 6-9: The Daily Stir
- Day 6: Mash the bag to mix.
- Day 7: Mash the bag to mix.
- Day 8: Mash the bag to mix.
- Day 9: Mash the bag to mix.
Day 10: Time to Share!
- Day 10: Add 1 cup flour, 1 cup sugar, and 1 cup milk to the starter. Stir well. Now, divide the starter into four equal portions (about 1 cup each). Keep one portion for yourself to continue the process, and share the other three with friends, along with these instructions. You can freeze the starter until you’re ready to bake with it.
Baking Day:
- Preheat your oven to 325°F (160°C). Grease two 8×4 inch loaf pans.
- In a large bowl, combine the 1 cup of friendship bread starter, 1 cup flour, 1 cup sugar, 1/2 cup oil, 2 eggs, and the vanilla extract. Mix well.
- In a separate bowl, whisk together the cinnamon, baking powder, baking soda, and salt. Add the dry ingredients to the wet ingredients and mix until just combined. Do not overmix.
- Evenly pour batter into the prepared loaf pans.
- Bake for 50-60 minutes, or until a wooden skewer inserted into the center comes out clean.
- Let the bread cool in the pans for 10 minutes before transferring to a wire rack to cool completely.
- Now you have delicious friendship bread to share again!
Why You’ll Love This Friendship Bread
Friendship bread is loved for its delicious, cinnamon-y goodness, reminiscent of snickerdoodle cookies but in bread form! The best part? The cost savings are incredible by making your own, you avoid pricey bakery runs and enjoy the satisfaction of creating something beautiful from scratch. The flavor possibilities are endless, from pecan toppings to chocolate chips or diced apples.
It’s surprisingly simple to make, even the kids can do a lot of it! Plus it lets your friends know you are thinking of them and want to pass along something great. Think of it this way, if sourdough bread is artisanal bread that requires special care, friendship bread is the welcoming, fun-loving cousin you can always count on. Are you ready to give and receive the gift of deliciousness? What are you waiting for!
What to Serve Friendship Bread With

Friendship bread can be enjoyed in various ways. Serve a warm slice with a dollop of whipped cream or a scoop of vanilla ice cream for a delightful dessert. For a more comforting treat, pair it with a warm cup of spiced chai tea or a mug of hot chocolate.
If you’re looking for a savory contrast, a small side of fresh fruit like strawberries or blueberries can complement the sweetness of the bread. It’s really that versatile!
Top Tips for Perfecting Friendship Bread:
Here are a few tricks to ensure your friendship bread turns out perfectly every time:
- Starter Consistency: If your starter seems too thick, add a little milk. If it’s too thin, add a little flour. The consistency should be like pancake batter.
- Temperature Matters: Keep the starter at a consistent room temperature for optimal fermentation. Avoid placing it near drafts or direct sunlight.
- Don’t Overmix: When making the bread batter, mix until just combined. Overmixing can result in a tough bread.
- Oven Calibration: Ensure your oven is properly calibrated for consistent baking results. Consider using an oven thermometer.
- Don’t be afraid to experiment: You can try adding different extracts, or changing the topping to something like chocolate chips or crushed oreos. It adds a nice twist to the bread!
Storing and Reheating Tips:
To maintain its freshness and flavor, store your baked friendship bread in an airtight container at room temperature for up to 3 days. Alternatively, you can wrap it tightly in plastic wrap and then place it in a freezer bag for longer storage, up to 2-3 months.
Reheating:
To reheat your slices of bread, wrap the slices in foil and bake in a preheated oven or toaster oven at 350 degrees for 10 minutes.
Freezing Slices:
For individual portions, slice the bread into serving sizes and wrap each slice individually before freezing. This will allow you to thaw only what you need, preventing waste.
Thawing:
Let the slices sit out in room temperature for approximately 30 min.
Final Thoughts:
The Friendship Bread chain letter is more than just a recipe; it’s an experience and a journey. It’s about sharing, nurturing, and creating something delicious together. So, embrace the process, experiment with flavors, and most importantly, enjoy the joy of baking and sharing with others! So, who are you going to give your first loaf of Friendship Bread to?
Looking for more classic Amish recipes and natural remedies? Check these out:
- Our latest posts on Medium – Discover more old-fashioned recipes and tips
- Follow us on Pinterest – Daily pins full of Amish goodness
- Best Amish Recipes for Easy Homemade Meals – A roundup of wholesome, simple favorites
- Amish Apple Cake Recipe – Moist, flavorful, and perfect for fall
- Amish Amoxicillin Natural Remedy – A powerful herbal immune booster
- Amish Chocolate Whoopie Pies – Soft, chocolatey, and filled with sweet nostalgia
- Best Amish Recipes for Easy Homemade Soups, Main Dishes & Desserts
Feel free to explore, save, and share your favorites – there’s a whole world of cozy, homemade magic waiting for you!
FAQs:
What if my starter doesn’t bubble?
Don’t panic! Sometimes starters are slow to get going. Make sure it’s at room temperature and give it a few extra days, mixing it once a day.
Can I use whole wheat flour?
You can substitute up to half of the all-purpose flour with whole wheat flour for a slightly denser bread.
What if I don’t like cinnamon?
You can omit the cinnamon and use other spices like nutmeg or cardamom, or even add citrus zest.
Can I freeze my starter?
Yes! This is a great way to pause the 10-day process. Make sure you can release air from time and time. Thaw and add day 6 when taking out from freezer.

Friendship Bread Chain Recipe
- Total Time: 10 days 1 hour
- Yield: 2 loaves 1x
Description
Sweet, cinnamon-y Friendship Bread made with a shared sourdough starter. A cozy tradition of baking and sharing that brings people together.
Ingredients
- Starter:
- 1 cup all-purpose flour
- 1 cup granulated sugar
- 1 cup milk (any kind)
- 1 packet active dry yeast (2 1/4 teaspoons)
- Warm water (for activating yeast)
- Bread (after Day 10):
- 1 cup friendship bread starter
- 1 cup all-purpose flour
- 1 cup granulated sugar
- 1/2 cup oil (vegetable or canola)
- 2 eggs
- 1 teaspoon vanilla extract
- 1 1/2 teaspoons ground cinnamon
- 1/2 teaspoon baking powder
- 1/2 teaspoon baking soda
- 1/4 teaspoon salt
- Optional Toppings:
- Cinnamon & sugar mixture
- Chopped nuts (pecans or walnuts)
- Streusel topping
Instructions
- Days 1–4:
- Day 1: Place the starter in a non-metallic bowl, lightly cover with plastic wrap at room temp.
- Days 2–4: Mash the bag to mix once each day.
- Day 5: Add 1 cup flour, 1 cup sugar, and 1 cup milk. Stir well.
- Days 6–9: Mash the bag each day to mix.
- Day 10: Add 1 cup flour, 1 cup sugar, and 1 cup milk. Stir well. Divide into 4 portions. Keep 1, gift 3 with instructions.
- Baking the Bread:
- Preheat oven to 325°F (160°C). Grease two 8×4 inch loaf pans.
- In a bowl, combine 1 cup starter, 1 cup flour, 1 cup sugar, 1/2 cup oil, 2 eggs, and vanilla. Mix well.
- In another bowl, whisk cinnamon, baking powder, baking soda, and salt. Mix into wet ingredients until just combined.
- Divide into loaf pans. Add toppings if desired.
- Bake 50–60 minutes or until a skewer comes out clean.
- Cool in pan 10 minutes, then transfer to wire rack.
Notes
You can freeze the starter after Day 10 until you’re ready to bake. This bread is highly customizable—try adding chocolate chips, fruit, or different spices!
- Prep Time: 10 days
- Cook Time: 60 minutes
- Category: Bread
- Method: Baking
- Cuisine: American
Nutrition
- Serving Size: 1 slice
- Calories: 210
- Sugar: 18g
- Sodium: 190mg
- Fat: 9g
- Saturated Fat: 2g
- Unsaturated Fat: 6g
- Trans Fat: 0g
- Carbohydrates: 30g
- Fiber: 1g
- Protein: 3g
- Cholesterol: 35mg


Wonderful starter and cake recipe.
One thing to note is that it notes “ Preheat oven to 325°F (160°C). Grease two 8×4 inch loaf pans.” but if “1 x” is selected for amount of flour, sugar etc. this does not make two loaves. It will only be one loaf.