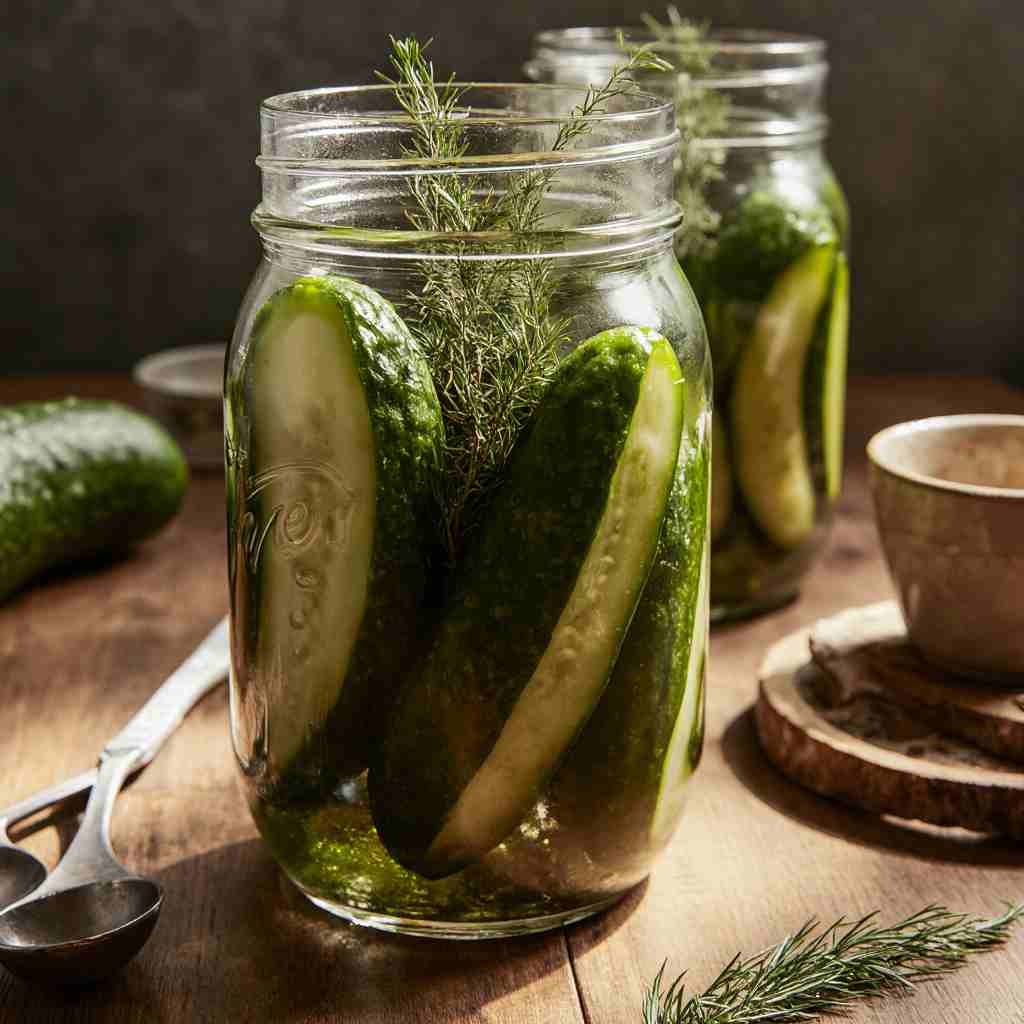
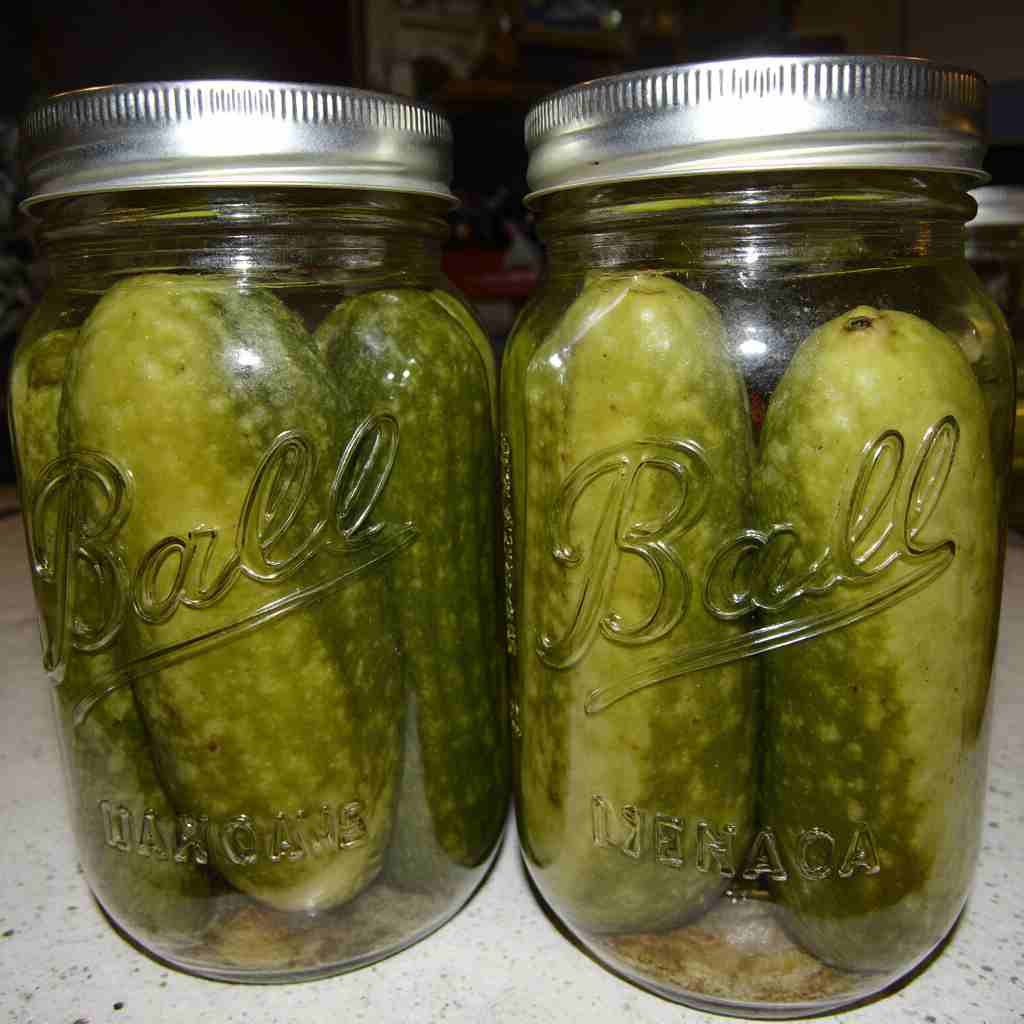
Are you looking for a way to capture the fresh flavors of summer and enjoy them all year round? This Canning Dill Pickles recipe, packed with classic garlic and herbs, delivers that satisfying crunch and tangy taste you crave. It’s the perfect way to preserve your garden bounty and bring homemade goodness to your table.
Jump To :
What are Canned Dill Pickles?
Canned dill pickles are cucumbers that have been preserved in a brine solution of vinegar, water, salt, and spices, typically including dill, garlic, and other herbs. The canning process involves placing the cucumbers and brine in sterilized jars and processing them in a boiling water bath to create a vacuum seal.
This process not only preserves the cucumbers but also infuses them with the flavorful brine, resulting in a crisp, tangy, and aromatic treat. Making your own canned dill pickles allows you to control the ingredients, ensuring they are free from artificial preservatives and additives. Plus, the satisfaction of enjoying homemade pickles you preserved yourself is unmatched! The flavor intensifies over time as the cucumbers absorb even more of the flavorful brine.
Key Ingredients for Canning Dill Pickles:
- Pickling Cucumbers: 3 pounds, about 3-5 inches long. Smaller cucumbers work best for even pickling and a satisfying crunch.
- White Vinegar: 5 cups, 5% acidity. Ensure it’s white vinegar for the best flavor and preservation.
- Water: 3 cups. Use filtered water for the best taste.
- Pickling Salt (or non-iodized salt): 1/2 cup. Iodine can darken the pickles and affect the flavor.
- Fresh Dill: 4-6 heads or large sprigs. Fresh dill provides the best flavor; however, I ounce measure of dried dill is enough instead.
- Garlic Cloves: 8-12 cloves, peeled. More or less depending on your preference.
- Whole Black Peppercorns: 2 teaspoons. Adds a subtle spice and depth of flavor.
- Mustard Seeds: 2 teaspoons. Contributes to the tangy flavor and adds a slight bitterness.
- Crushed Red Pepper Flakes: 1/2 teaspoon (optional, for heat). Adjust to yourspice preference.
- Grape Leaves or Tannin Powder (optional): 2-4 grape leaves or 1/4 teaspoon tannin powder. Helps keep the pickles crisp.
How to Make Canning Dill Pickles:
These dill pickles are not only incredibly delicious but also surprisingly easy to make, taking the intimidation out of the canning process. The combination of fresh dill, garlic, and spices creates a flavor explosion. With just a little effort and about 45 minutes of active preparation, you’ll have jars of crisp, tangy pickles to enjoy for months to come!
Step-by-Step Instructions:
- Prepare the Cucumbers: Wash the cucumbers thoroughly and trim about 1/4 inch off both ends. This helps prevent enzyme issues that can cause soft pickles.
- Sterilize Jars and Lids: Wash six pint-sized canning jars and lids in hot, soapy water. Rinse well. Sterilize the jars by placing them in a boiling water bath for 10 minutes. Keep the jars hot until ready to use. Sterilize the lids by simmering them in hot water (not boiling) for 10 minutes.
- Prepare the Brine: In a large, non-reactive saucepan (stainless steel or enamel), combine the white vinegar, water, and pickling salt. Bring to a boil over medium-high heat, stirring until the salt is completely dissolved.
- Pack the Jars: In each sterilized jar, place:
- 1-2 heads of fresh dill (or a generous sprig)
- 2-3 garlic cloves
- 1/4 teaspoon whole black peppercorns
- 1/4 teaspoon mustard seeds
- A pinch of crushed red pepper flakes (if using)
- 1/2 grape leaf (if using) or a tiny pinch of tannin powder.
- Carefully pack the cucumbers into the jars, leaving about 1/2 inch of headspace (the space between the top of the cucumbers and the rim of the jar).
- Pour the Brine: Carefully pour the hot brine over the cucumbers, ensuring they are completely submerged. Leave about 1/2 inch of headspace. Remove any air bubbles by gently tapping the jars on the counter or using a bubble remover tool.
- Wipe Rims and Apply Lids: Wipe the rims of the jars with a clean, damp cloth to ensure a good seal. Place the sterilized lids on the jars, and screw on the bands until fingertip tight (not too tight).
- Process in a Water Bath Canner: Place the jars in a boiling water bath canner, ensuring they are covered by at least 1 inch of water. Bring the water to a rolling boil.
- Processing Time: Process pint jars for 10 minutes. Adjust processing time for altitude:
- 0-1,000 feet: 10 minutes
- 1,001-6,000 feet: 15 minutes
- Above 6,000 feet: 20 minutes
- Processing Time: Process pint jars for 10 minutes. Adjust processing time for altitude:
- Cool and Check Seals: Carefully remove the jars from the canner using a jar lifter and place them on a towel-lined surface, leaving space between the jars. Let the jars cool completely, undisturbed, for 12-24 hours. As the jars cool, you should hear a “popping” sound, indicating that a vacuum seal has formed.
- Check the Seals: After 24 hours, check the seals. Press down on the center of each lid. If the lid doesn’t flex or pop back, it’s sealed correctly. If the lid flexes or pops back, the jar is not sealed and should be refrigerated and eaten within a few weeks or reprocessed with a new lid.
- Label and Store: Label the sealed jars with the date and store them in a cool, dark place for at least 2-3 weeks before eating. This allows the flavors to fully develop.
Why You’ll Love This Canning Dill Pickles Recipe:
The irresistible crunch and tangy flavor of these Canning Dill Pickles are the main reason you’ll fall in love with this recipe. Fresh dill and garlic infuse every bite with bold, savory goodness.
Making your own pickles at home is significantly more cost-effective than buying them at the store. Not only can you save money, but you also have complete control over the ingredients, avoiding artificial additives and preservatives. This recipe celebrates the simple pleasure of homemade food.

What makes these pickles even more special is the customization. You can adjust the amount of garlic, dill, or red pepper flakes to suit your taste preferences. Comparing this recipe to say, Bread and butter pickles, which some find overly sweet, allows you to control the salt and brine, tailoring them to your perfect pickle.
What to Serve Canning Dill Pickles With:
Canning Dill Pickles are incredibly versatile and can be enjoyed in countless ways. Here are a few suggestions to get you started:
- Burgers and Sandwiches: A classic pairing! The tangy crunch of dill pickles complements the richness of burgers and sandwiches perfectly.
- Charcuterie Boards: Add a jar of homemade dill pickles to your charcuterie board for a salty, tangy element that balances the other flavors.
- Bloody Marys: Use a dill pickle spear as a garnish for a classic Bloody Mary cocktail.
- Grilled Cheese: Serve alongside a warm, gooey grilled cheese sandwich for a contrast in textures and flavors.
- Potato Salad or Tuna Salad: Chop up some dill pickles and add them to your favorite potato or tuna salad for an extra burst of tang and crunch.
Top Tips for Perfecting Canning Dill Pickles:
- Use fresh, firm cucumbers: Avoid cucumbers that are soft, spotted, or starting to turn yellow. Overripe cukes turn mushy.
- Don’t skip the trimming: Trimming the ends of the cucumbers allows the brine to penetrate more easily, resulting in a crisper pickle.
- Pack the jars tightly: Pack the cucumbers tightly into the jars, but don’t overpack them. Leaving about 1/2 inch of headspace is crucial for proper sealing.
- Use a high-quality vinegar: White vinegar with 5% acidity is recommended for the best flavor and preservation.
- Adjust the spices to your liking: Feel free to adjust the amount of garlic, dill, or red pepper flakes to suit your taste preferences.
- Be patient: Allow the pickles to sit for at least 2-3 weeks before eating to allow the flavors to fully develop.
- To keep pickles crisp: Add grape leaves to each jar. They contain tannins that help prevent softening. A 1/4 teaspoon of tannin powder is an excellent alternative.
5 Facts about Canning Dill Pickles:
- Ancient Practice: Pickling dates back nearly 4,000 years to ancient Mesopotamia, where cucumbers were preserved in acidic solutions.
- Health Benefits: Pickles are a good source of probiotics, which are beneficial bacteria that can improve gut health.
- Flavor Development: The flavor of canned dill pickles intensifies over time as the cucumbers absorb more of the flavorful brine.
- National Pickle Day: November 14th is National Pickle Day in the United States!
- Cucumber Variety Matters: Certain cucumber varieties like ‘National Pickling’ and ‘Boston Pickling’ are specifically bred for making pickles.
Storing and Reheating Tips:
- Storing: Properly sealed jars of canned dill pickles can be stored in a cool, dark place (like a pantry or cellar) for up to 1-2 years. Once opened, jars should be refrigerated and used within a few weeks.
- Reheating: Dill pickles are typically eaten cold, so no reheating is necessary.
Final Thoughts:
Canning Dill Pickles is a rewarding experience that allows you to enjoy the taste of summer all year round. With this classic recipe, you can create homemade pickles that are bursting with flavor and have that satisfying crunch. So, gather your ingredients, follow these simple steps, and start canning today!
Read More also:
- Canning Pickled Jalapeños
- Canning Pickled Asparagus
- Canning Hot Pepper Jelly
- Canning Mushroom Soup
- Canning Apricot Jam Recipe
- Canning Fig Jam Recipe
- Canning Plum Jam
- Our Pinterest
Canning Dill Pickles FAQs:
Q: Can I use regular table salt instead of pickling salt?
A: It’s best to use pickling salt or non-iodized salt, as iodine can darken the pickles and affect the flavor.
Q: Why are my pickles soft?
A: Soft pickles can be caused by several factors, including using old cucumbers, not trimming the ends, using a weak vinegar solution, or under-processing the jars. Follow the recipe carefully and use fresh, firm cucumbers for the best results.
Q: How long do I have to wait before eating the pickles?
A: It’s best to wait at least 2-3 weeks before eating the pickles to allow the flavors to fully develop.
Q: Can I reuse the brine?
A: No, it’s not recommended to reuse the brine, as it can contain bacteria and may not properly preserve the pickles. Always use fresh brine for each batch.
Q: What if a jar doesn’t seal?
A: If a jar doesn’t seal, refrigerate it immediately and eat the pickles within a few weeks. You can also try reprocessing with a new lid, but it’s best to use the pickles sooner rather than later.

